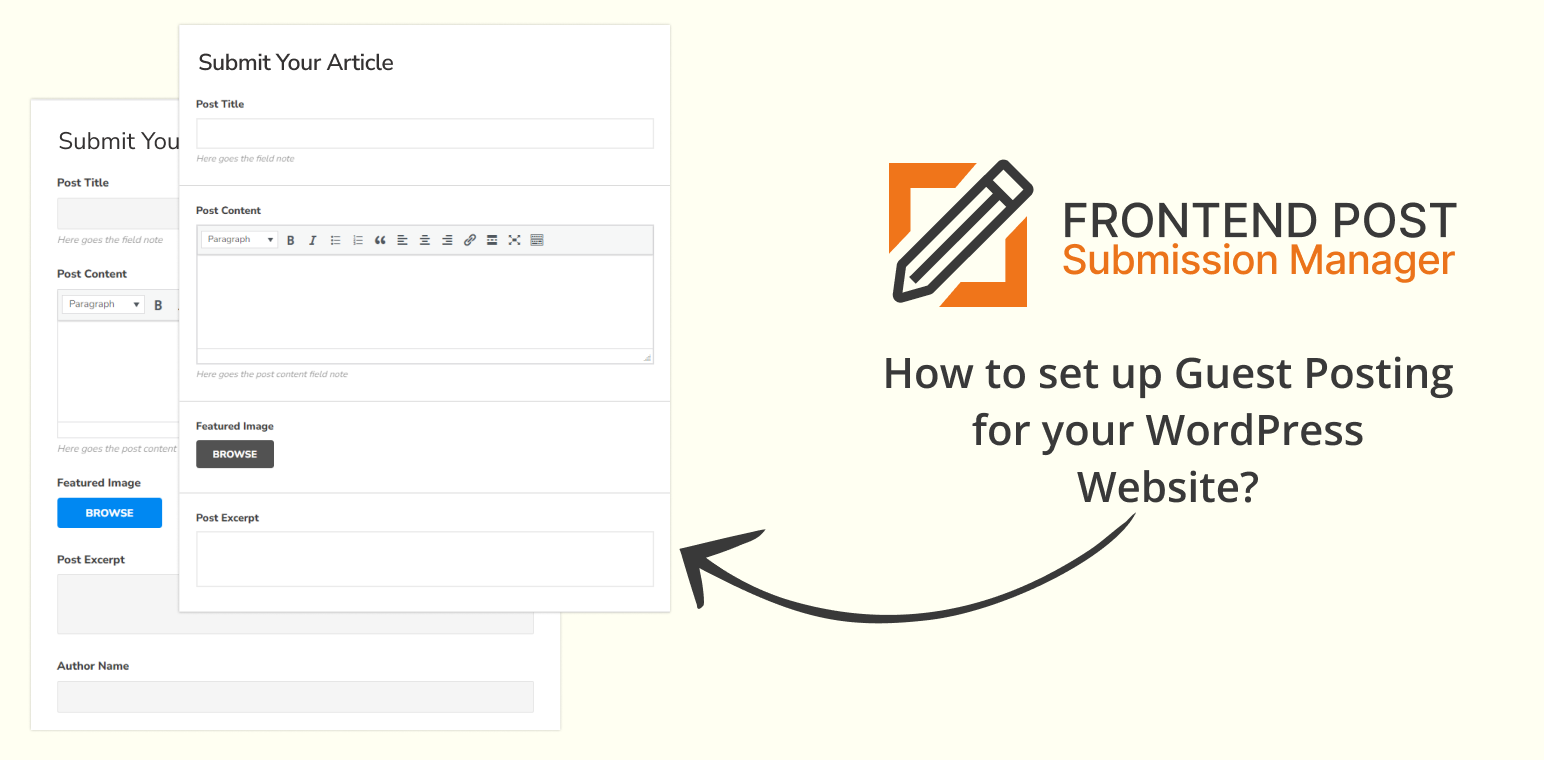
Looking for a way to set up secure and user-friendly frontend post submission forms to empower your audience and boost engagement on your WordPress site?
Allowing users to contribute content directly from the frontend is a powerful approach that can set your website apart. Whether you’re aiming to encourage guest posts, gather user-generated content, or simply make it easier for your community to interact with your site, enabling frontend post submissions can be a game-changer. But as with all things on the web, it’s crucial to find the right balance between user-friendliness and security.
Imagine giving your users the freedom to submit posts without needing to navigate the complexities of the WordPress backend—all while ensuring that your site remains secure from spam and malicious content. With the Frontend Post Submission Manager plugin, you can achieve this and more. This tool simplifies the submission process for your users while providing robust security features to protect your site.
In this guide, we’ll walk you through the steps to set up secure and user-friendly frontend post submission forms that invite meaningful contributions while keeping your website safe and efficient.
Table of Contents
Why Enable Frontend Post Submissions?
Enabling frontend post submissions on your WordPress site can significantly enhance user engagement and content diversity. Here’s why it’s a valuable addition:
- Encourage User-Generated Content: User-generated content is a great way to increase engagement and build a loyal community. By allowing users to submit posts, you give them a platform to share their thoughts, ideas, and expertise, making them feel valued and involved in your site’s growth.
- Simplify Guest Posting: Guest posting can be a cumbersome process, often requiring multiple email exchanges and backend access. Frontend post submission forms streamline this process, allowing guest authors to submit their content directly without needing to navigate the WordPress dashboard. This simplicity makes it easier for more contributors to participate.
- Improve Content Diversity: With a diverse range of contributors, your content will naturally become more varied and interesting. Frontend post submissions open the door to different perspectives, ideas, and content types, enriching your site and keeping your audience engaged.
Key Features of the Frontend Post Submission Manager Plugin
The Frontend Post Submission Manager plugin is packed with features that make it an ideal tool for setting up secure and user-friendly submission forms. Let’s explore some of its key features:
- Drag-and-Drop Form Builder
The plugin’s drag-and-drop form builder makes it incredibly easy to create submission forms. You don’t need any coding knowledge; simply drag the elements you need into the form. This intuitive builder allows you to create customized forms that suit your specific needs, whether you’re collecting blog posts, images, or other content types. - Unlimited Forms and Custom Fields
Flexibility is at the heart of this plugin. You can create unlimited forms with various custom fields, such as text boxes, file uploads, checkboxes, and more. This flexibility allows you to tailor your forms to collect the exact information you need from your users, making content submission a breeze. - Frontend Post Management Dashboard
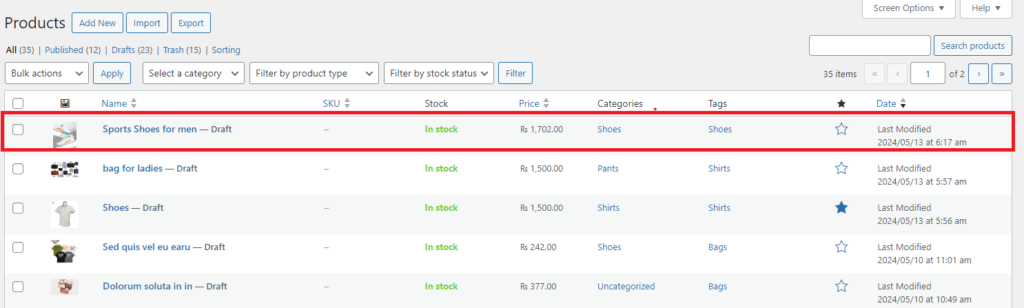
Managing submissions directly from the frontend is a huge time-saver. The plugin’s frontend post management dashboard allows you to review, edit, and approve submissions without having to navigate the WordPress backend. This feature streamlines the content management process, making it more efficient and accessible. - Security Features
Security is a top priority when allowing user submissions. The Frontend Post Submission Manager plugin includes Google Captcha integration to prevent spam submissions and ensure that only legitimate content is submitted. Additionally, you can configure the post status, author, and format settings to maintain control over the content published on your site.
How to Set Up Secure and User-Friendly Frontend Post Submission Forms
Creating secure and user-friendly frontend post submission forms with the Frontend Post Submission Manager plugin is a straightforward process.
Follow these steps to set up your forms:
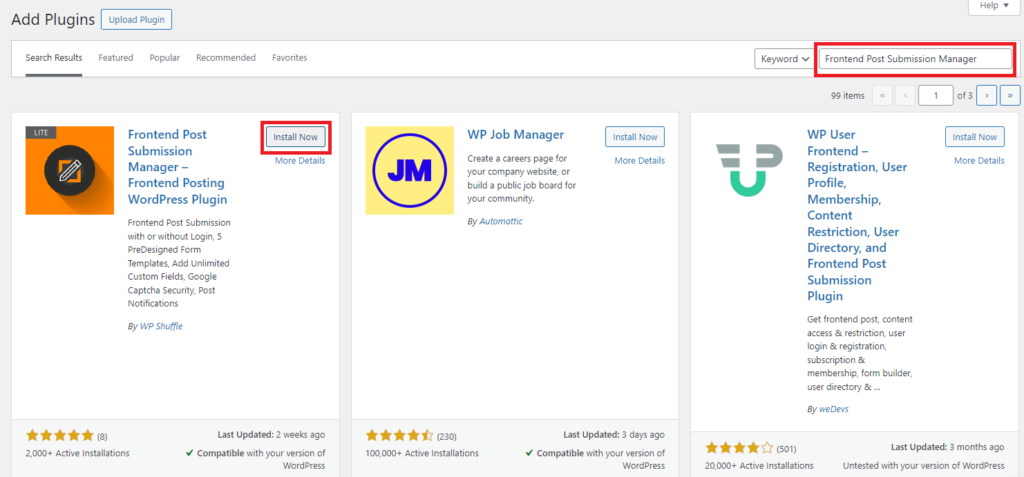
Step 1: Purchase, Install, and Activate the Plugin
- Purchase the Plugin:
- Visit CodeCanyon: Navigate to the Frontend Post Submission Manager plugin page on CodeCanyon.
- Purchase the Plugin: Complete the purchase process by selecting the appropriate license and making the payment.
- Download the Plugin Files: After purchasing, download the plugin files from your CodeCanyon account. You will receive a ZIP file containing the plugin.
- Install the Plugin:
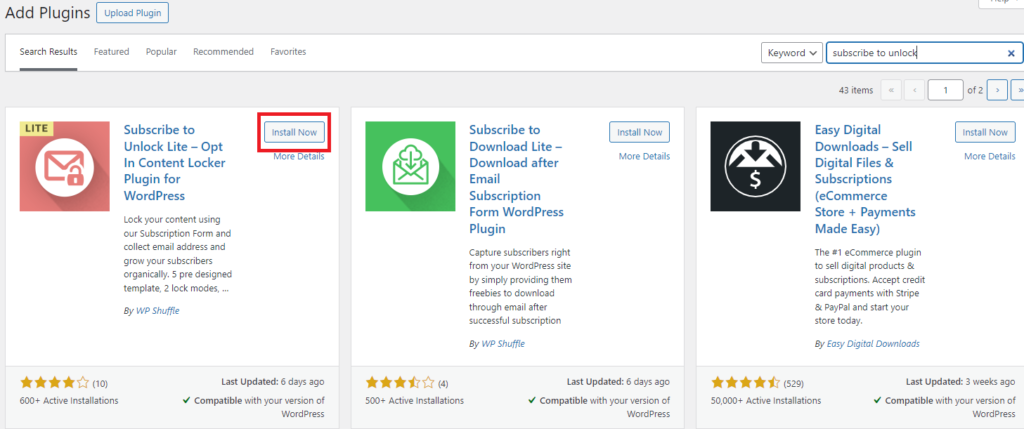
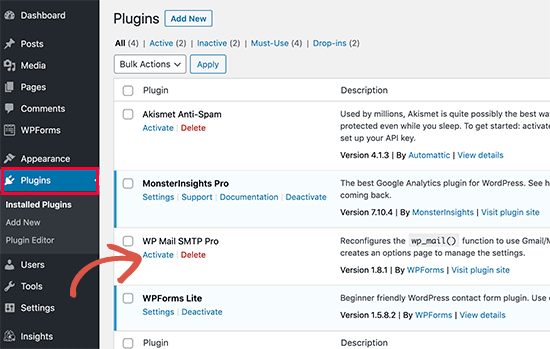
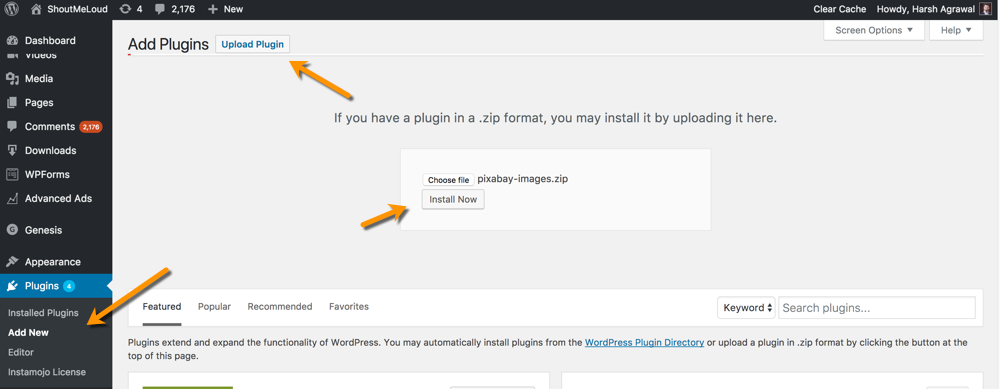
- Access the WordPress Dashboard: Log in to your WordPress admin panel.
- Navigate to Plugins > Add New: In the dashboard menu, hover over “Plugins” and click “Add New.”
- Upload the Plugin: Click on the “Upload Plugin” button at the top and select the downloaded ZIP file from your computer.
- Install the Plugin: After selecting the file, click “Install Now” to start the installation process.
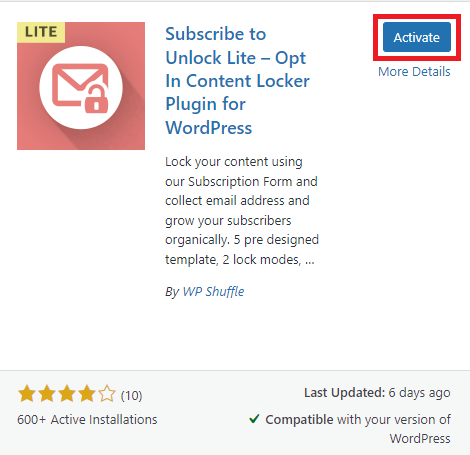
- Activate the Plugin: Once installed, click “Activate” to enable the plugin on your site.
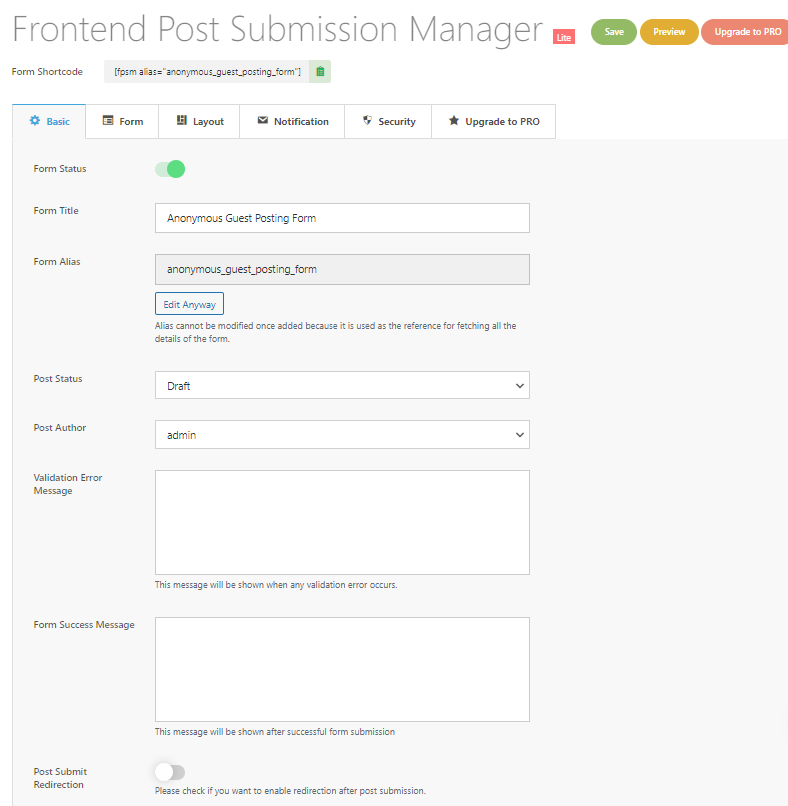
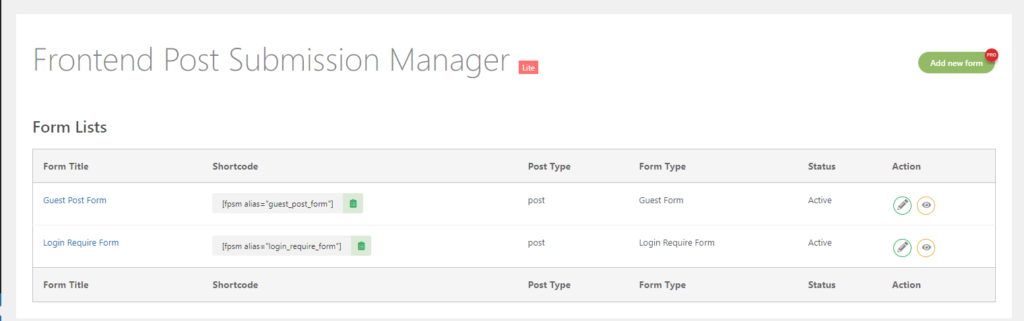
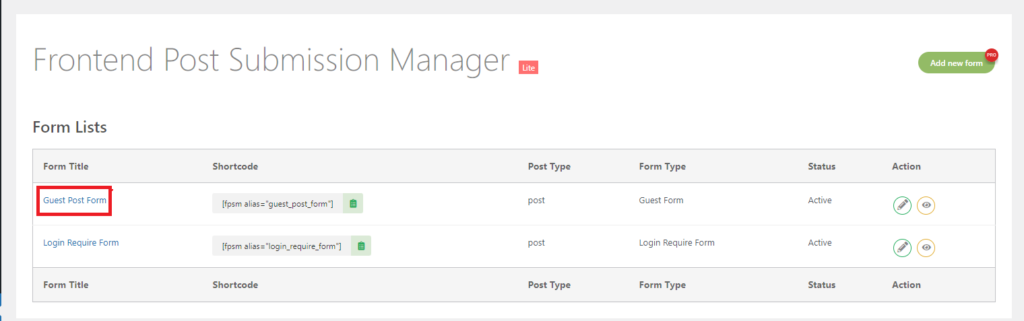
Step 2: Add New Form
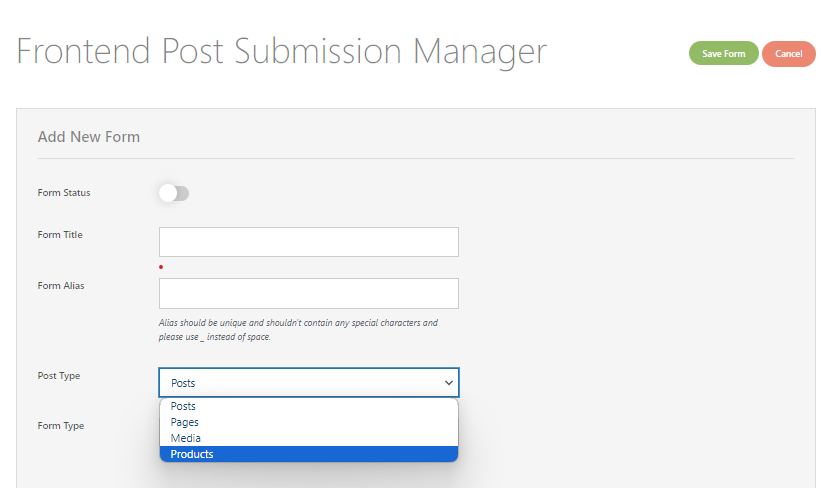
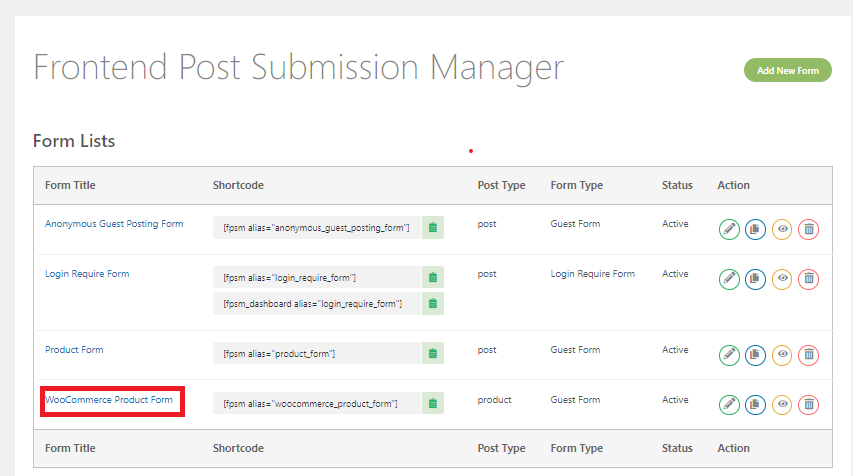
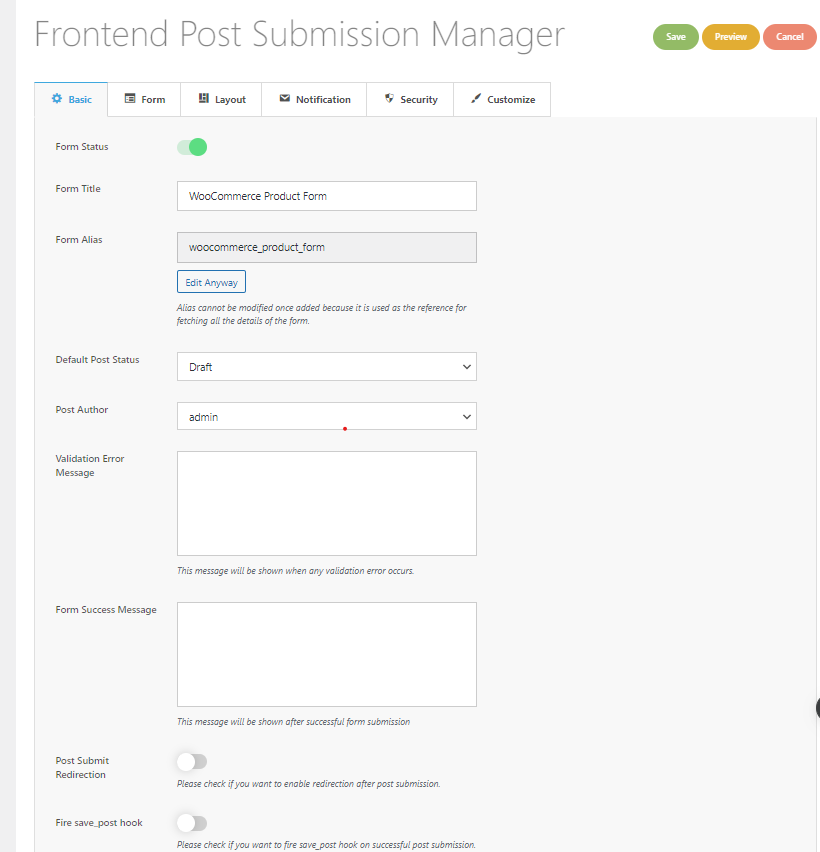
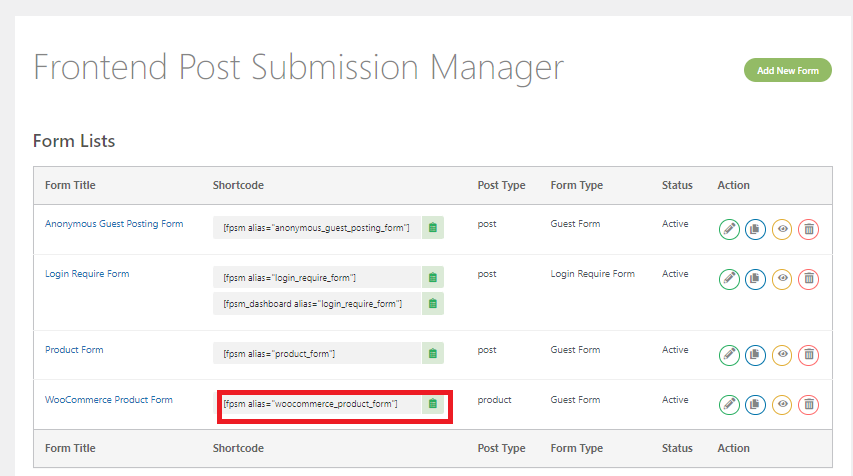
To create a new submission form, begin by navigating to the “Frontend Post Submission” section in your WordPress admin dashboard. From the submenu, select “Add New Form” to initiate the process of creating a new submission form.

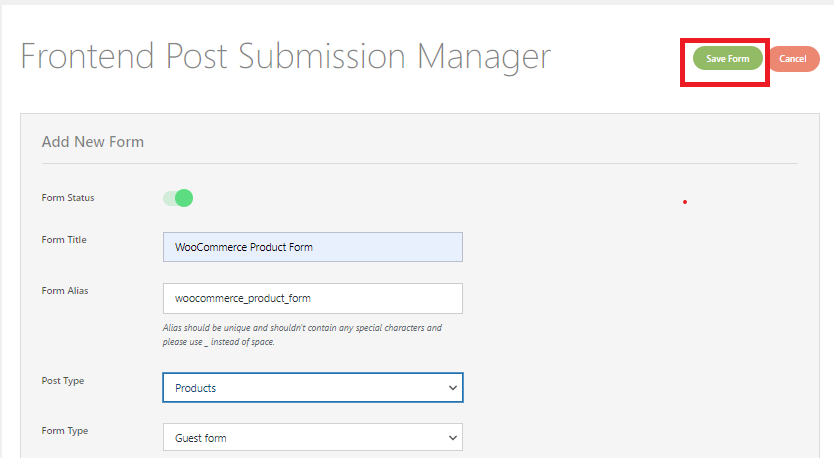
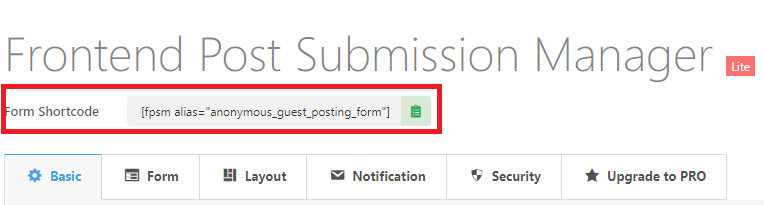
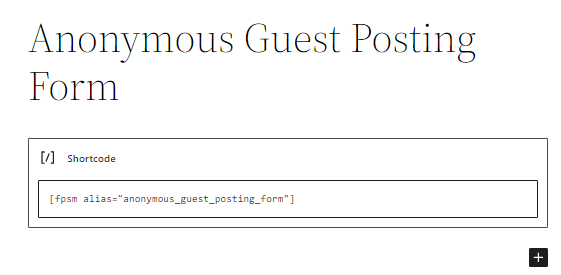
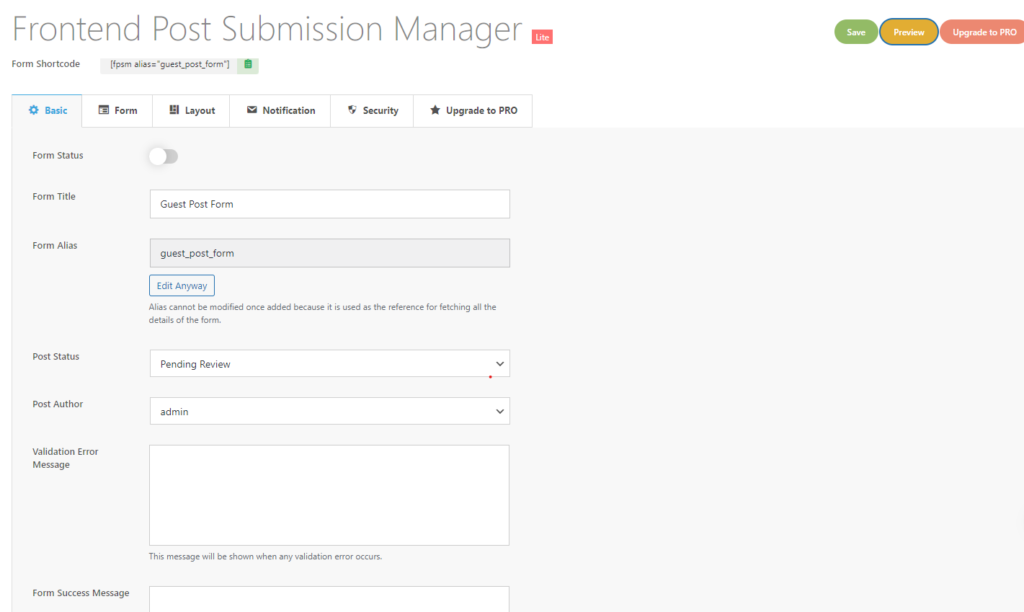
Start by configuring the basic details of your form. You’ll need to toggle the “Form Status” to either enable or disable the form’s availability on the frontend. Then, provide a descriptive title in the “Form Title” field to help identify the form within your dashboard. Next, create a unique identifier for the form, known as the “Form Alias.” It’s important to ensure that this alias is unique and doesn’t include any special characters except underscores (_), as it will be used for displaying the form and managing its settings.
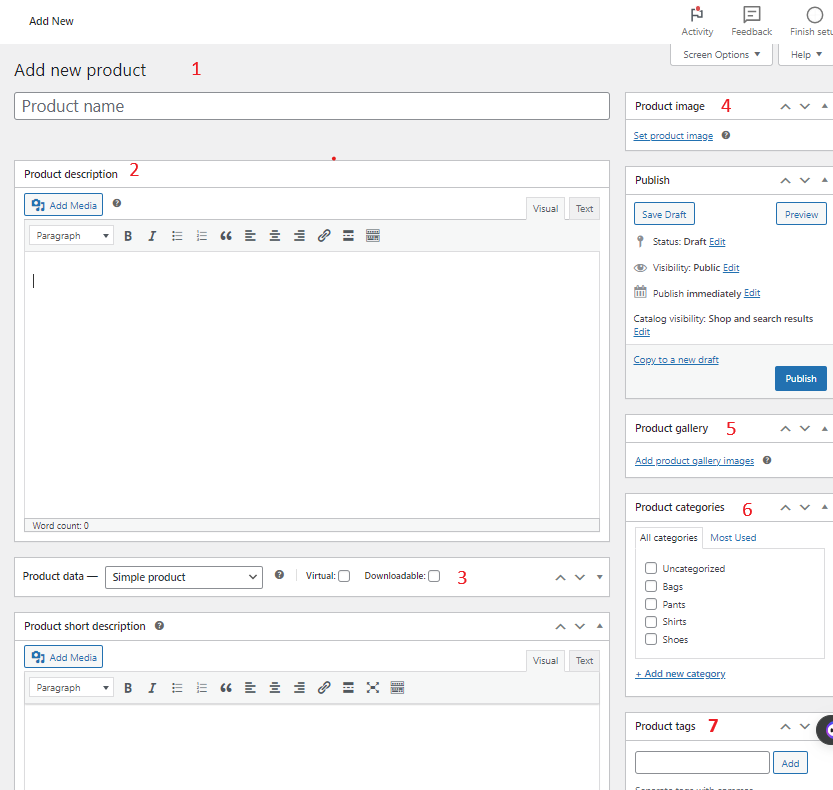
You will also need to choose the “Post Type” that the form will collect. This could be any of the default WordPress post types or any custom post types registered on your site. Additionally, decide whether the form will require users to log in before submission or if it will allow guest submissions without login by selecting the appropriate option in the “Form Type” field.
Once you’ve completed these steps, save your changes to proceed to the next stage, where you can further customize your form and configure its security settings.
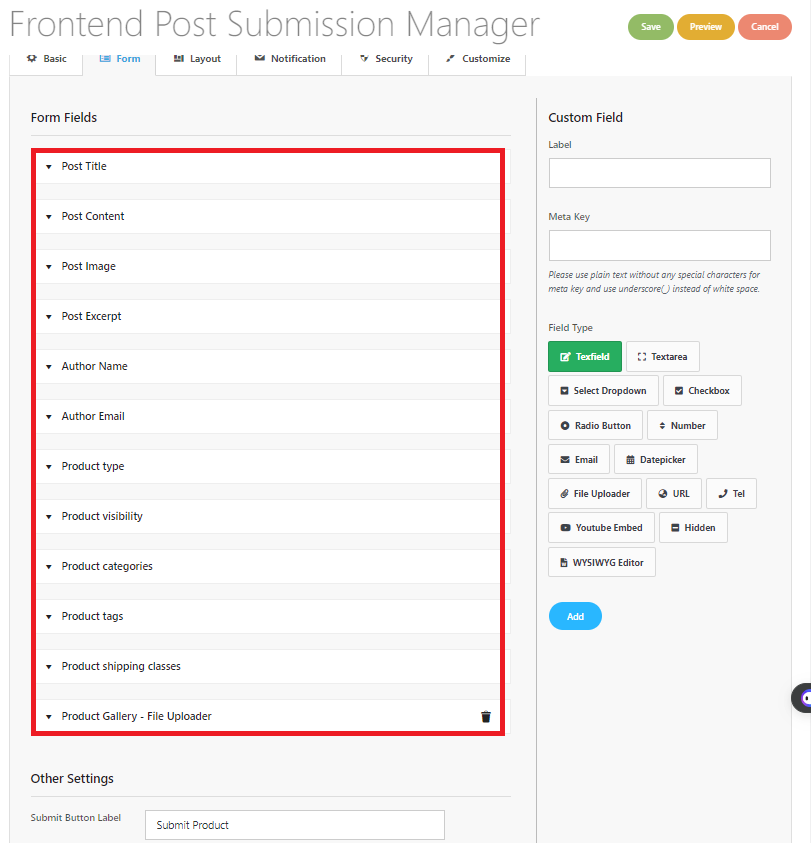
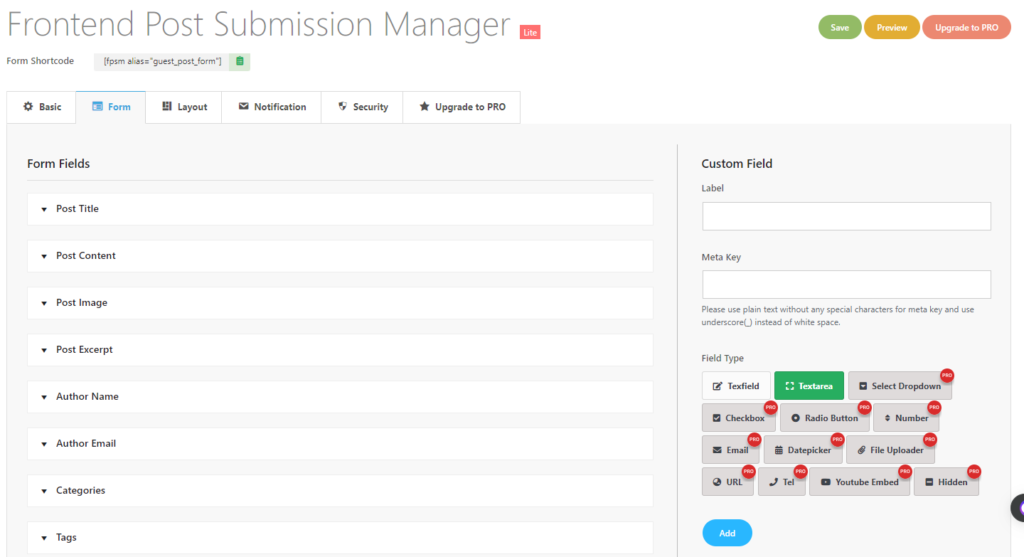
Step 3: Customize the Form

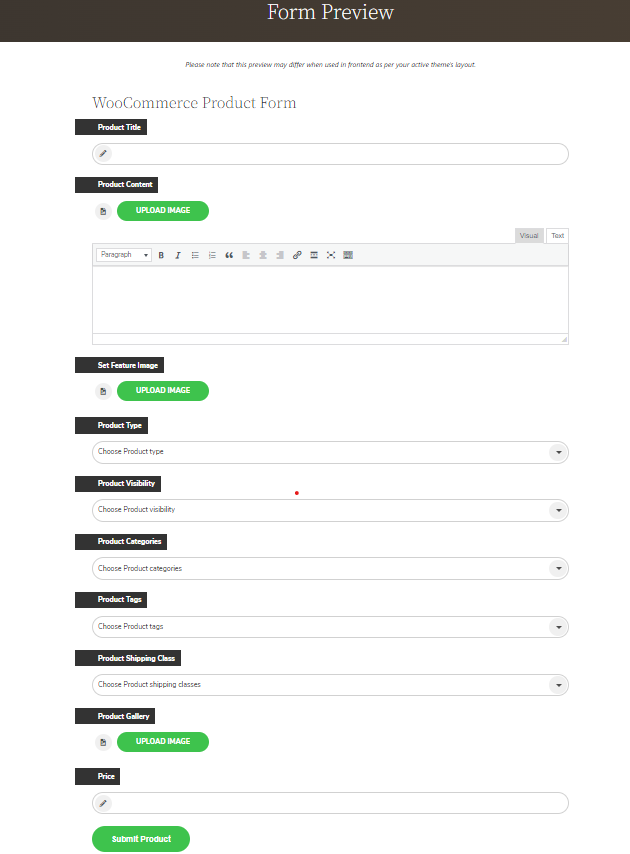
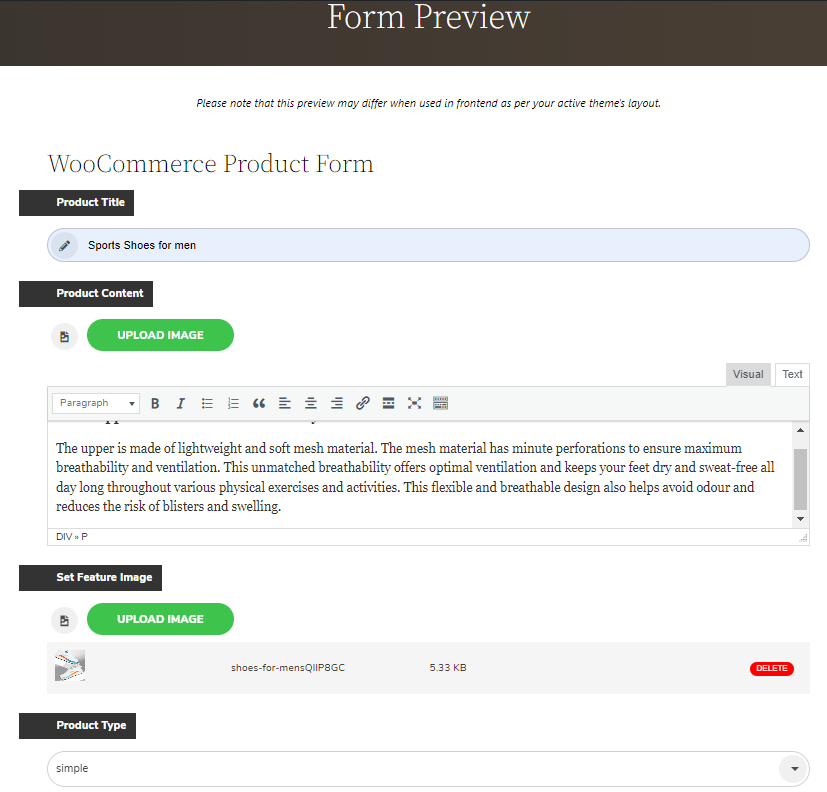
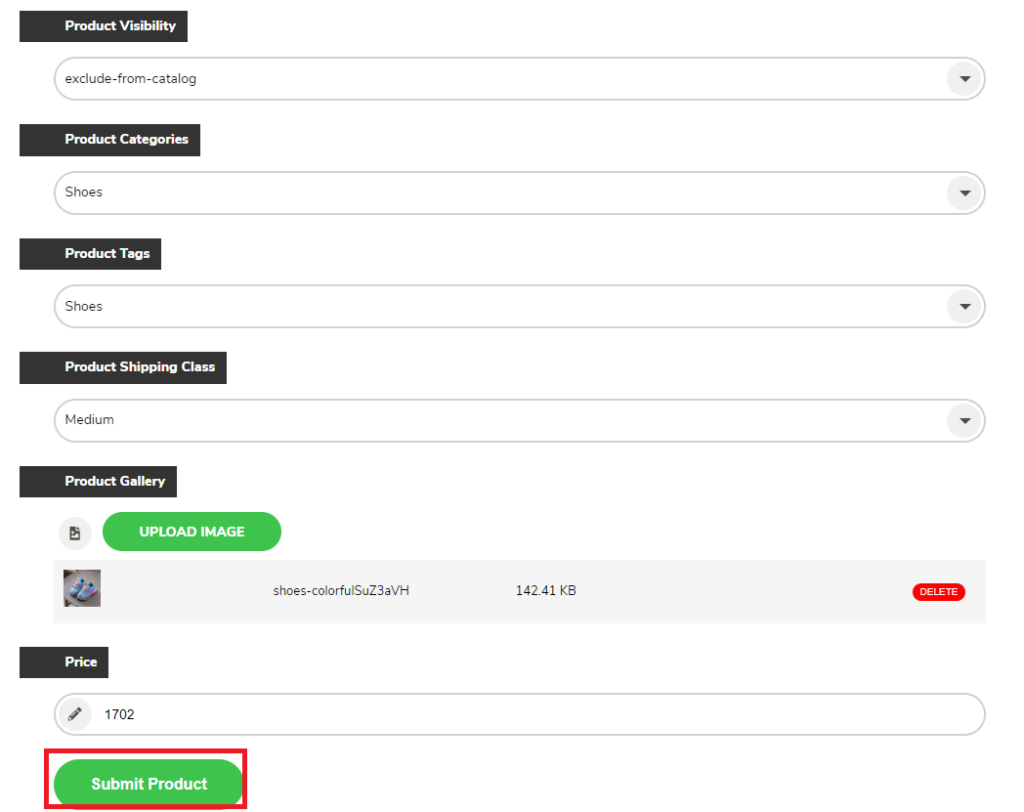
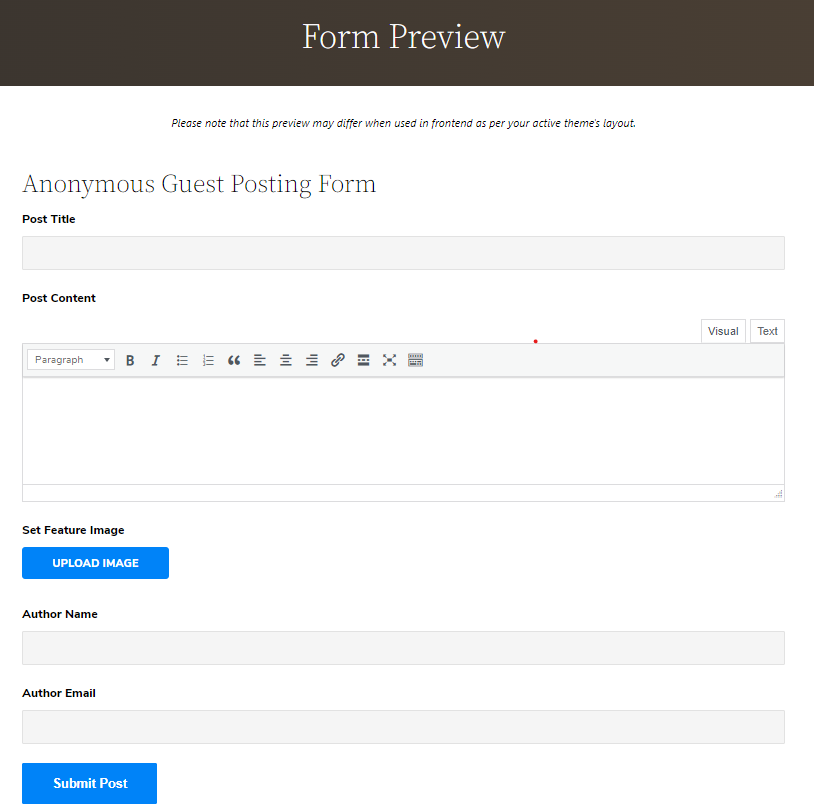
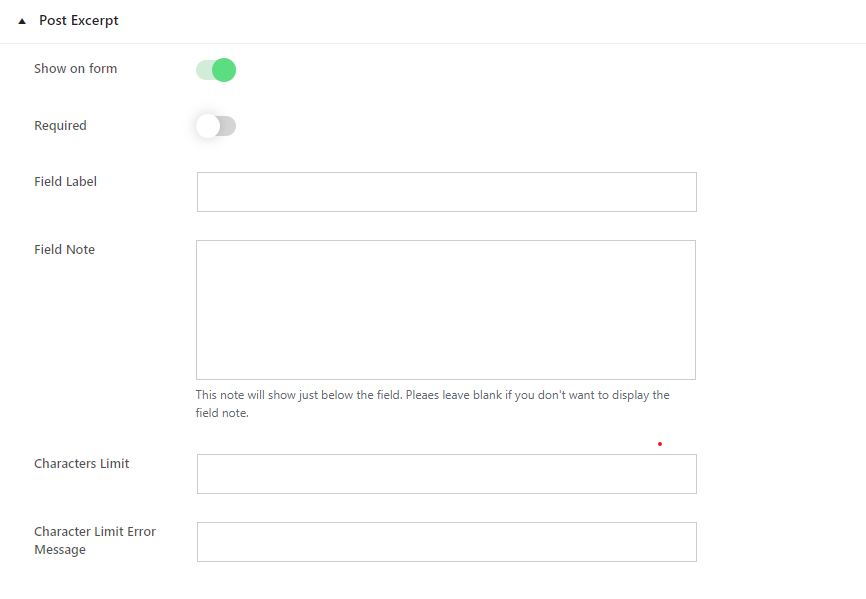
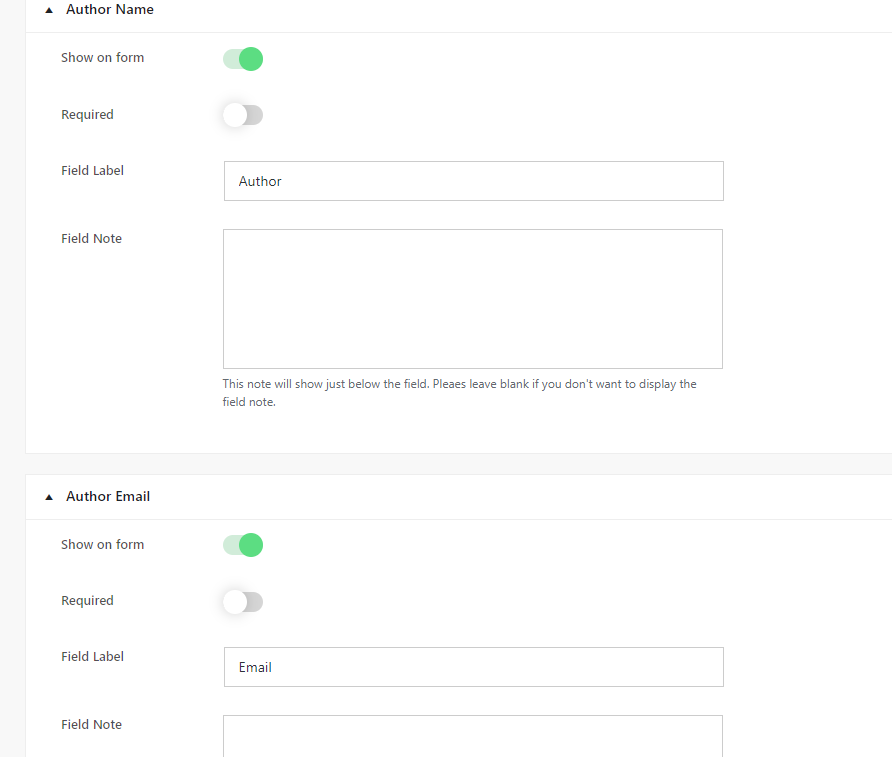
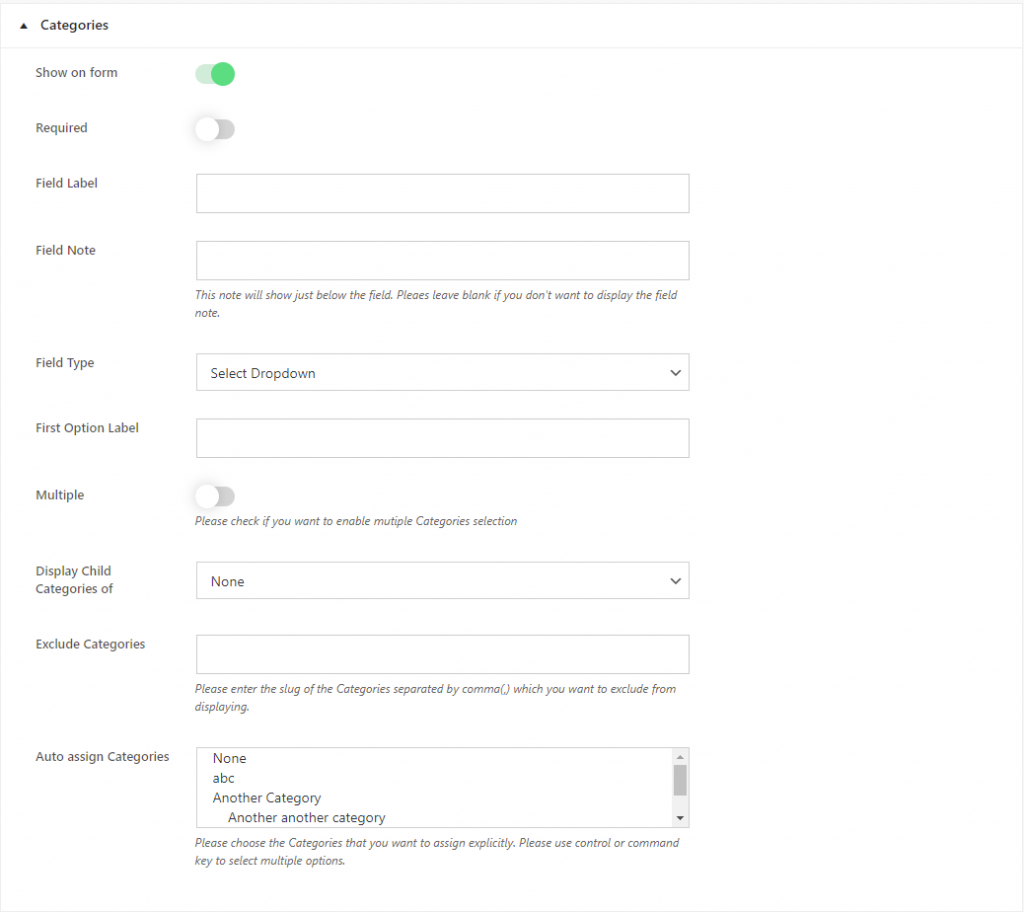
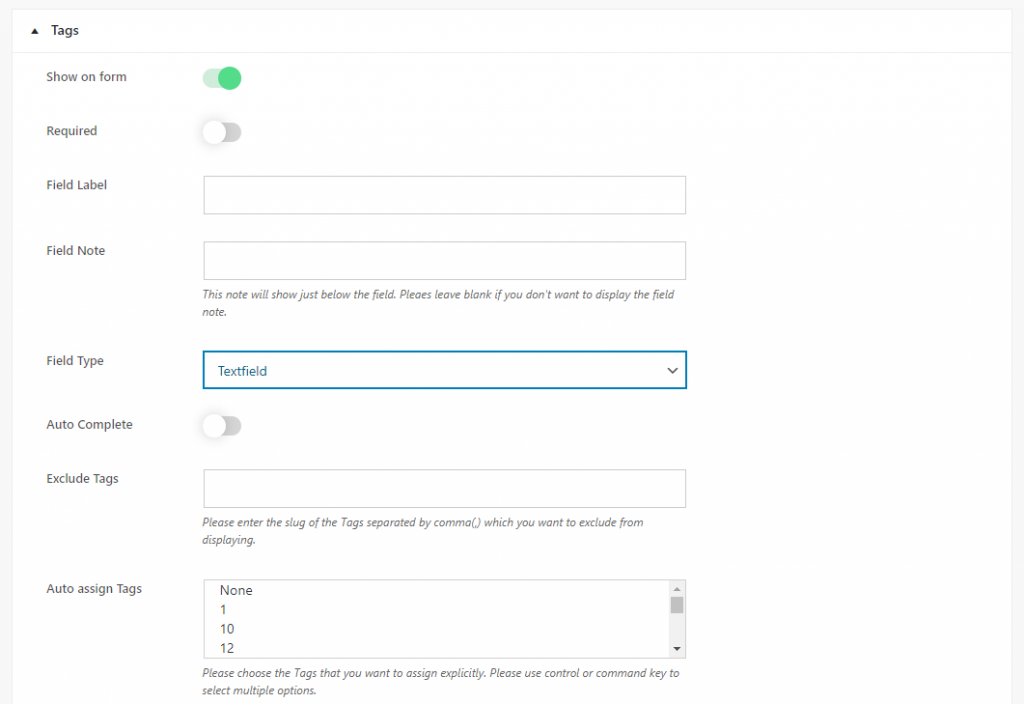
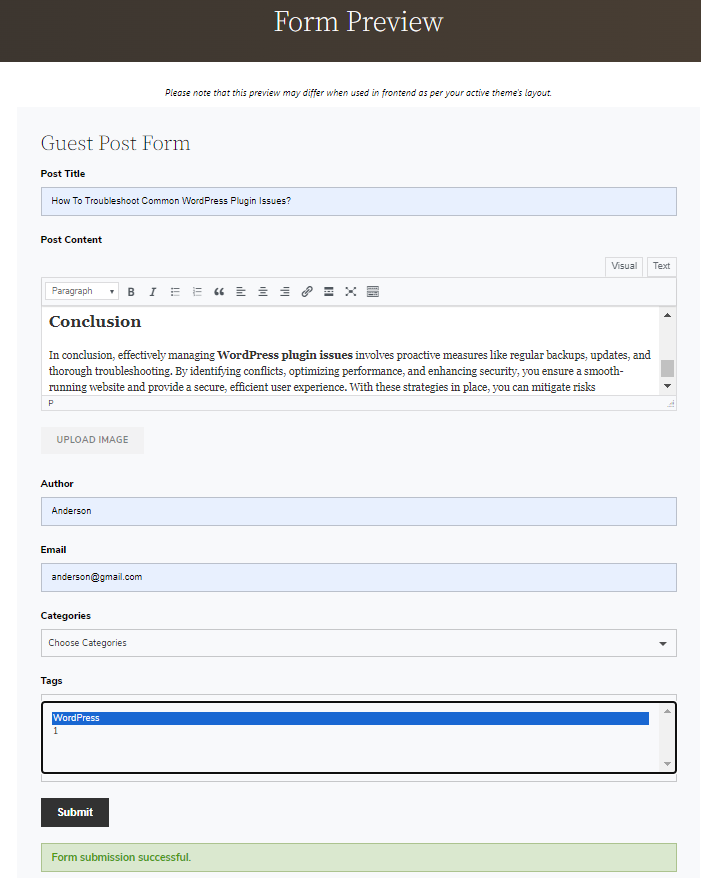
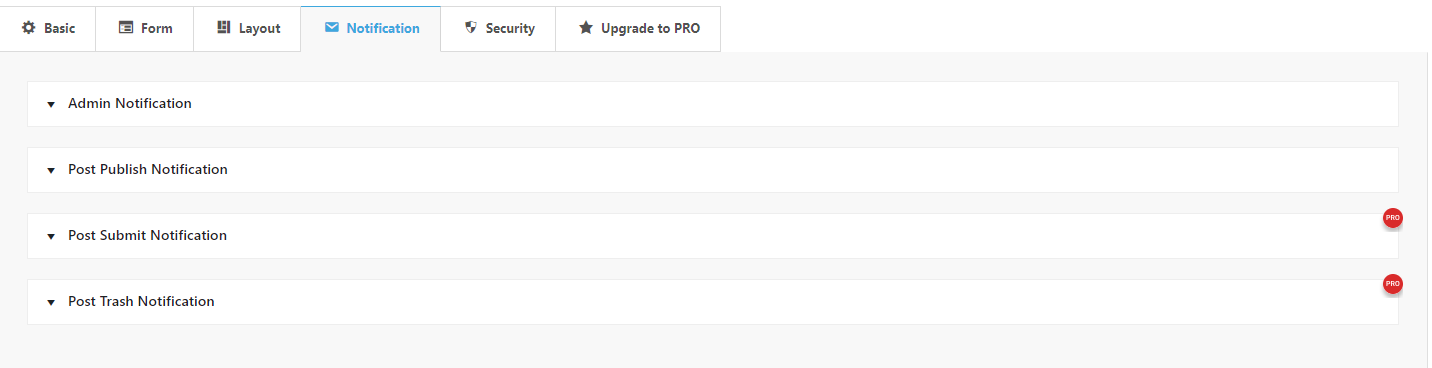
After you click “Add New Form,” it lands on the “Basic” settings tab. To proceed with creating a submission form, you need to click on the “Form” tab, which will bring up the interface displayed in the image above.
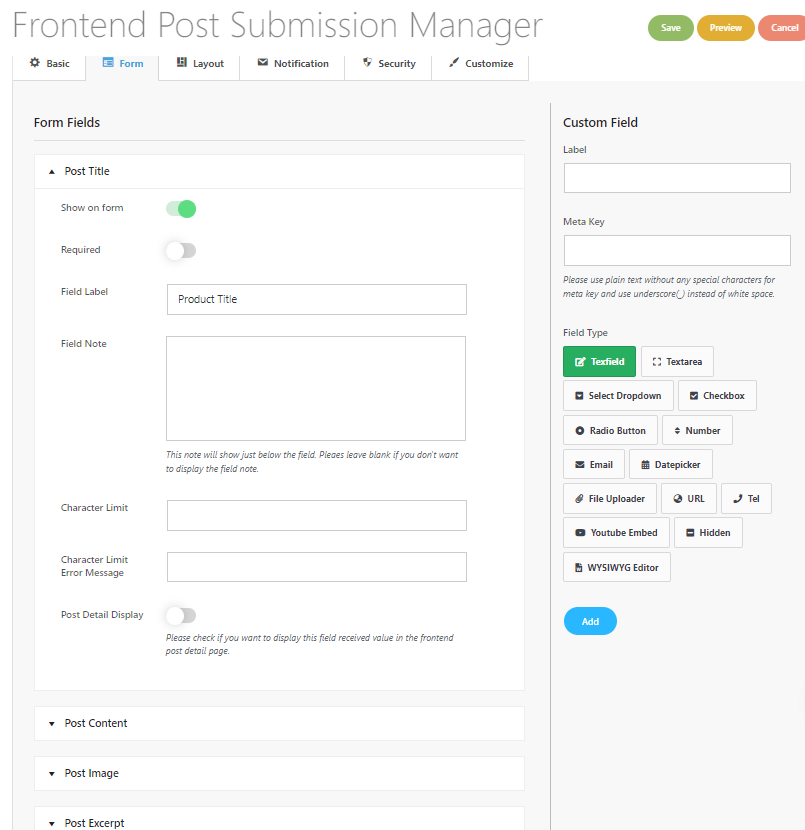
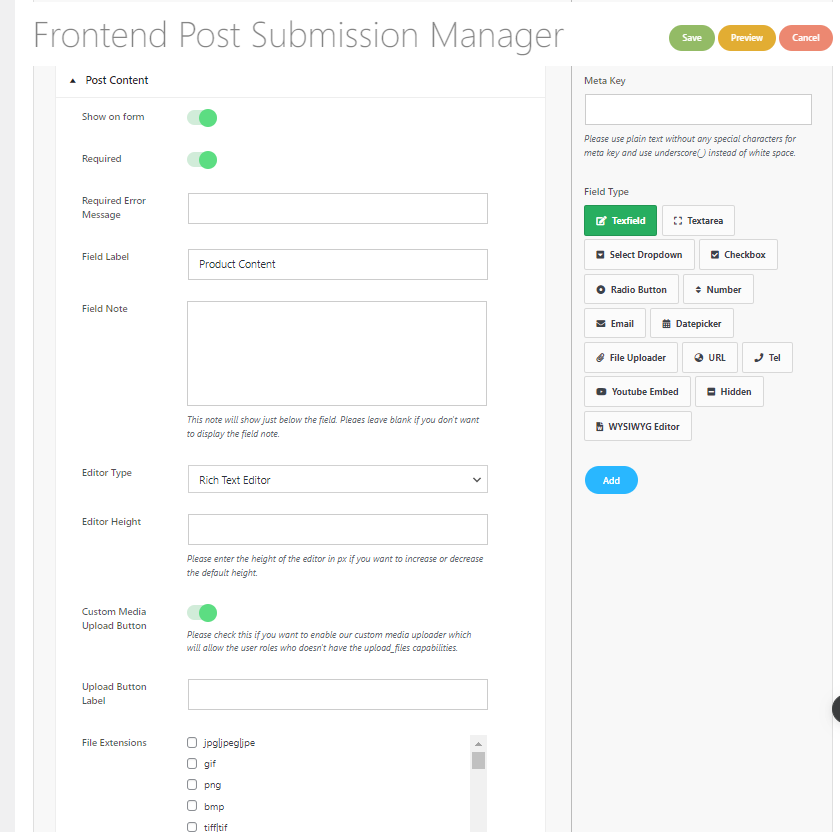
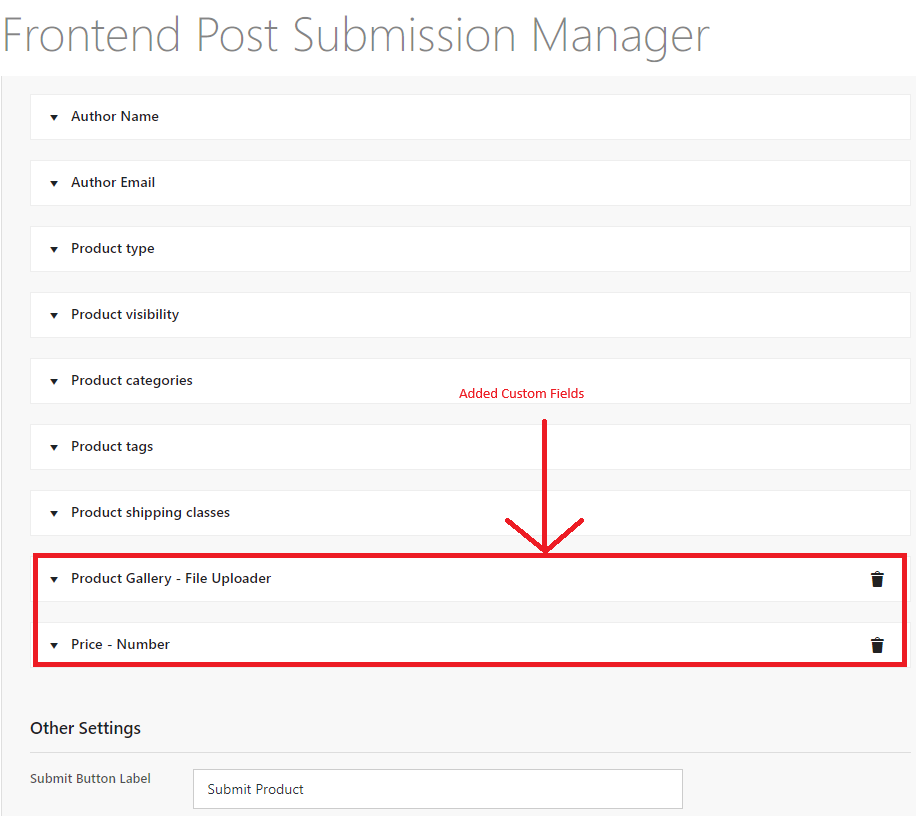
- Drag-and-Drop Interface: Use the intuitive drag-and-drop builder to add elements like text fields, file uploads, checkboxes, etc.
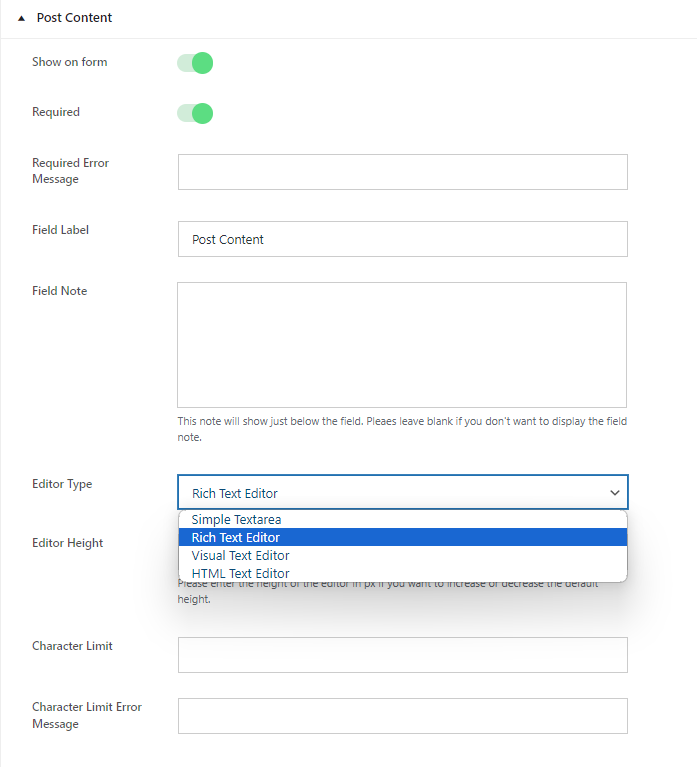
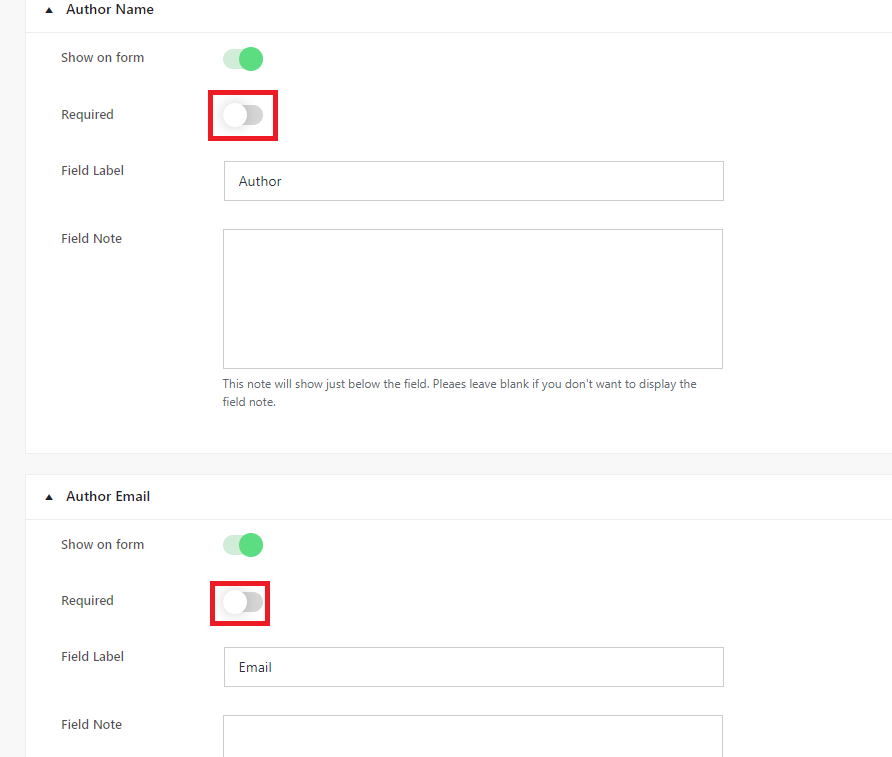
- Field Customization: Click on any form field to customize it. Adjust placeholder text, set mandatory fields, or provide specific instructions.
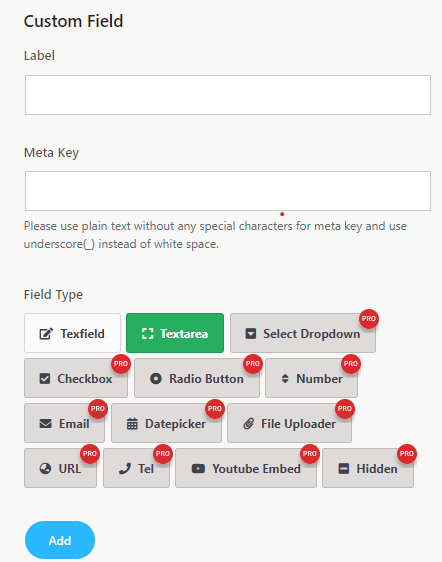
- Add Custom Fields: Add as many custom fields as needed, such as text areas, date pickers, or file uploaders.
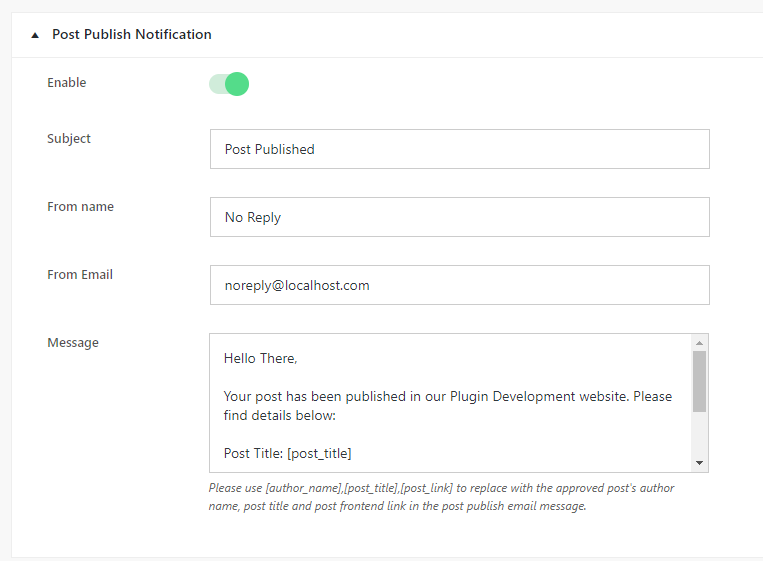
- Post Status Specific Submit Button: Customize unique submit buttons for different post statuses (e.g., Draft, Pending Review, Private, Published) to streamline the submission process.
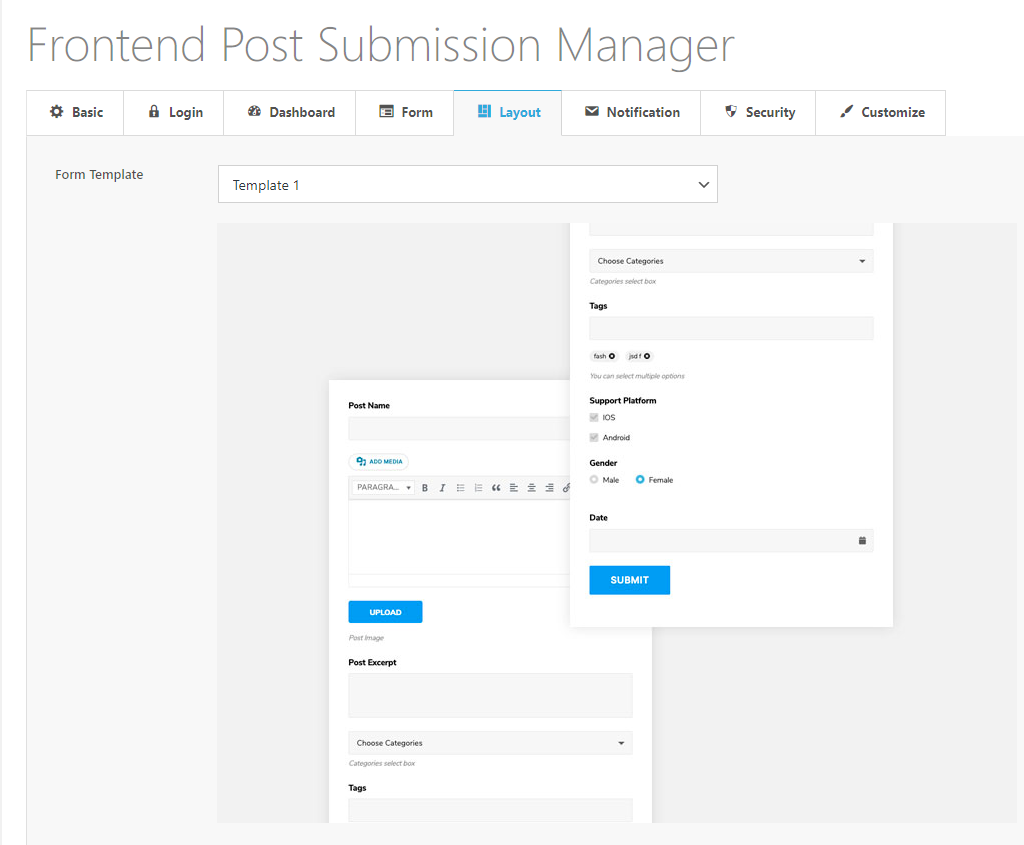
Step 4: Customize the Layout

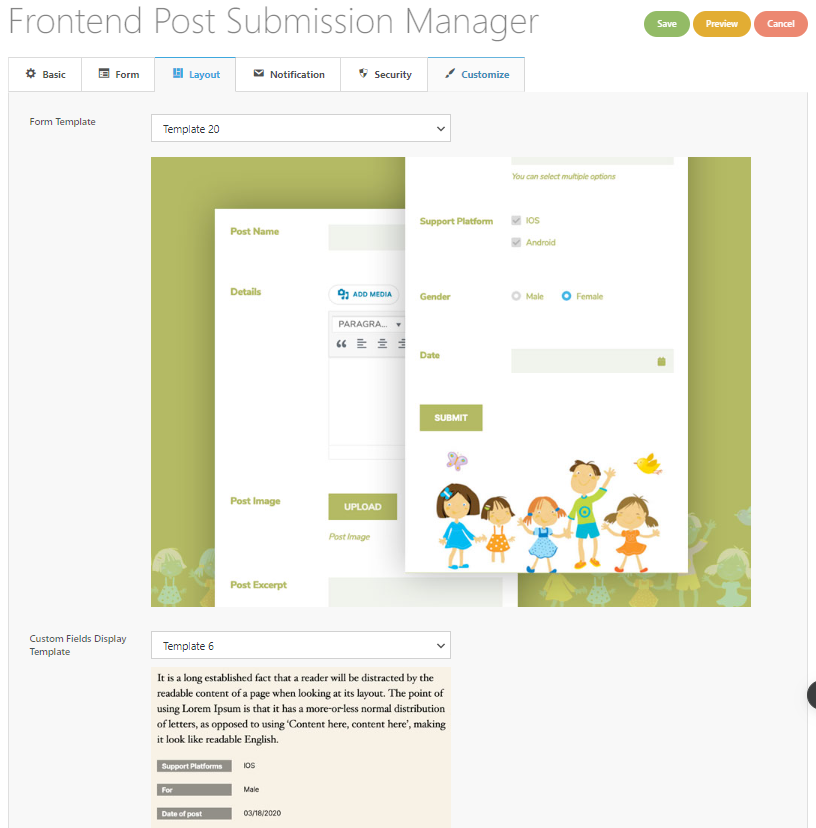
- Form Template: Choose from 22 pre-designed form templates to shape the structure and style of your form. These templates allow for easy customization and ensure consistency in form appearance.
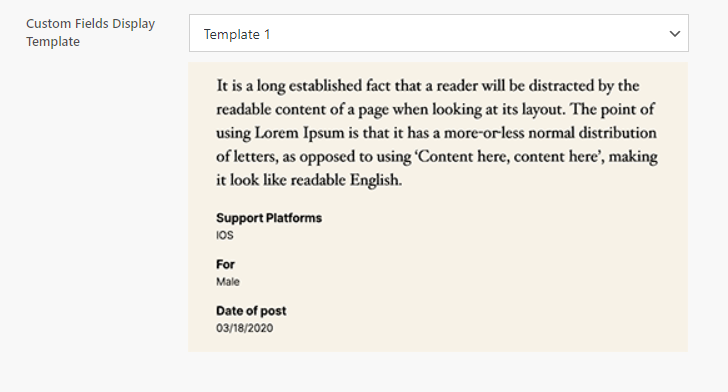
- Custom Fields Display Template: Select from 6 custom field display templates to control how custom fields are presented after submission. This allows you to maintain a clean and user-friendly display for the data collected through your form.
These options offer flexibility in both form creation and the way submitted data is shown to users.
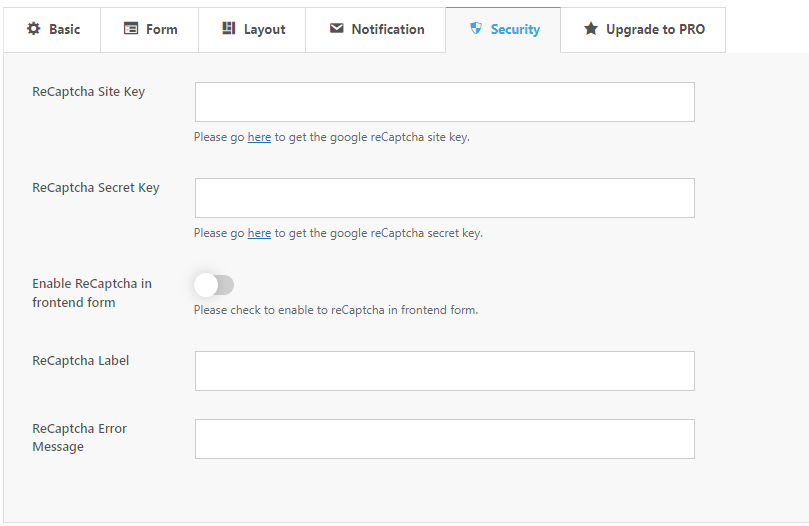
Step 5: Configure Form Security
To enhance the security of your frontend post submission form, start by integrating Google reCAPTCHA. Begin by obtaining the necessary reCAPTCHA keys. Visit the Google reCAPTCHA site to generate your site key and secret key, which are required for activating reCAPTCHA on your forms.

Once you have your keys, navigate to the “Security” tab within your plugin’s settings. Here, you’ll find fields to input your reCAPTCHA site key and secret key. Enter these keys to link your form with Google reCAPTCHA, enabling the spam protection feature.
To secure your forms, toggle the switch next to “Enable reCAPTCHA in frontend form” to activate reCAPTCHA for your frontend submission form. This will help prevent spam submissions. Additionally, if you want to add an extra layer of security to your login form, you can also toggle the switch next to “Enable reCAPTCHA in login form.”
You can further customize the reCAPTCHA settings by modifying the label text to match your website’s tone, such as changing it to “Are you human?” or any other phrase that aligns with your branding. Additionally, you have the option to customize the error message that users see if the reCAPTCHA validation fails, ensuring clear communication and helping users understand what went wrong.
By following these steps, you’ll set up a secure, user-friendly frontend post submission form that enhances engagement and simplifies content management on your WordPress site.
Conclusion
Enabling frontend post submissions on your WordPress site is a powerful way to boost engagement and content diversity. With the Frontend Post Submission Manager plugin, you can easily set up secure and user-friendly submission forms that encourage user-generated content while protecting your site from spam and malicious activity. By following the simple steps outlined in this guide, you’ll empower your audience to contribute directly to your site, streamline guest posting, and manage submissions with ease—all without compromising security.
You can also check out our documentation on the Frontend Post Submission Manager.