Do you want to submit a WooCommerce Product from the frontend of your WordPress website?
Well, you can do this with ease. You just need to follow our article.
Allowing users to submit a WooCommerce product from the front end easily can enhance user engagement and streamline the content creation process.
To achieve this, you’ll need to install a Frontend Post Submission Manager PRO plugin. This type of plugin typically offers features such as a frontend dashboard, frontend product editor, and frontend uploader for WooCommerce user profiles, product submissions, and memberships.
While there are several frontend WooCommerce product submission plugins available in the WordPress directory, let’s focus on “Frontend Post Submission Manager” for our purposes.
With this plugin, you can empower users to submit WooCommerce products directly from the frontend, providing them with a seamless experience and giving you greater control over user-generated content.
To submit a WooCommerce Product From the frontend, you must have two plugins i.e. WooCommerce and Frontend Post Submission Manager Plugin.
Table of Contents
WooCommerce
WooCommerce is an open-source e-commerce plugin that allows users to create online stores and sell products and services easily. With WooCommerce, we can create a good level of e-commerce website.
It is a free e-commerce plugin where you can have many available options i.e. you can add product categories and product tags, add galleries, add a single image, write product descriptions, set feature images, and add price & shipping. These are the options that will be available in this plugin.
To set up the WooCommerce plugin and add new products, you need to follow these simple steps which are given below:
- Go to WordPress Dashboard
- Find the plugins then move a cursor on it and click on add new plugins.
- After that search “WooCommerce”. Now, install and activate the plugins.
- Then you can see the plugin will appear in the dashboard and move a cursor on the product, then click on add a new product.
- Now create a product according to the available field and option.
- Insert the available field and create a ecommerce product and publish it.
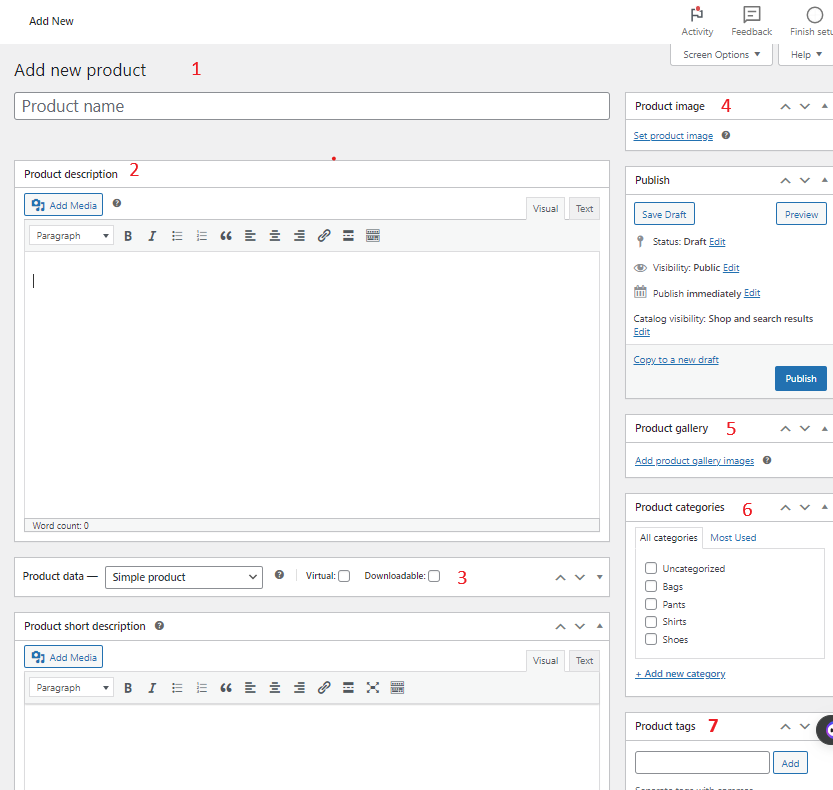
By following these steps, you can create an e-commerce product from WooCommerce plugin.
How To Submit a WooCommerce Product From The Frontend?
With the help of the Frontend Post Submission Manager Plugin, you can submit a WooCommerce product from the frontend.
As I know there are many available plugins where we can allow users to add a WooCommerce Product from frontend. So, here I am using the plugin i.e. “Frontend Post Submission Manager” pro version.
For the Pro version, click on the provided link-> Frontend Post Submission Manager
After receiving the plugin files from the given link,
- Unzip the file downloaded plugin from codecanyon. You can download all your purchased files from https://codecanyon.net/downloads
- Upload all the files to the /wp-content/plugins/frontend-post-submission-manager
- Activate the plugin through the ‘Plugins’ menu in WordPress.
- For customizing the plugin’s settings, click on the Frontend Post Submission Manager option menu in the WordPress left admin menu.
OR
- Open your Dashboard-> Plugins-> Add New
- Click on Upload Plugin
- Click on Choose File
- Select the file codecanyon-ESwvLHUm-frontend-post-submission-manager.zip file and click Install Now
- Once the plugin is installed click on Activate Plugin
- Once you are done, to customize the plugin’s settings, click on the Frontend Post Submission Manager option menu in the WordPress left admin menu.
After activating the plugin, the plugin will appear on the dashboard.
Now move a cursor on it and click on add new form.
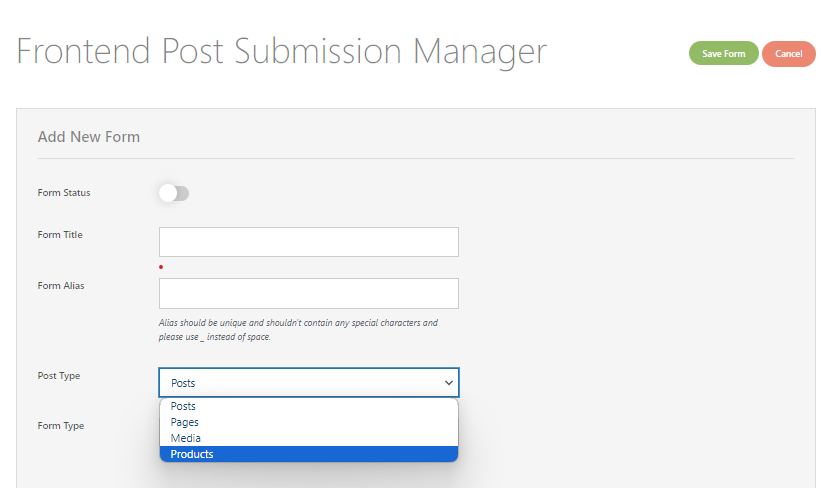
Then you can see a form with fields and options. Now insert the field and select the option.
Here you need to select a product option in the form type. When the user submits the WooCommerce product form from the frontend, it will be added to the product post.
After that select a form type according to your needs so the user can submit the product with or without logging in.
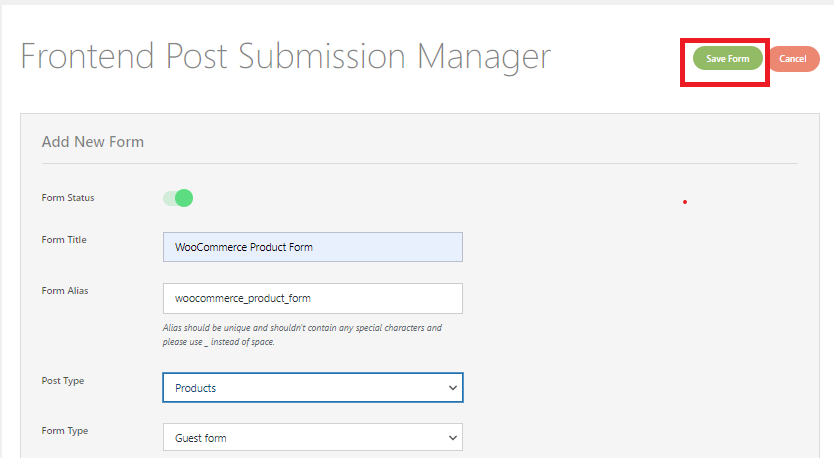
After inserting the fields and selecting the options, click on the save button.
Now go to the dashboard and click on all forms.
Here you can see the list of forms. Now click on the form you recently created.
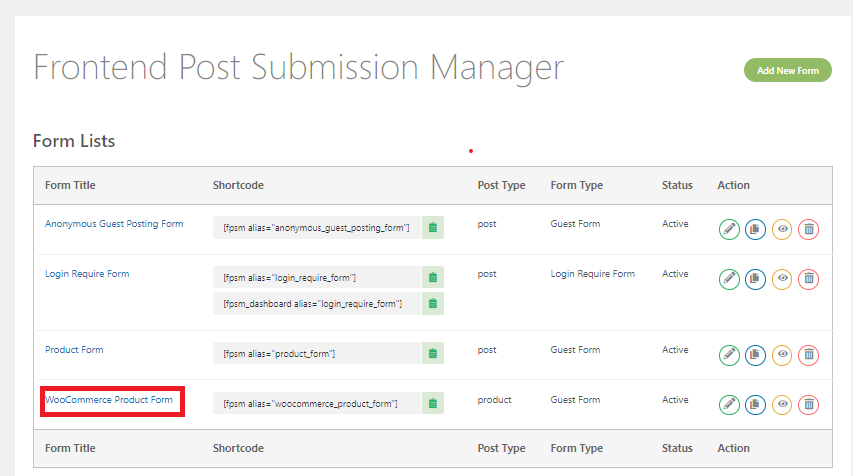
After clicking on the form, many fields and options can be seen on the basic setting.
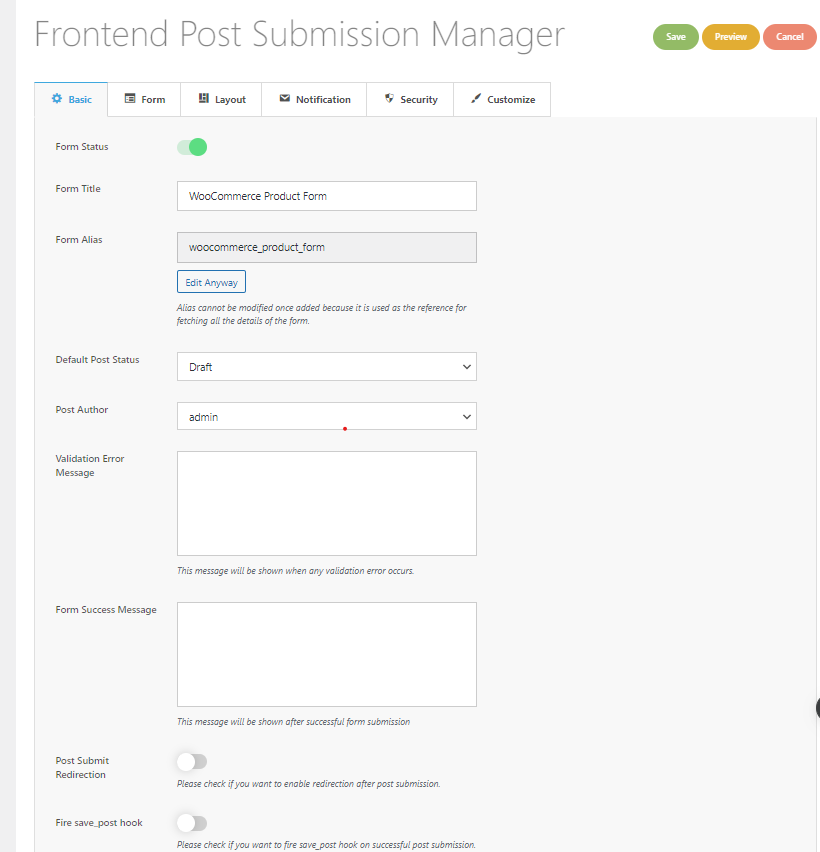
Basic Setting
Here you need to manage the basic settings by inserting text and selecting the available options.
You can read this for full setup -> How To Set Up Guest Posting For Your WordPress Website?
After completing the basic settings, we will move forward to form settings where we can create a form that allows users to submit a WooCommerce Product from the frontend.
Form Setting
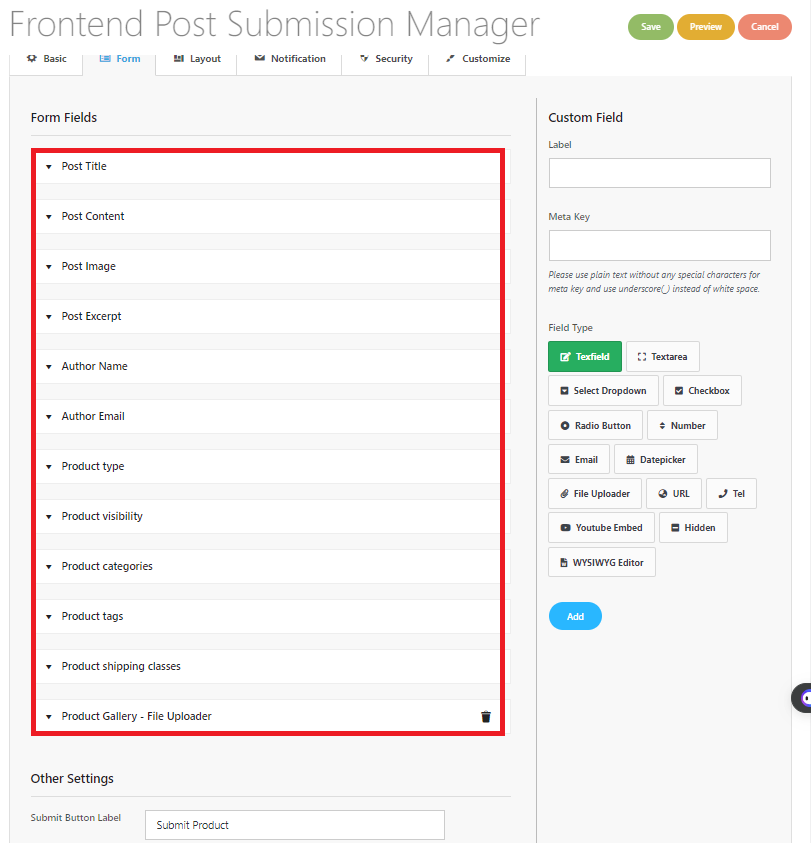
As you can see there are many form fields available in the form settings.
Now open the form fields one by one, insert the text, and select the option provided in the form.
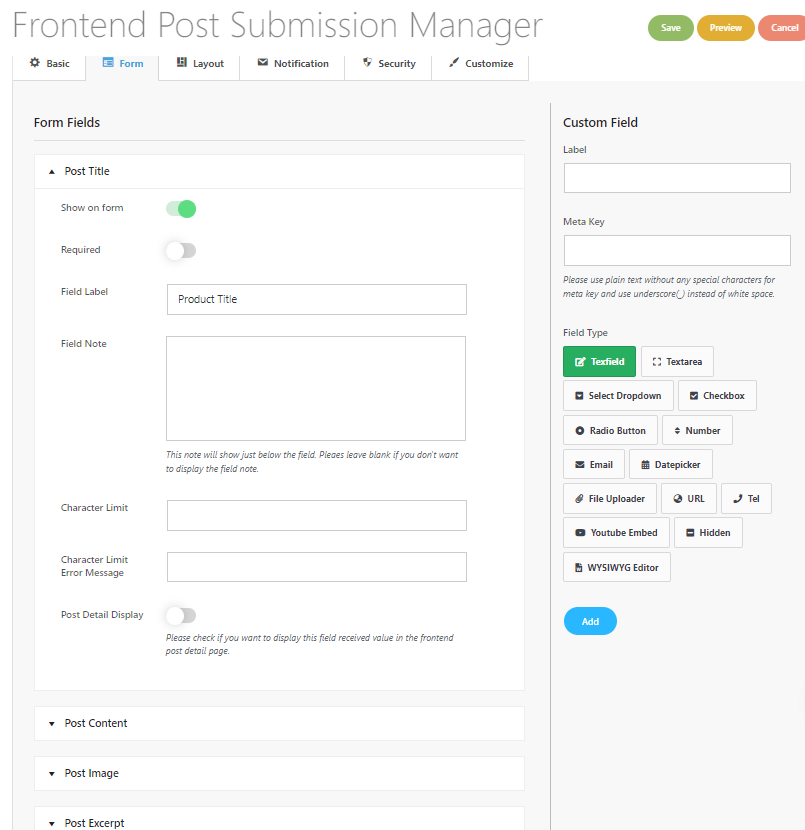
Post Title
In this field, you can show or hide a form field with a switch.
You can also choose if it’s necessary to fill in or not.
Then, you’ll see a text field for the ‘Field Label’ (what it’s called) and ‘Field Note’ (extra info).
You can also limit how many characters can be used in the post title.
If someone writes too much, you can set up a message to let them know.
Post Content
In post content, here are the available options and steps to follow:
- Open the “Post Content” Field: Go to the form editor and find the “Post Title” field.
- Choose Editor Type: In the options for “Post Content,” pick the editor type you want:
- Simple Textarea: Basic text area without editing tools.
- Rich Text Editor: WYSIWYG editor with HTML and visual versions, including text editing tools.
- Visual Text Editor: WYSIWYG editor with only a visual version, no HTML.
- HTML Text Editor: WYSIWYG editor with only an HTML version, no visual interface.
3. Set Character Limit (Optional): If needed, set a character limit for the post content.
4. Save Changes: Once you’ve configured everything, save your changes to apply them to the form field.
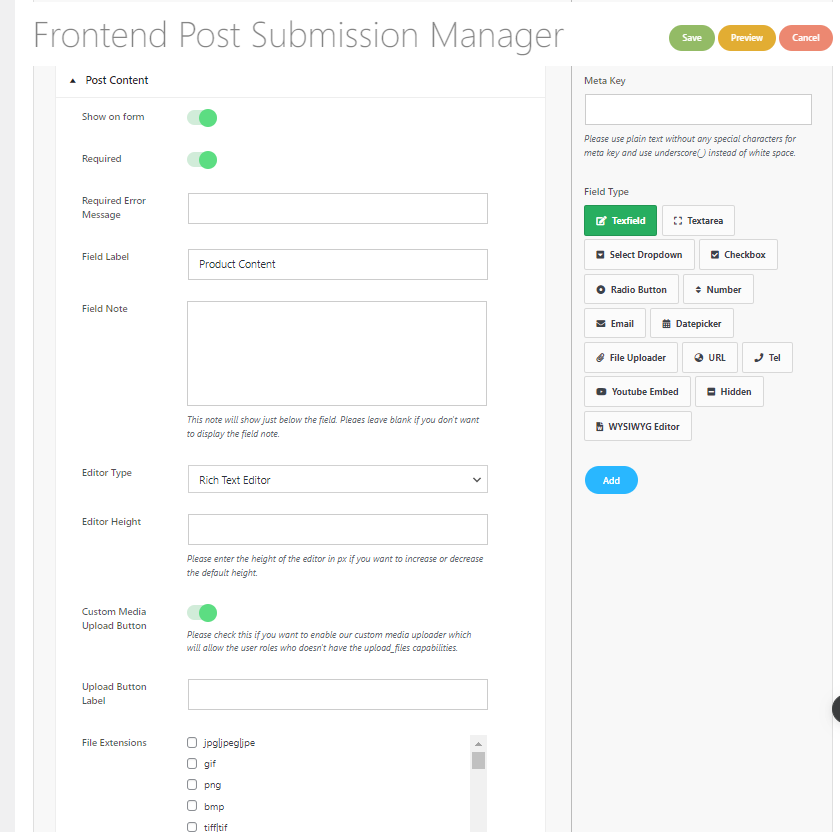
5. Enable Media Upload (Optional): If needed, enable the “Media Upload” option. This allows users with appropriate permissions to upload supported file types directly from the Visual or Rich Text Editor.
6. Select the file extension type according to your need.
Follow these steps in all the fields that are available in form fields. For Detail -> Click here!
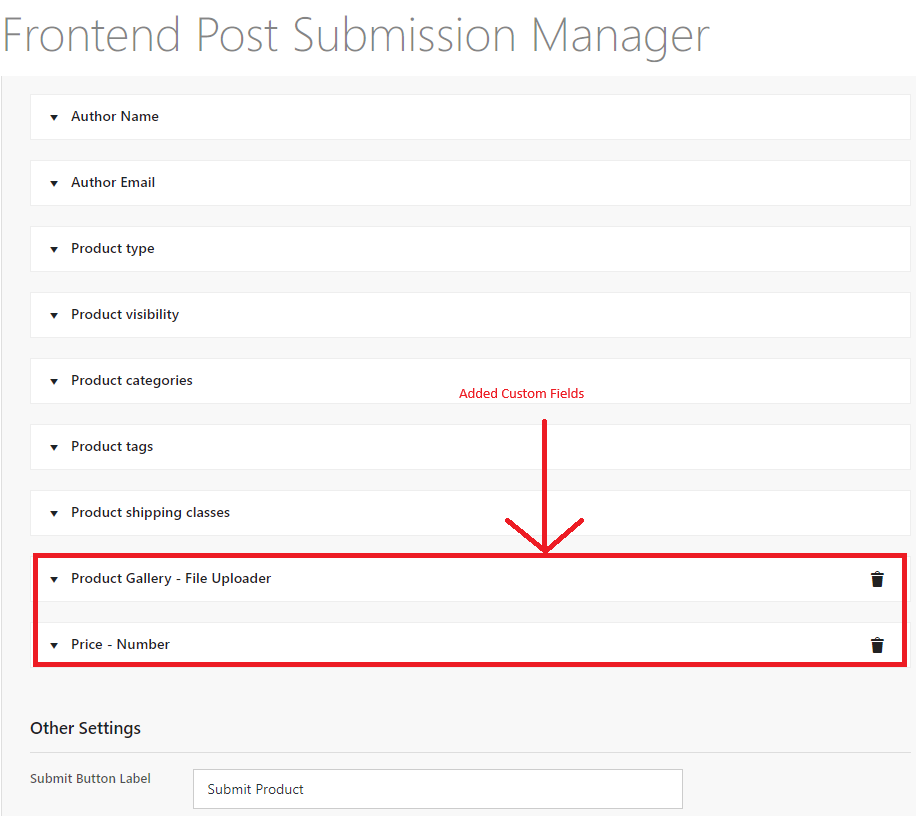
Now, we will make some custom fields for product price.
You can see a custom field on the right side of the form field. For the Price field use “_price” as a meta key so the price will be displayed in the price column of the product post.

Now make the custom field according to the above picture and click on the add button.
After clicking on the add button, on the left side, you can see the custom field was created.
After completing all the form fields of the form settings, click on the save button.
Now we will be heading toward the layout settings.
Layout Setting
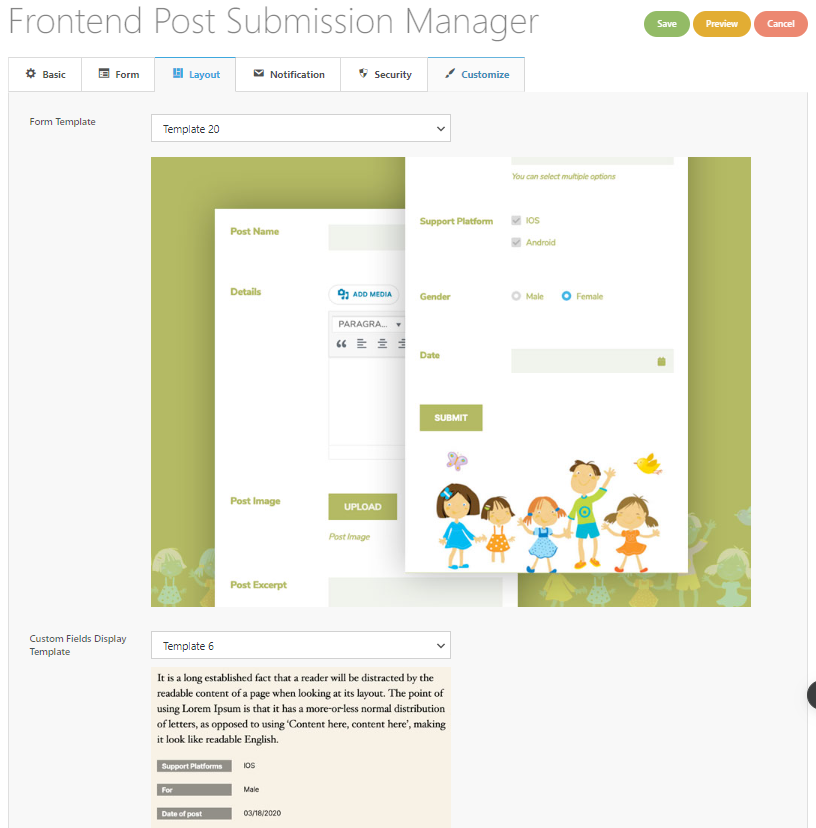
Under this setting, you can choose 20 different form templates for form and 6 different custom field display templates for your form.
Choose the form templates and custom fields display templates according to your needs.
After that click on the save button.
Using the shortcodes
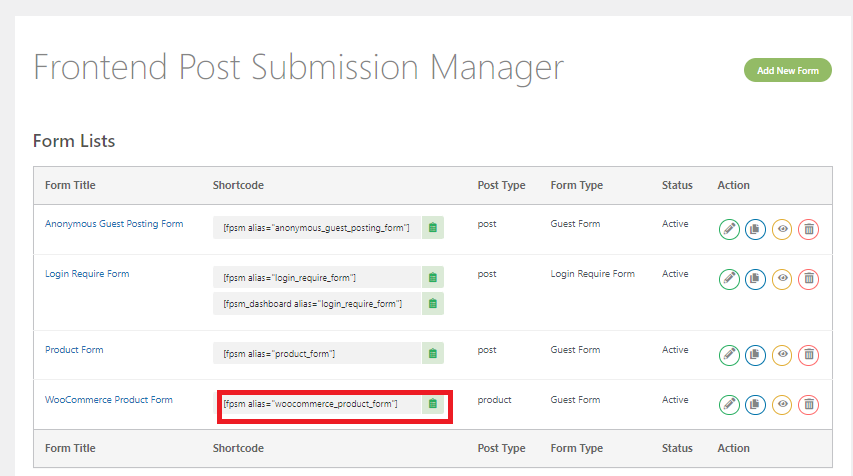
Now copy the shortcodes from the form list.
Go to the pages -> click on add new pages, insert the shortcode, and publish it.
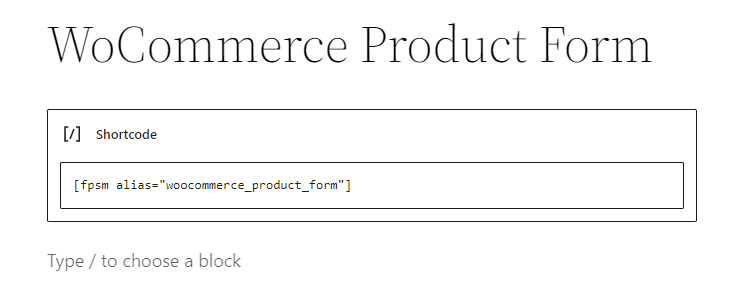
Now it will create a form in the frontend. Now, click on Preview to see the form.
Preview
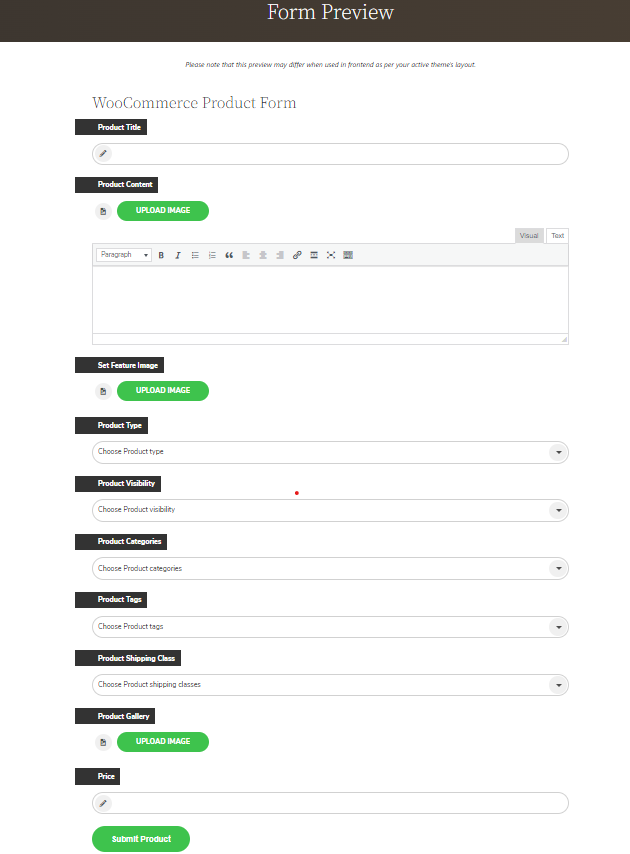
When a user fills up the form and submits the post. This is how the form will look like.
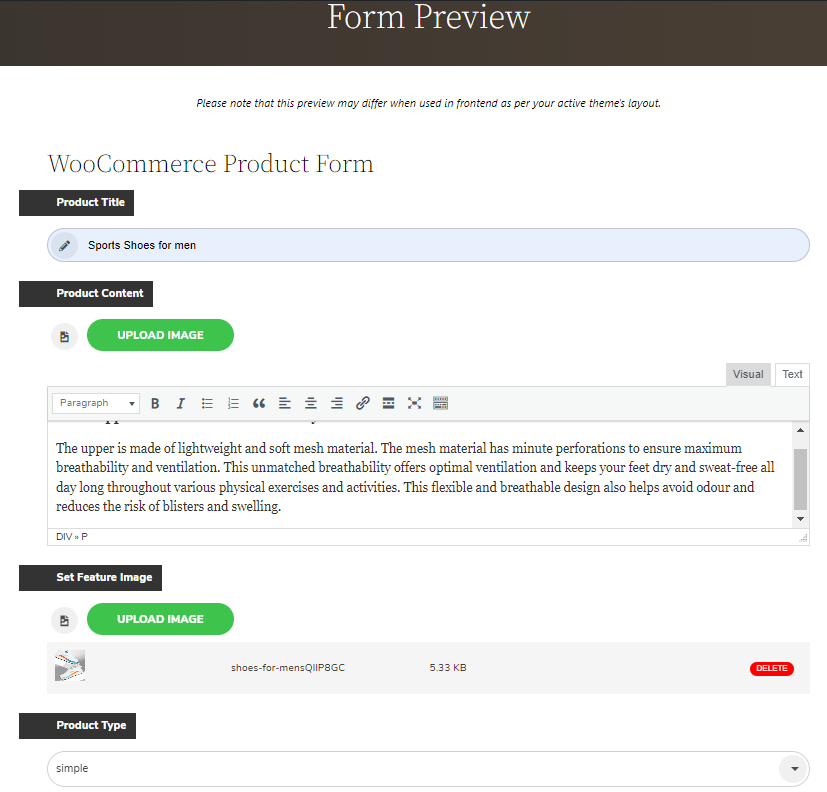
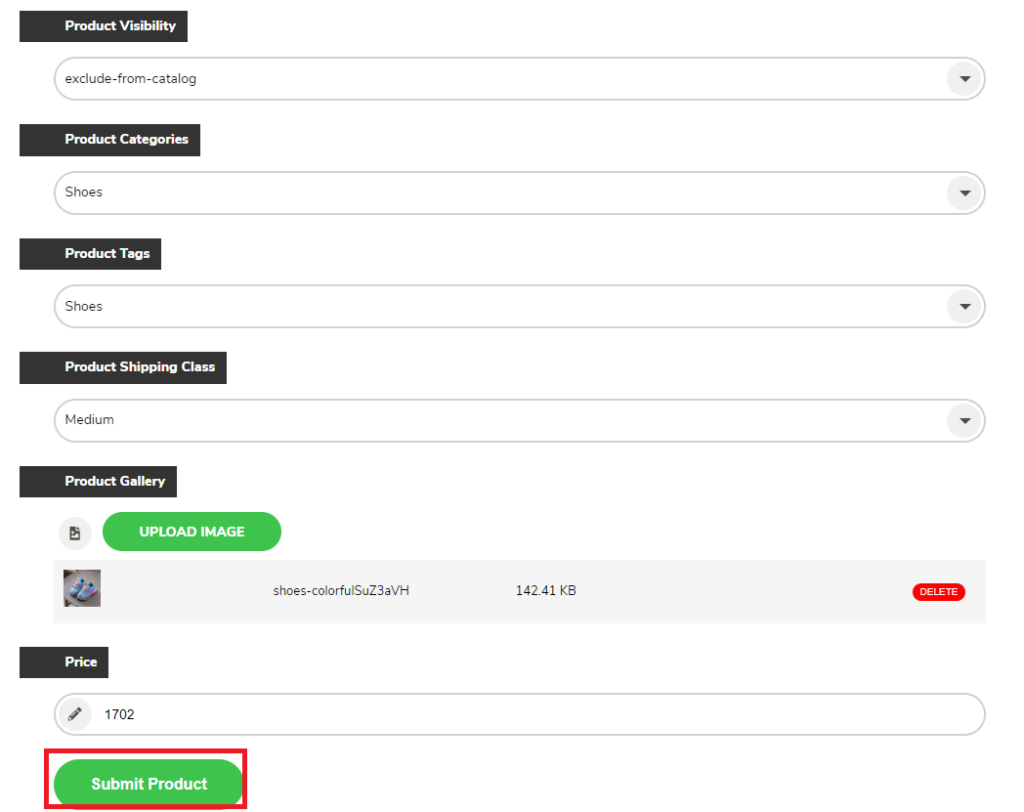
After inserting and selecting the form field click on “submit product”.
Now, go to the admin dashboard and click on the product.
As you can see the product submitted from the frontend was now added to the product post as a draft.
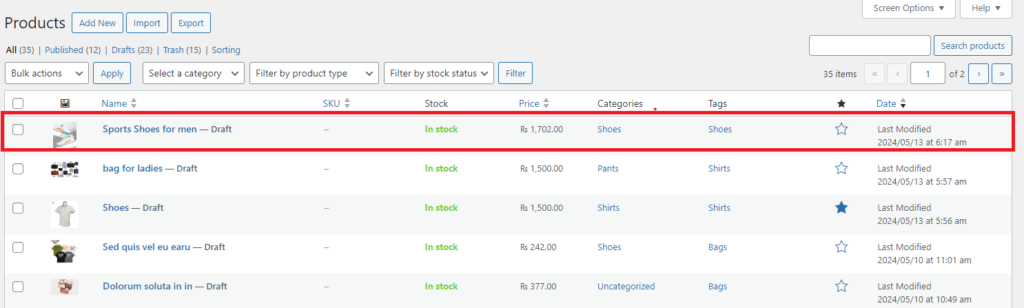
Now click on it and edit the post that was submitted by the user from the frontend and publish it.
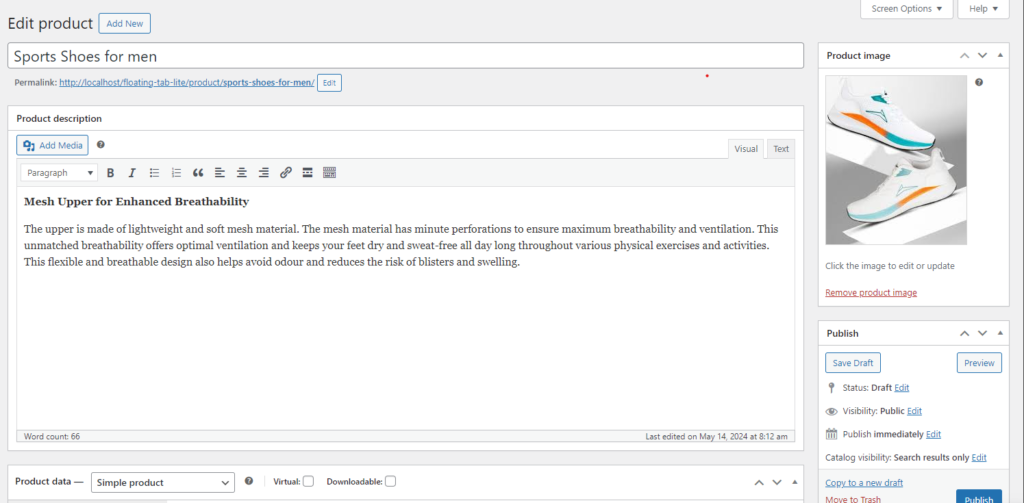

This is how the product looks like when it was published.

By following these steps, you can submit a WooCommerce product from the frontend by using the Frontend Post Submission Manager plugin seamlessly into your WordPress site.
Conclusion
In conclusion, enabling frontend product submissions in WooCommerce can significantly enhance user engagement and streamline content creation. By using plugins like Frontend Post Submission Manager PRO, users can seamlessly submit products from the frontend, enriching your e-commerce platform’s offerings. Following the steps outlined in this guide, you can efficiently set up and customize the submission process, empowering users to contribute directly to your online store from the frontend interface. This improves user experience and gives you greater control over user-generated content, ultimately contributing to the success of your WooCommerce-powered website.