Installation
- Upload the plugin files to the /wp-content/plugins/wp-subscription-forms directory, or install the plugin through the WordPress plugins screen directly.
- Activate the plugin through the ‘Plugins’ screen in WordPress
- Use the WP Subscription Forms settings page to configure the plugin
Basic Setup
As soon as the plugin is installed and activated, you will be able to view the WP Subscription Forms menu in the left admin menu. And you can then click on that menu to see the list of subscription forms.
In this section you can view the list of all the subscriptions forms that have been created.

To add a form, you can click on Add Subscription Form sub menu inside the WP Subscription Forms menu and then configure the form as per your need.
There are 4 different settings section needed to configured while creating a form as below:
- General Settings
- Form Settings
- Layout Settings
- Email Settings
General Settings
In general settings, you can configure all the basic settings for the form such as Form Title, Form Alias, Double opt-in etc.
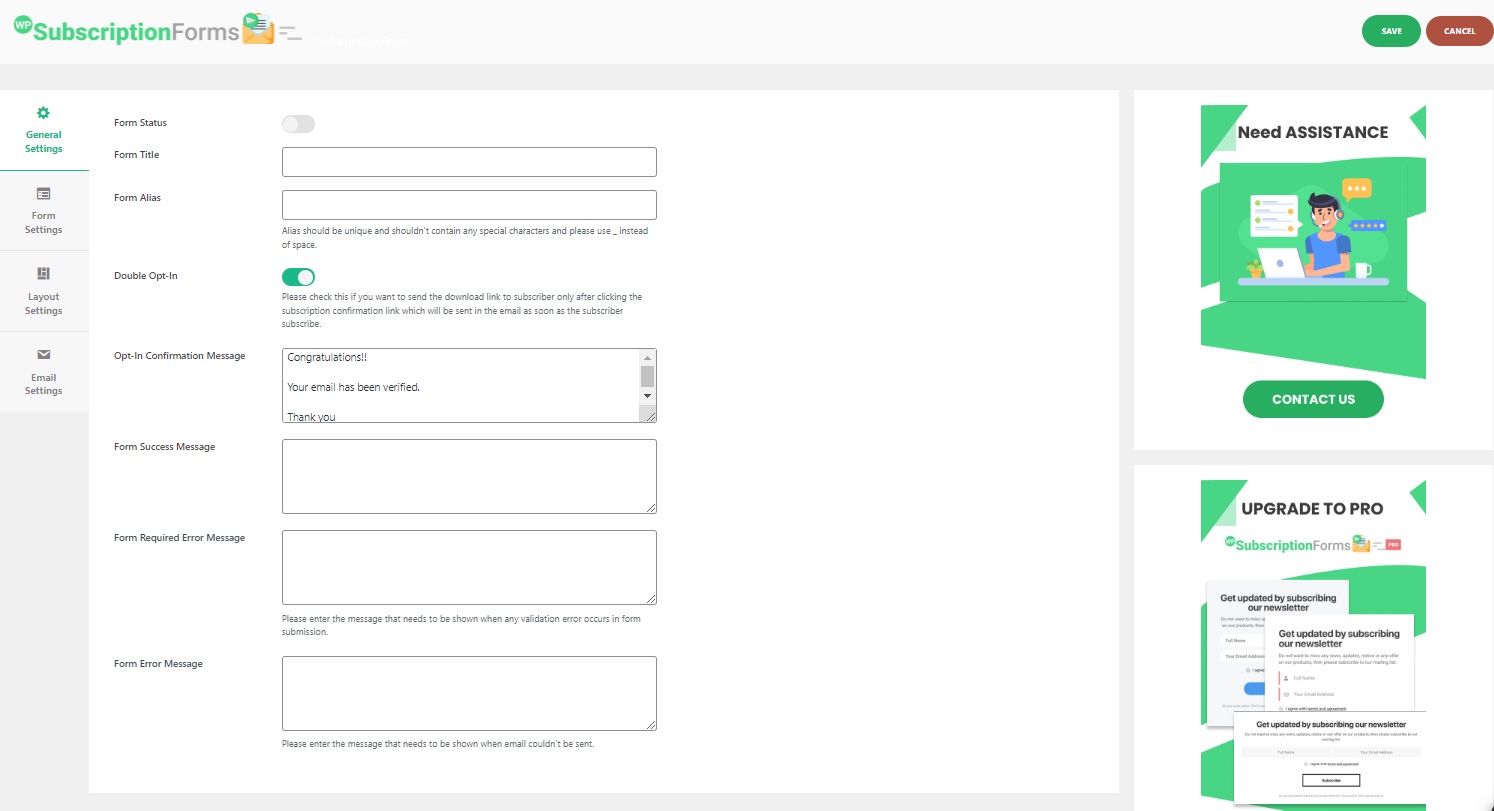
Here are the description of individual options available in the general settings.
1. Form Status - This will enable and disable the form in the frontend.
2. Form Title - This is the main title of the form for the recognition of the form everywhere.
3. Form Alias - This is the nickname of the form which will be used in the shortcode. This shouldn't contain any special characters and space. You can use underscore(_) instead of space while entering the alias and should be unique i.e the same alias shouldn't be repeated in multiple forms.
4. Double Opt - In - This is the new option which we had added in our Plugin Version 1.0.5. With the use of this option, you can enable the double opt in feature in form which means the entered email address won't get stored in the Site's Database and won' t receive the download link until they confirm their subscription through email.
After enabling this option, the confirmation link will be sent to the subscribers as soon as they subscribe in the site.
- Opt - In Confirmation Message - This is the message which will shown to users in your site as soon as they click the confirmation link that is sent in the email. You can configure the confirmation email message in the Email settings which we will describe later within this documentation.
5. Form Success Message - This is the message shown to the users when subscription is successful.
6. Form Required Error Message - This is the message shown to the users if users don't fill all the necessary required fields.
7. Form Error Message - This is the message shown to the users if the email couldn't be sent to users due to invalid email or any other server related reason.
Form Settings
In this section you can configure all the form components that are available in the subscription forms. You can enable/disable and configure labels for each field.
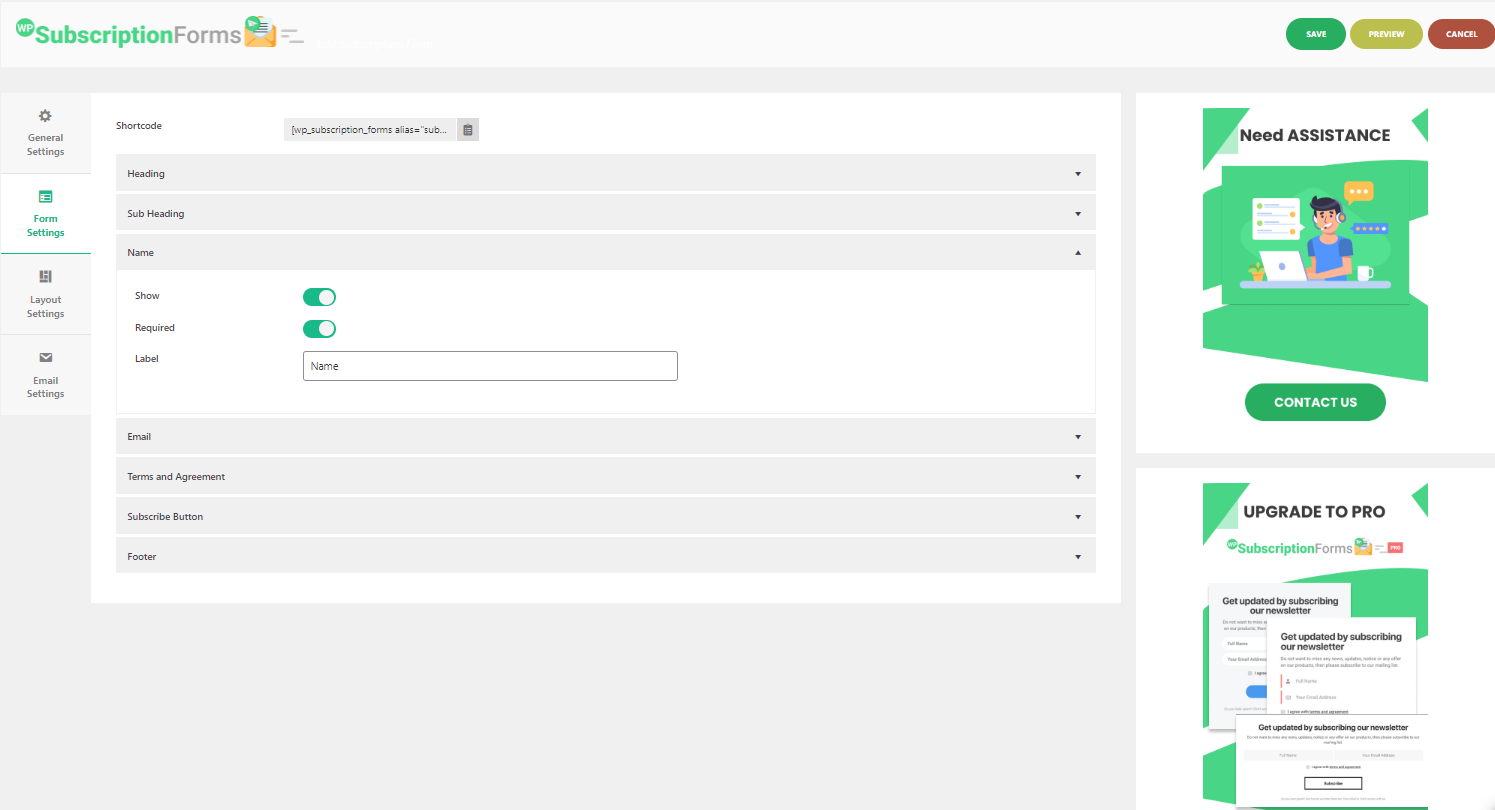
Below are the available form components.
- Heading
- Sub Heading
- Name
- Terms and Agreement
- Subscribe Button
- Footer Text
Layout Settings
In this section, you can configure necessary settings related with the layout of the form. You can choose any one templates from our 10 beautiful pre-designed templates.
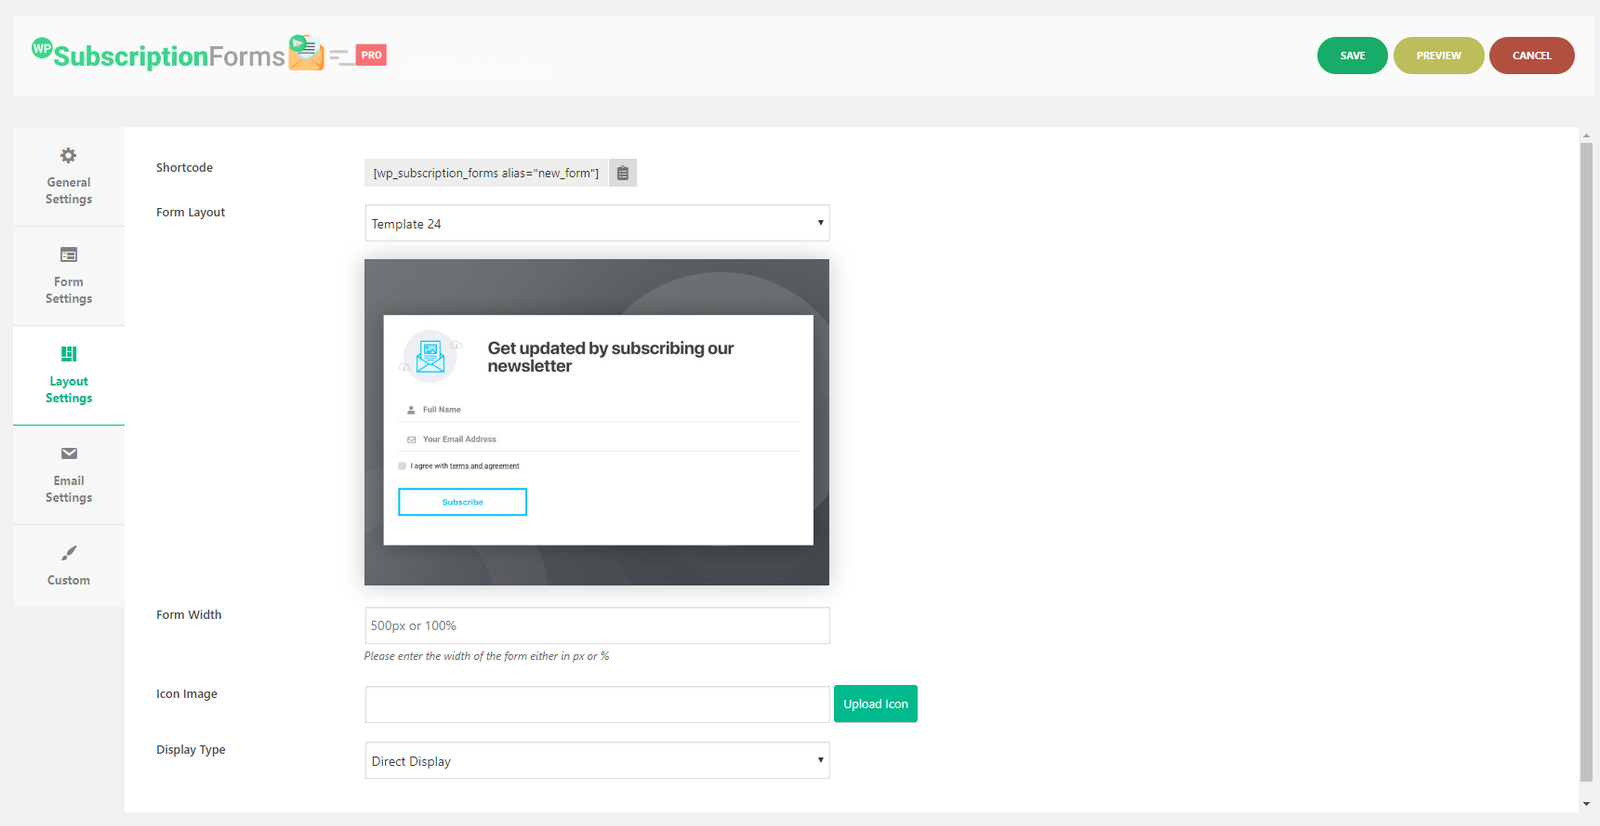
Here are the options available in this section:
- Form Layout - This option includes the dropdown of all the available pre designed templates from which you can choose one. There are 10 template available currently which can be checked through selecting each template.
- Form Width - By default each template has been provided certain specific width for each template but in case you want to customize the width then you can enter your desired width in px or in % as per your requirement.
- Display Type - There are two display types currently. One is Direct Display and Another one is Popup Display Type. So if you want to display the form directly when the page is loaded then you can choose the Direct Display and if you want the users to display the form in Popup through Popup Trigger then you can choose Popup Display.
- Popup Trigger Text - This option will only show when you will choose the Popup Display as the Display Type.
Email Settings
In this section, you can configure all the necessary email related configurations such as "From Name", "From Email" etc.

Here are the available options insdie this section:
- From Email - In this field you can enter the email that will be used as the from email while sending any email through our plugin such as confirmation email, download link email. While entering the From Email, please make sure you don't enter the email that resembles the real person email which might land the email into the spam or junk. You can enter email such as noreply@yourdomainname which won't resemble any real person email.
- From Name: "From Name" is also used as while sending any email through our plugin. As similar with "From Email", you should enter the value that won't resemble any real person's name such as "No Reply".
- Confirmation Email Subject - Set the subject of the confirmation email. This is the email sent to subscribers to confirm their subscription.
- Confirmation Email Message - Enter the message content.
Subscribers List
In this section, you can view all the subscribers that have subscribed through the different subscription forms and also filter the subscribers as per the different subscription forms and also export them to CSV for further external use.

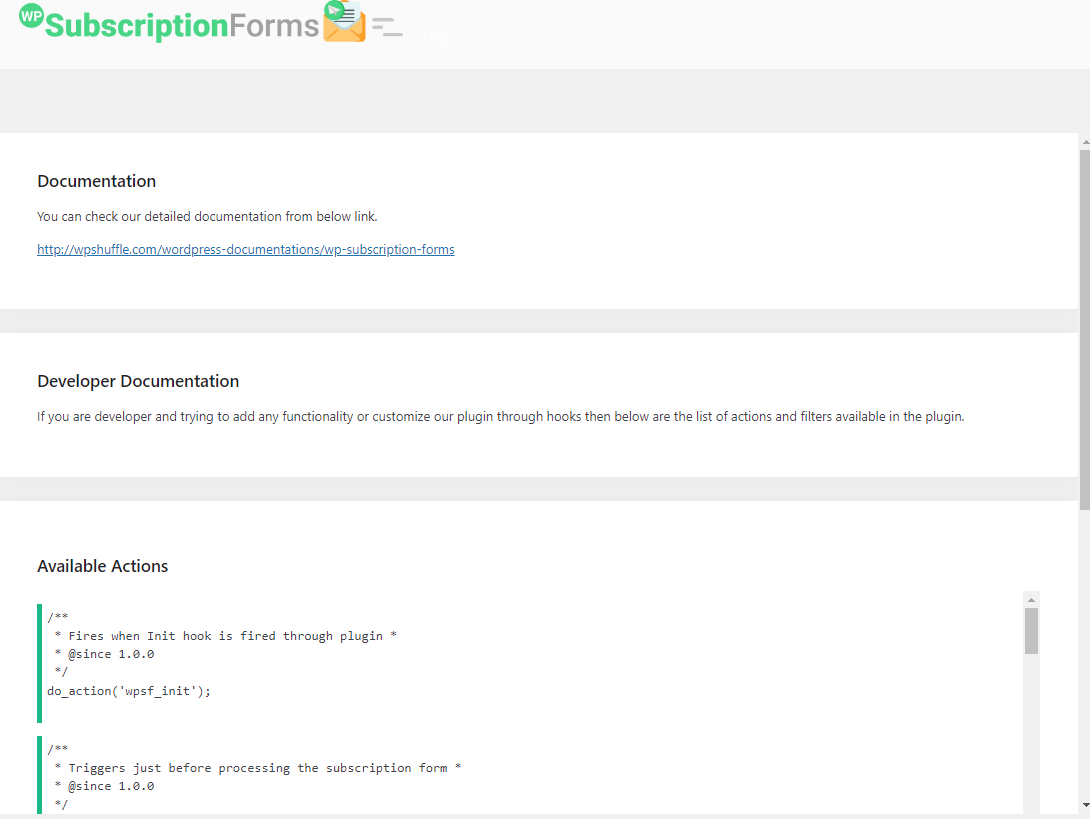
Developer Documentation
In case you want to extend or modify any functionality in the plugin from outside the plugin using hooks and filters then we have added some necessary hooks and filters in the plugin which we have listed in detail inside the Help section of our plugin.
So if required then you can check all the available hooks and filter inside the help section of our plugin.