Skip to content
WP Shuffle
Free and Premium WordPress Plugins and Themes
Home
WordPress Plugins
WordPress Themes
Documentations
Article Read Time
Select and Tweet
Subscribe To Download
Subscribe To Download Lite
WP Subscription Forms Pro
WP Subscription Forms
Tweet This
Subscribe To Unlock
Subscribe To Unlock Lite
Chat in Website
Floating Side Tab
Floating Side Tab Pro
Frontend Post Submission Manager
Frontend Post Submission Manager Lite
Blog
Contact Us
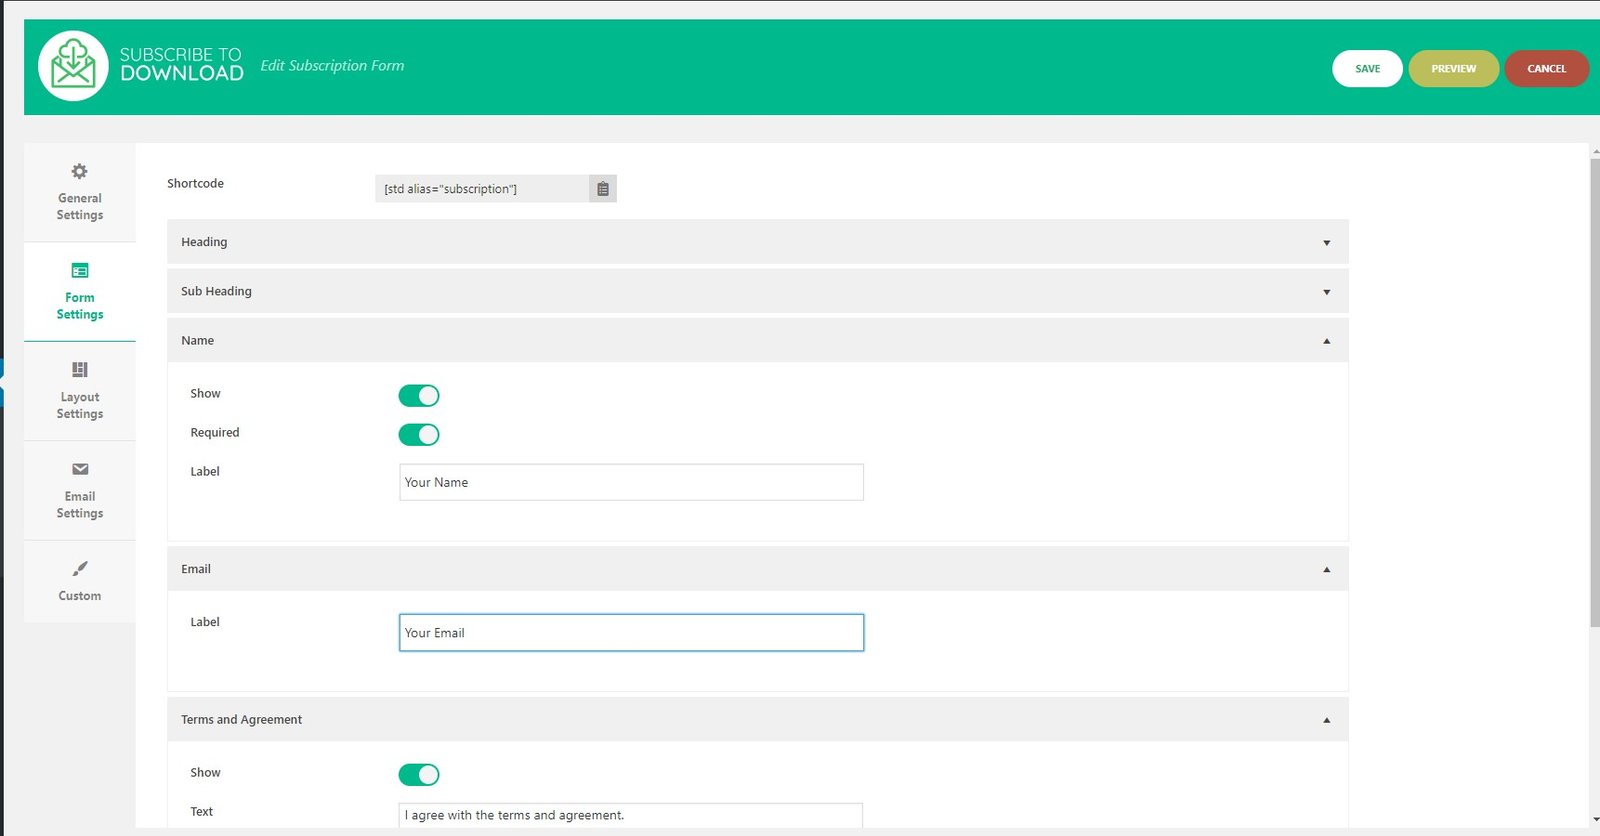
form-settings
Post navigation
form-settings