Installing Instructions
- Unzip the file downloaded plugin from codecanyon. You can download all your purchased files from https://codecanyon.net/downloads
- Upload all the files to the /wp-content/plugins/frontend-post-subsmission-manager
- Activate the plugin through the ‘Plugins’ menu in WordPress.
- For customizing the plugin’s settings, click on Frontend Post Submission option menu in WordPress left admin menu.
OR
- Open your Dashboard-> Plugins-> Add New
- Click on Upload Plugin
- Click on Choose File
- Select the file codecanyon-ESwvLHUm-frontend-post-submission-manager.zip file and click Install Now
- Once the plugin is installed click on Activate Plugin
- You are done, to customize the plugin’s settings, click on Frontend Post Submission Manager option menu in WordPress left admin menu.
How to update your plugin?
As soon as you receive the update notification email from the codecanyon for our product "Frontend Post Submission Manager Plugin", you can then go to your codecanyon account's download page and then download the latest update. You can view your downloads page from below link.
https://codecanyon.net/downloads
Once you download the latest version, please deactivate and delete the existing version plugin from your site and install and activate the latest downloaded version. And yes, all your settings and forms will remain as is even after you deactivate and delete and install the new version.
If you have any confusion regarding installing the plugin then you can check the above instructions.
Create a new Form
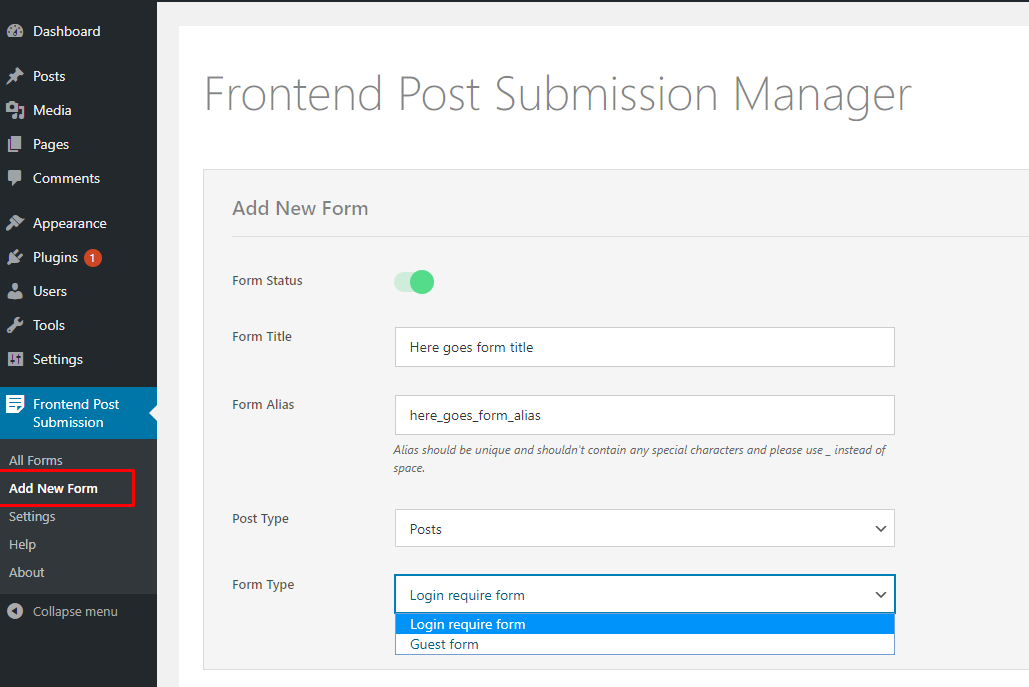
A new form can be created by clicking "Add New Form" submenu of Frontend Post Submission Menu available in the admin section. While creating a new form, you shall provide:
- Form Status - This will enable or disable the form while using in the frontend
- Form Title - This is the main title of the form
- Form Alias - This is a unique identifier for the form which is used to display the form and fetch necessary settings. Please use the unique name which has not been used for any other forms and please don't use any special characters except underscore(_)
- Post Type - This will list all the post which are registered in your site including default WP Post Type. Please choose the post type which you want to receive from the form being created.
- Form Type - There are two form types, one is to receive the post through registered users by logging in and another one is guest form which can be submitted without requiring to login.
Once the form is created, you will be redirected to the form configurations page where you can configure
Basic Settings
Once the form is created, there are few configuration section which need to configure before starting to use in frontend. Basic settings section consists of all the basic options related with the form. Available options are:

- Form Title - This is the title given while creating the form
- Form Alias - This is the alias given to the form while creating the form. We don't recommend editing form alias because it is used to fetch all the necessary settings and list the post in the frontend post management dashboard
- Post Status - As per your requirement, you can configure the post status of the submitted post such as Publish, Draft or Pending.
- Validation Error Message - In this field, you can enter the validation error message to show when any validation error occurs in the form.
- Form Success Message - In this field, you can enter the message to display on the successful form submission
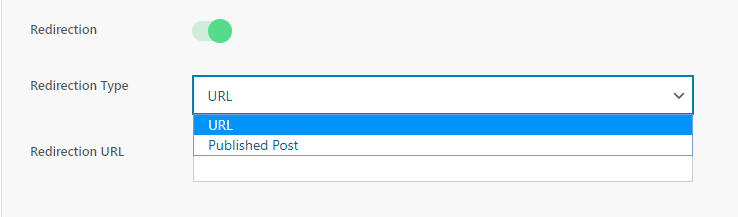
- Post Submit Redirection - Check this option to activate redirection after submitting a post.
- Redirection Type- With this option, you can enable the redirection after the successful form submission. There are two types of redirection. One is Redirect to Published Post or Custom URL
- Edit Redirection URL - Enter the URL where users will be redirected after editing a post.
- Limit Post Submission - Check this option to restrict the number of posts a user can submit.
- Allowed number of posts - Enter the desired limit for post submissions
- Limit Message - Enter the message to inform users about the submission limit.
- Fire save_post hook - Check this option if you want to activate the save_post hook after successful post submission.
Login Settings
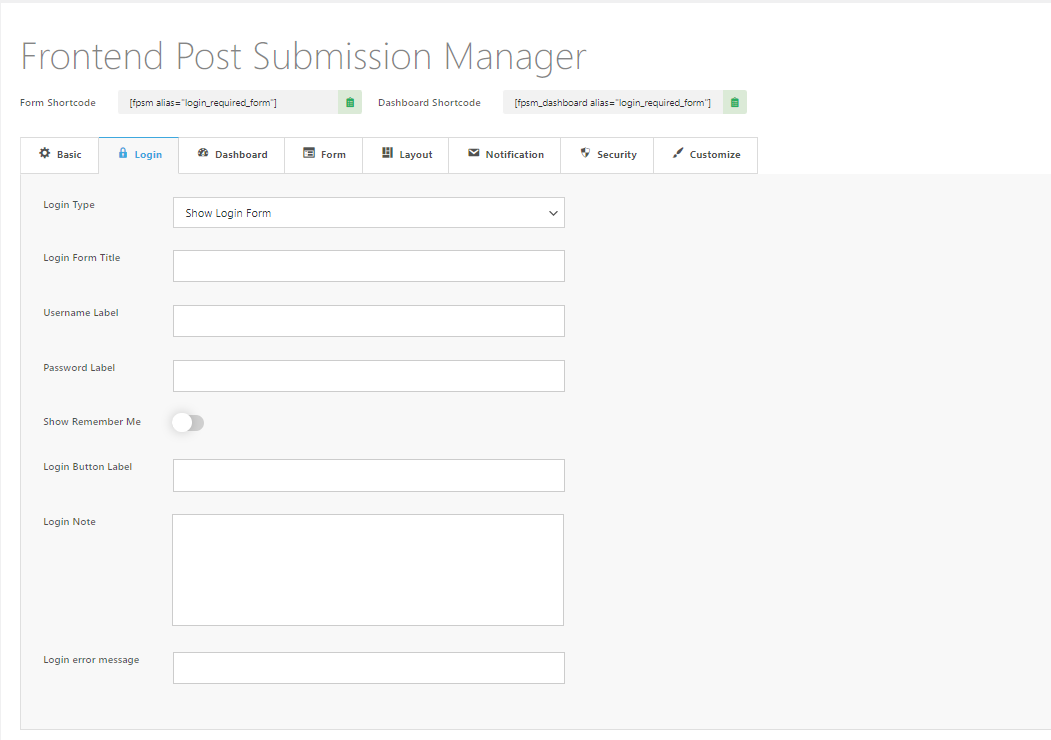
Please note that this section will only show when you are editing the "Login Require" type form. In this section, you can choose the login type. Available login types are:
- Show Login Form
- Show Login Message
- Redirect to Login Page
Other options are generated as per the selected login type
Dashboard Settings
Please note that this section will only show when you are editing the "Login Require" type form. In this section, you can configure all your necessary options related with Dashboard.
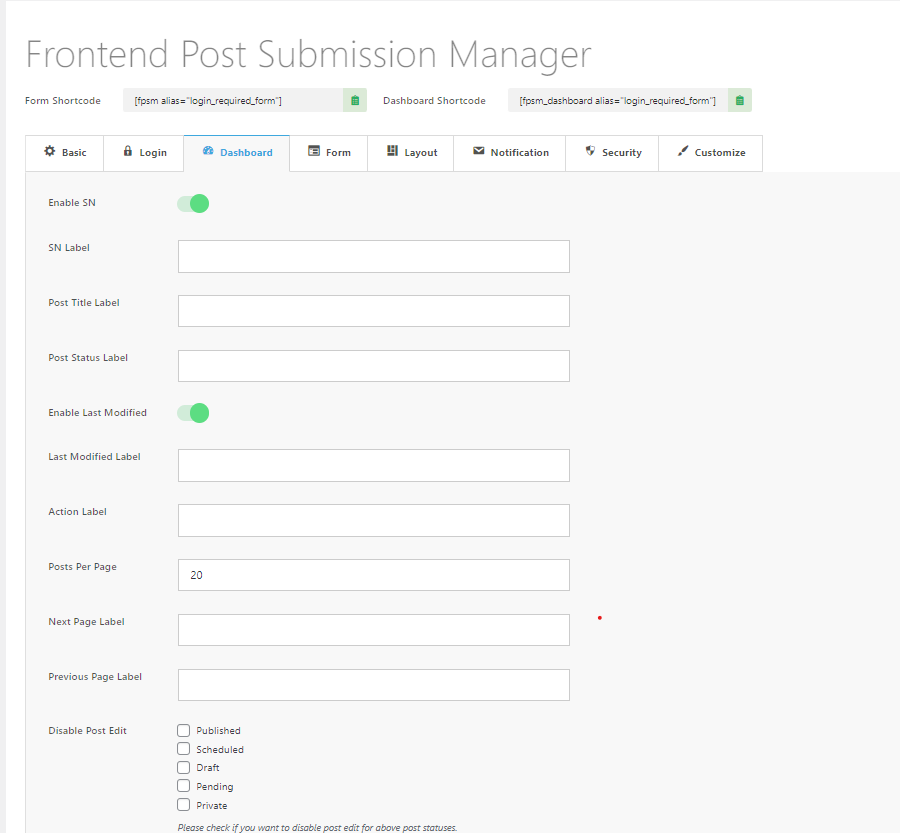
- Enable SN - Enable the serial number (SN) column in the frontend dashboard.
- SN Label - Customize the label for the serial number column.
- Post Title Label - Enter the desired label for the post title column.
- Post Status Label - Enter the desired label for the post status column.
- Enable Last Modified - Enter the desired label for the post status column.
- Last Modified Label - Customize the label for the last modified date column.
- Action Label - Customize the label for the actions column (e.g., edit, delete).
- Posts Per Page - Set the number of posts to display per page in the frontend dashboard.
- Next Page Label - Enter the desired label for the next page navigation button.
- Previous Page Level - Enter the desired label for the previous page navigation button.
- Disable Post Edit - Check this option to disable post editing for the specified post statuses.
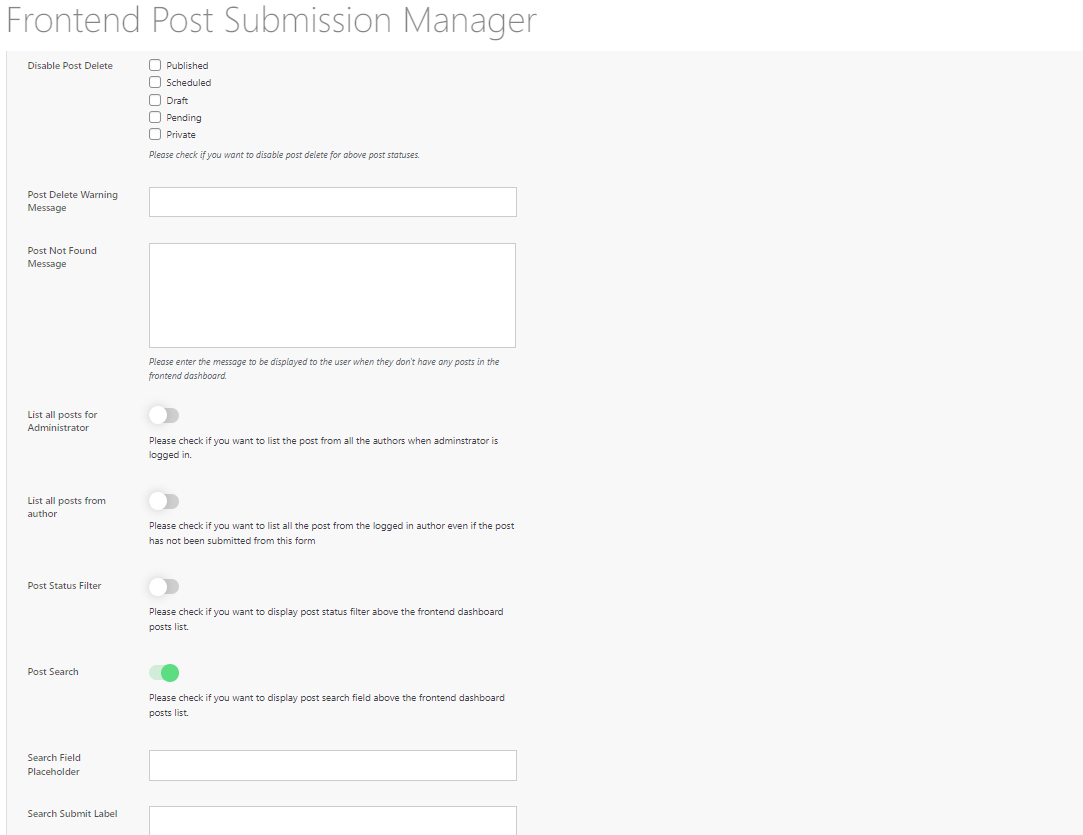
- Disable Post Delete - Check this option to disable post deletion for the specified post statuses.
- Post Delete Warning Message - Enter the warning message for post deletion.
- Post Not Found Message - Enter the message for when no posts are found.
- List all posts for Administrator - Check this option to display all posts from the logged-in author.
- Post Status Filter - Check this option to display the post status filter.
- Post Search - Check this option to display the post search field.
- Search Field Placeholder - Enter the desired placeholder text for the search field.
- Search Submit Label - Enter the desired label for the search submit button.
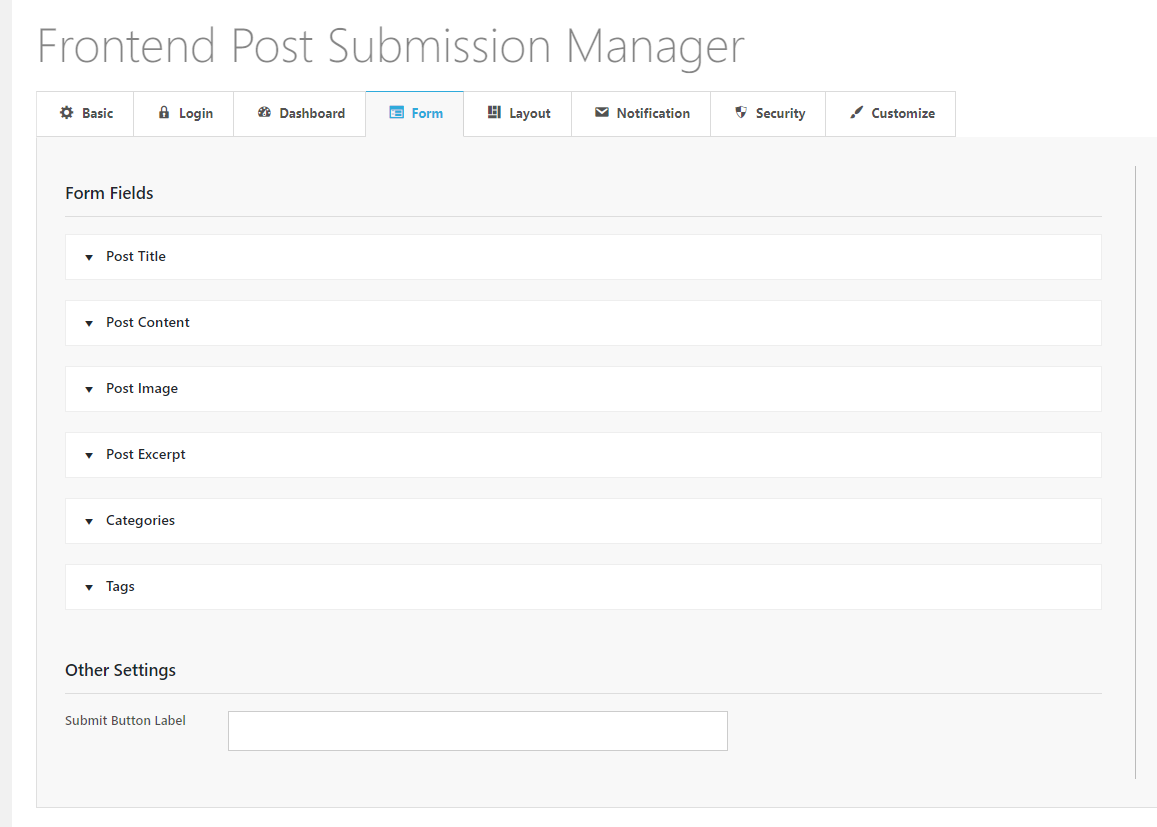
Form Fields Settings
In this section you can configure all the necessary fields for the form. You can enable or disable existing fields, add custom fields. Pre available fields are
- Post Title
- Post Content
- Post Image
- Post Excerpt
- Categories
- Tags
Post Title
For post title, here are the available options:
- Show on form - You can enable or disable it as per your need in the form
- Required - You can make it required if required.
- Field Label - This is the label which will actually be shown in the form when used in the frontend.
- Field Note - This note will show just below the field. You can use this to give any extra information regarding the field.
- Character Limit - You can set the character limit for the post title if required.

Post Content Settings
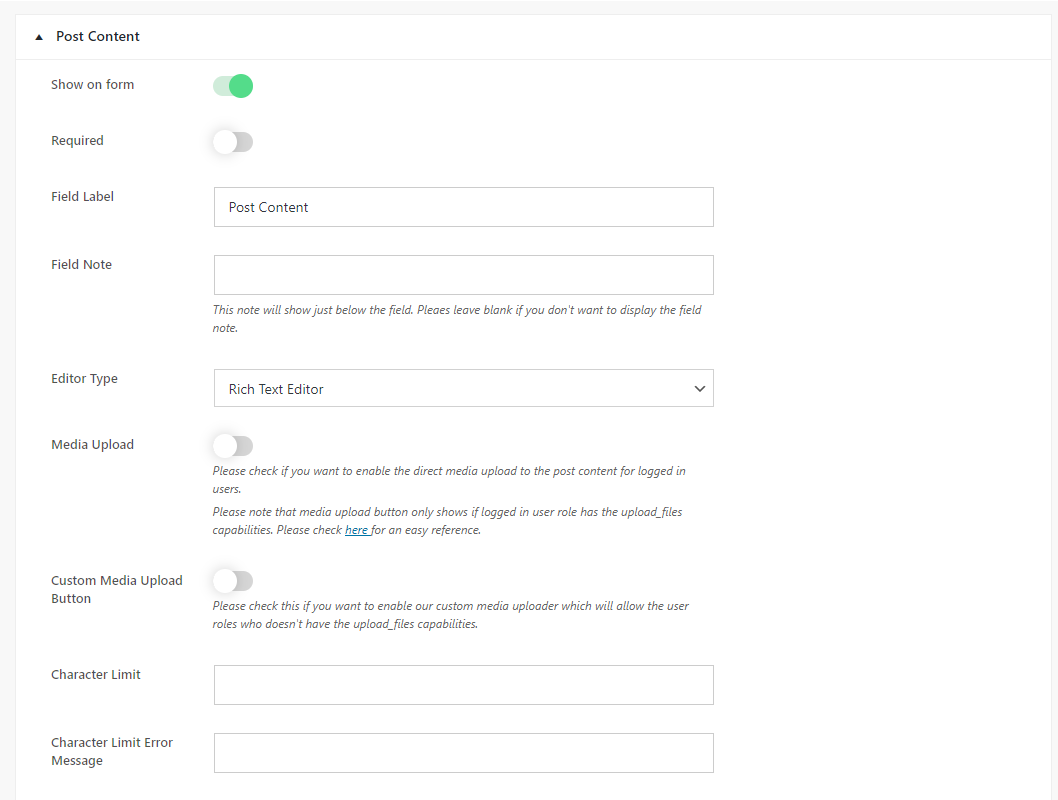
For post content, here are the available options:
- Show on form - You can enable or disable it as per your need in the form
- Required - You can make it required if required.
- Field Label - This is the label which will actually be shown in the form when used in the frontend.
- Field Note - This note will show just below the field. You can use this to give any extra information regarding the field.
- Editor Type - Here are currently 4 editor types.
- Simple Textarea - This editor is a simple textarea which doesn't have any editing tools
- Rich Text Editor - This editor is the WYSIWYG editor which has both html and visual version which consists of text editing tools such as bold, italics
- Visual Text Editor - This editor is the WYSIWYG editor which has only visual version without html version
- HTML Text Editor - This editor is the WYSIWYG editor which has only HTML version without visual version
- Media Upload - If you enable this option then the Visual or Rich Text Editor will have a functionality to upload various supported file types if any logged in users have the capability to upload the files in WordPress Media
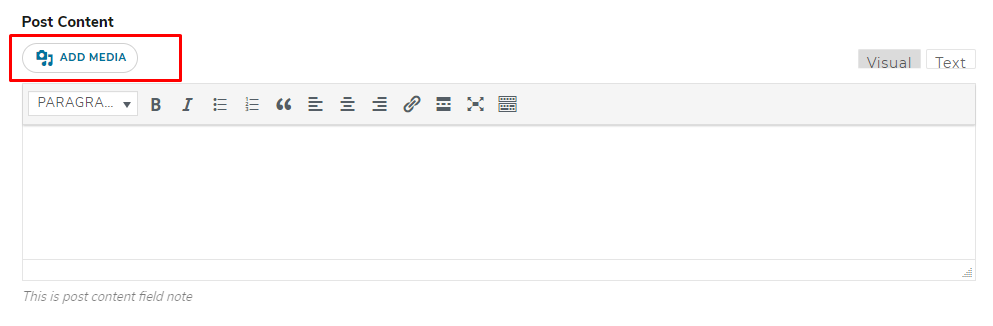
- Custom Media Upload Button - If you enable this button then our custom file uploader will be available for the Visual or Rich Text Editor which will provide the functionality to upload various supported file types even if logged in users don't have media upload capability or not logged in users too.

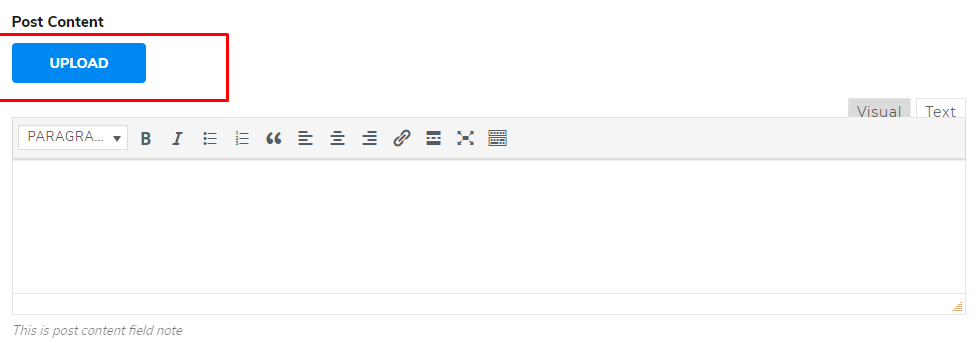
- Character Limit - You can set the character limit for the post content if required.
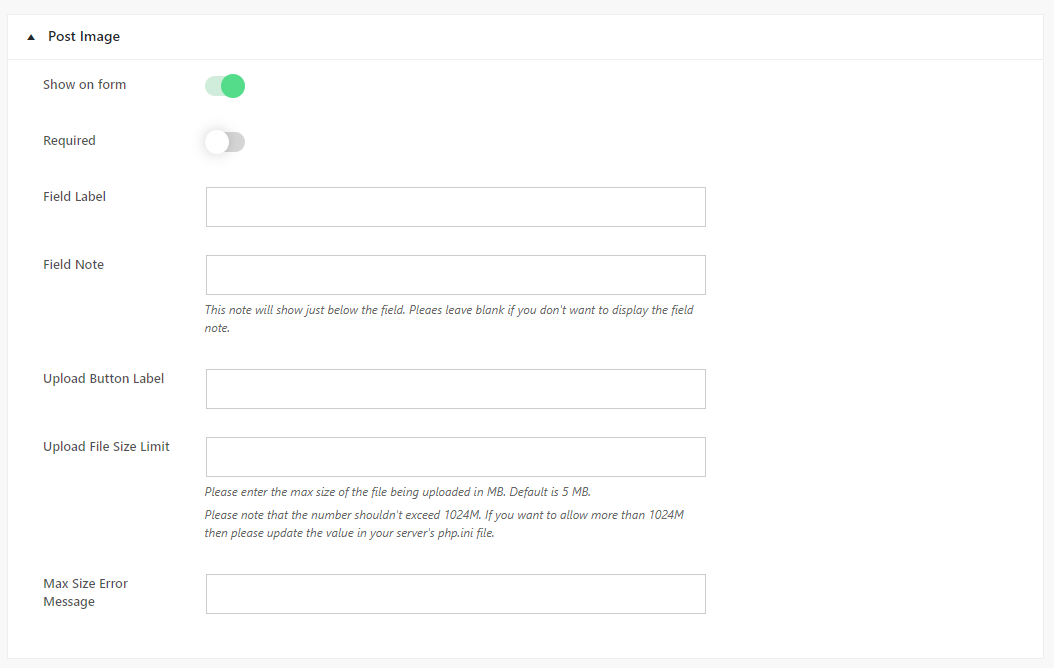
Post Image Settings
For post image, here are the available options:
- Show on form - You can enable or disable it as per your need in the form
- Required - You can make it required if required.
- Field Label - This is the label which will actually be shown in the form when used in the frontend.
- Field Note - This note will show just below the field. You can use this to give any extra information regarding the field.
- Upload Button Label - This is the label for the image uploader.
- Upload File Size Limit - If you want to set the size limit for the uploaded image then you can set through this field.
- Max Size Error Message - This field is for the message to be displayed for upload file size limit.
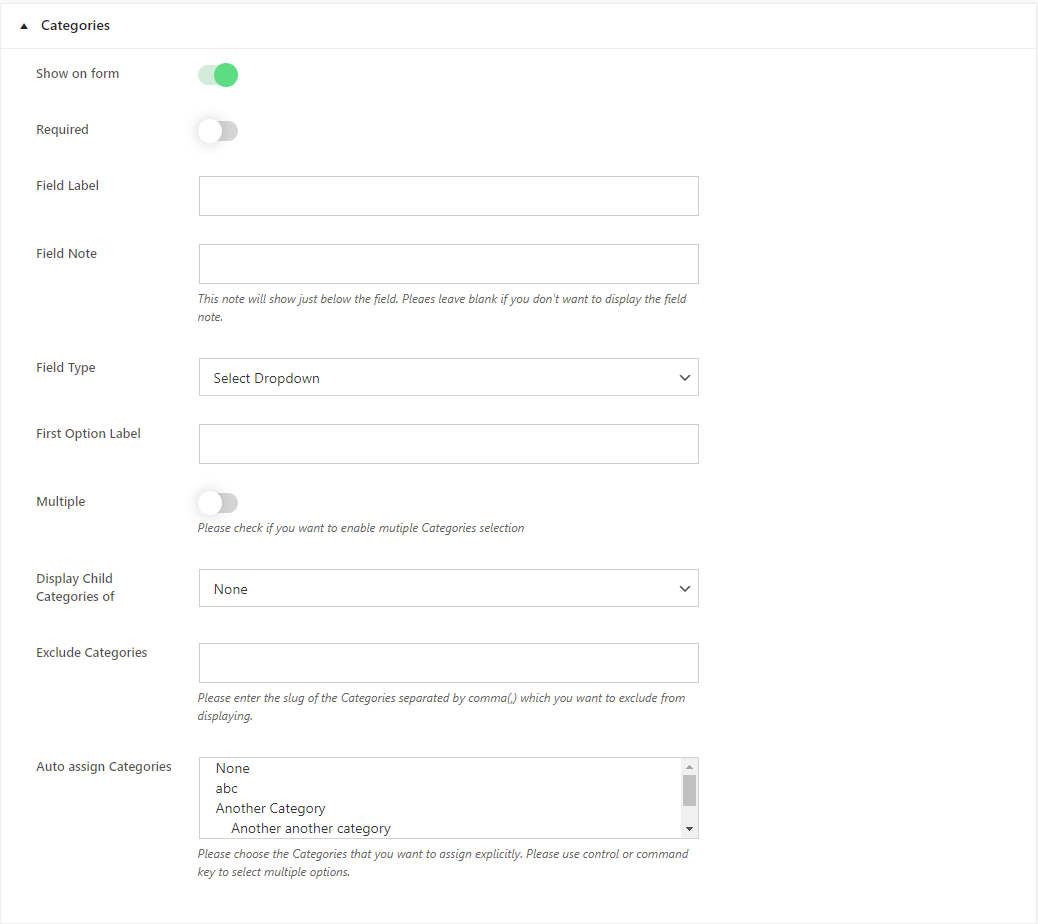
Categories Settings
For post categories, here are the available options:
- Show on form - You can enable or disable it as per your need in the form
- Required - You can make it required if required.
- Field Label - This is the label which will actually be shown in the form when used in the frontend.
- Field Note - This note will show just below the field. You can use this to give any extra information regarding the field.
- Field Type - There are two field types available for categories: Select Dropdown and Checkbox
- First Option label - This option is for displaying the first label of the Select Dropdown. This option is available when you choose Select Dropdown as the field type
- Display Child Categories of - In case you want to display child categories of a specific category, then you can choose one from dropdown.
- Exclude Categories - In case you want to exclude some categories from displaying in the frontend, then you can add their slugs separated by comma in this field.
- Auto Assign Categories - If you want to assign the submitted post to some specific categories then you can choose them in this field.
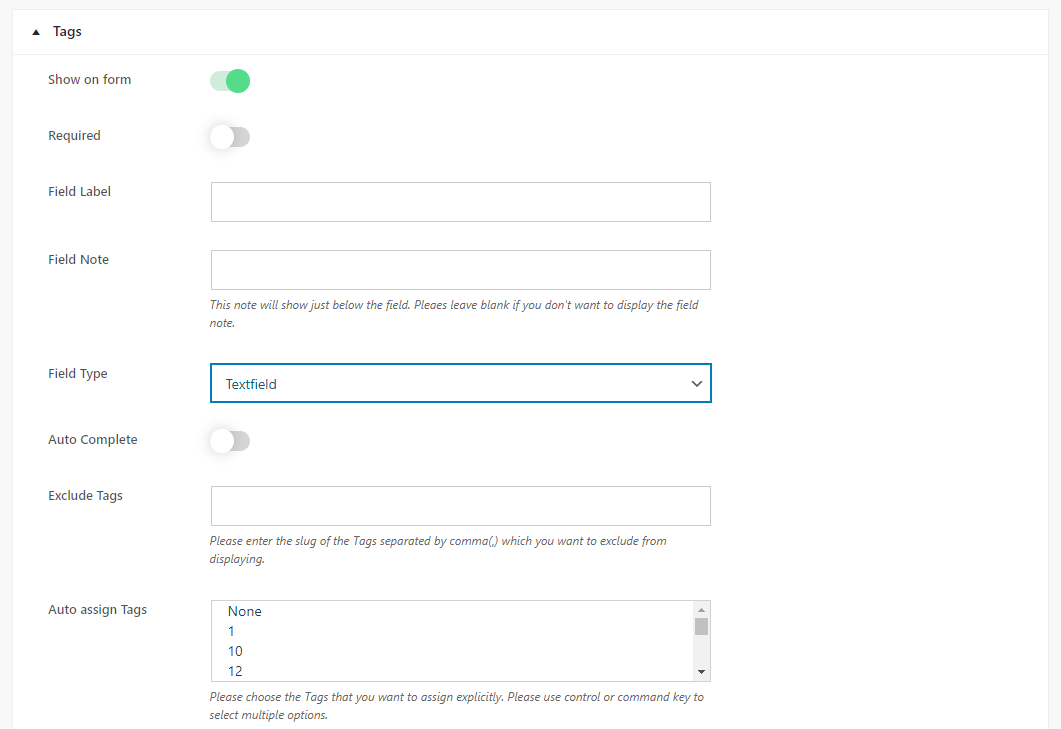
Tags Settings
For post tags, here are the available options:
- Show on form - You can enable or disable it as per your need in the form
- Required - You can make it required if required.
- Field Label - This is the label which will actually be shown in the form when used in the frontend.
- Field Note - This note will show just below the field. You can use this to give any extra information regarding the field.
- Field Type - There are 3 field types available for categories: Select Dropdown, Checkbox and Textfield
- First Option label - This option is for displaying the first label of the Select Dropdown. This option is available when you choose Select Dropdown as the field type
- Auto Complete - If you enable this option then auto complete will generate the existing available tags and users can choose from existing tags or enter a new tag.
- Auto Assign Tags - If you want to assign the submitted post to some specific tags then you can choose them in this field.
Custom Fields Settings
If the pre available fields are not sufficient then you can add custom fields which has various field types. The available fields types are:
- Textfield
- Textarea
- Radio Button
- Checkbox
- Select Dropdown
- Number
- Datepicker
- Fileuploader
- URL
- Telephone
- Youtube Embed
- Hidden
- WYSIWYG Editor
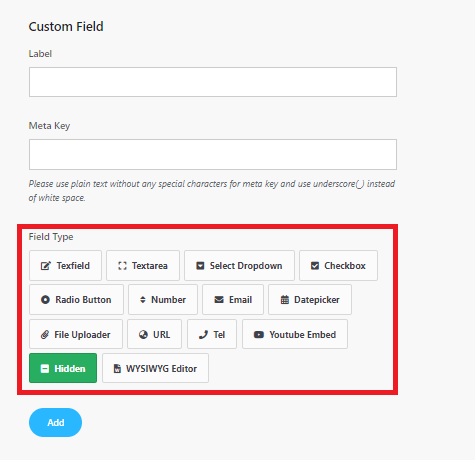
While adding custom field, you will need to enter Label and Meta key. Label is for displaying the label in the form and meta key is for storing the custom field. While entering meta key, you shouldn't use any special characters or symbols except underscore(_). If you want to add custom field for receiving Street Address then meta key shall be street_address
Textfield Settings
Here are the options available for Textfield:
- Show on form - You can enable or disable it as per your need in the form
- Required - You can make it required if required.
- Field Label - This is the label which will actually be shown in the form when used in the frontend.
- Field Note - This note will show just below the field. You can use this to give any extra information regarding the field.
- Character Limit - You can set the character limit for the post title if required.
- Character Limit Error Message - You can set the message to be displayed when character limit error occurs.
- Post Detail Display - By enabling this option, you can display received custom fields value in the post detail page in the frontend.
- Display Position - You can either choose to display the received custom field value before the content or after the content
- Display Label - This is the label which will be shown in the post detail page while displaying the received custom field value

Textarea Settings
All of the settings are same as Textfield
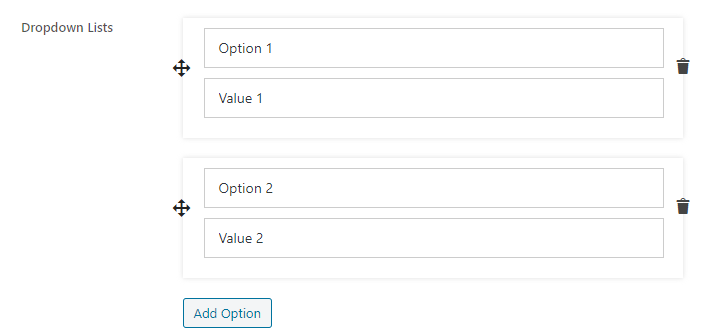
Select Dropdown, Radio Button & Checkbox Settings
Major options are same as Textfield. Only dropdown option configurations are extra in these field type. Dropdown option has option and value field. Option field will show as the label of the dropdown option and value field will actually be stored when that specific dropdown is selected. So both option and values shall be filled.
Number Field Settings
All the field options are same as of Textfield. Other extra options are min value and max value which can be validated before form submission.
Email Field Settings
All the fields are same as of Textfield
Datepicker Settings
All the fields options are same as of Textfield. One of the extra option available is date formats. You can choose from available date formats.

And another option available is Save as string. By enabling the "Save as String" option, the chosen date will be stored in the string format which can be used by other plugins. If you don't have use of the received values for any other plugins then please don't check this option.
File Uploader Settings
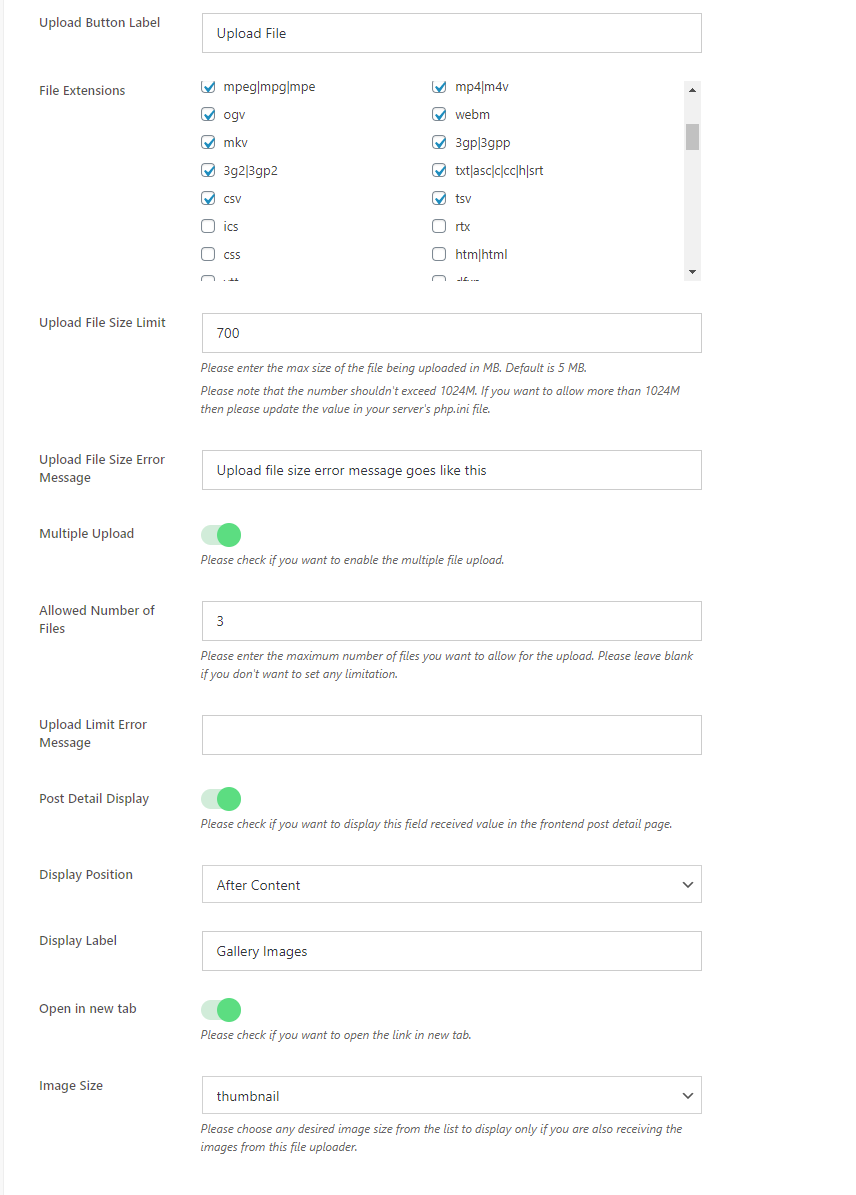
Beside common settings, there are fileuploader settings available for this field. Here are the fileuploader specific settings:
- Upload Button Label - This is for displaying the label of the upload button.
- File Extension - These are the list of the extension supported by your WordPress. You can choose your desired extension which will be validated when upload is started in the frontend.
- Upload File Size Limit - This field is for setting the size limit for file being uploaded. You can enter the size in MB.
- Upload File Size Error Message - This field is for setting the error message to be displayed when upload file size limit is occurred.
- Multiple Upload - You can enable this option to allow users to upload multiple files
- Allowed Number of Files - You can set how many files you are allowing users to upload.
- Upload Limit Error Message - This field is for setting the error message when users try to upload more than allowed number of files.
- Post Detail Display - You can enable this option if you want to display the received files in the post detail page.
- Display Position - You can choose either to display below or after the post content.
- Open in new tab - Received files will be displayed as link in the frontend post detail page. You can enable this option if you want to display the received files in new tab when clicked.
- Image Size - If you are receiving the images from the configured file uploader then you can choose the image size to display from the registered image sizes.
URL
- Show on Form - Check this option to show the field on the form.
- Required - Check this option to make the field mandatory.
- Field Label - Enter "URL" or any other desired label for the field.
- Field Note - Enter the note text. Leave blank if no note is needed.
- Post Detail Display - Check this option to show the field value on the post detail page.
- Display Position - Select "After Content" to display the field value after the post content.
- Display Label - Enter the label text for the display of the field value.
- Open in New Tab - Check this option to make the link open in a new tab.
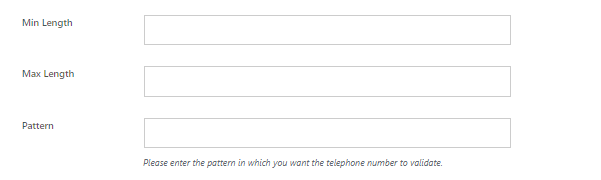
Telephone
All the field options are same as of Textfield. Other extra options are min value, max value, and pattern which can be validated before form submission.
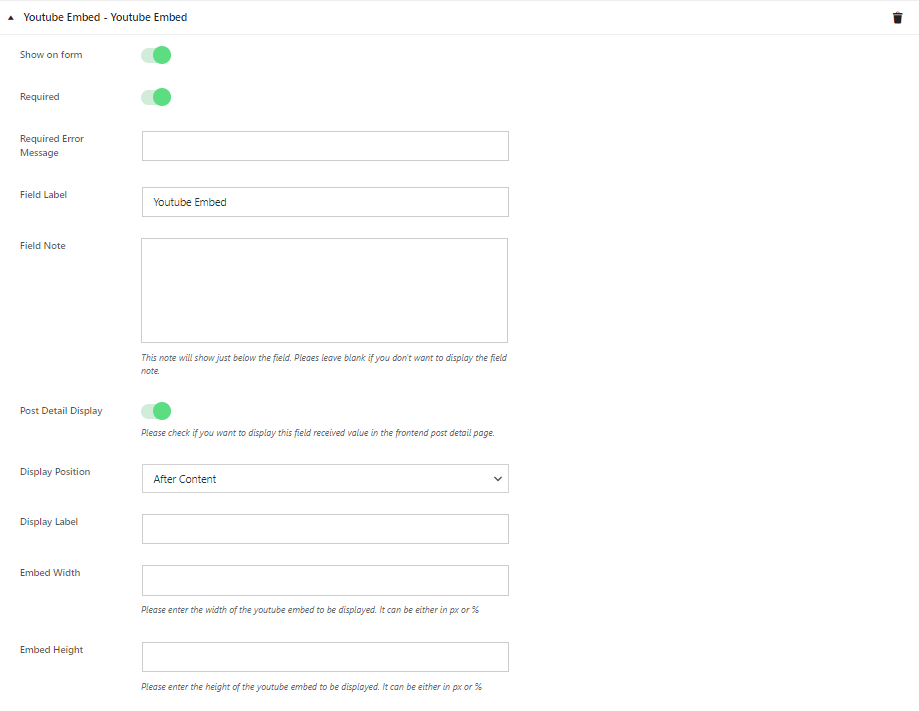
Youtube Embed
-
- Show on Form- Check this option to show the field on the form.
- Required - Check this option to make the field mandatory.
- Required Error Message - Enter the error message text (e.g., "This field is required").
- Field Label - Enter "Youtube Embed" or any other desired label for the field.
- Field Note - Enter the note text. Leave blank if no note is needed.
- Post Detail Display - Check this option to show the field value on the post detail page.
- Display Position - Select "After Content" to display the field value after the post content.
- Display Label - Enter the label text for the display of the field value.
- Embed Width - Enter the width in pixels (px) or percentage (%).
- Embed Height - Enter the height in pixels (px) or percentage (%).
WYSIWYG Editor Settings
1. Show on Form: Check this option to show the WYSIWYG Editor on the form.
2. Required: Check this option to make the WYSIWYG Editor field mandatory.
3. Field Label: Enter "WYSIWYG Editor" or any other desired label for the field.
4. Field Note: Enter the note text. Leave blank if no note is needed.
5. Editor Type - Here are currently 4 editor types.
- Simple Textarea - This editor is a simple textarea which doesn't have any editing tools
- Rich Text Editor - This editor is the WYSIWYG editor which has both html and visual version which consists of text editing tools such as bold, italics
- Visual Text Editor - This editor is the WYSIWYG editor which has only visual version without html version
- HTML Text Editor - This editor is the WYSIWYG editor which has only HTML version without visual version
6. Editor Height: Enter the height in pixels (px) if you want to increase or decrease the default height.
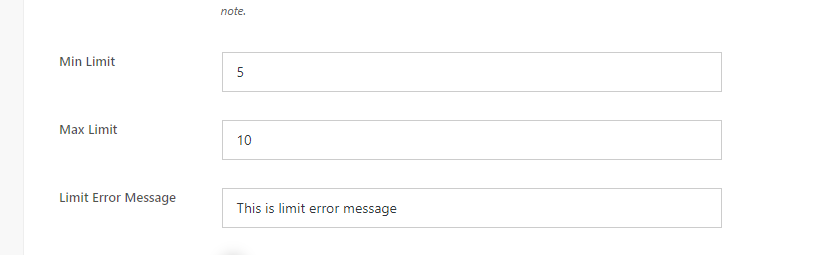
7. Min Character Limit: Enter the minimum number of characters required.
8. Max Character Limit: Enter the maximum number of characters allowed.
9. Character Limit Error Message: Enter the error message text for character limit violations.
10. Post Detail Display: Check this option to show the field value on the post detail page.
11. Display Position: Select "After Content" to display the field value after the post content.
12. Display Label: Enter the label text for the display of the field value.
Layout Settings
In layout settings, you can choose the template from our pre designed templates.
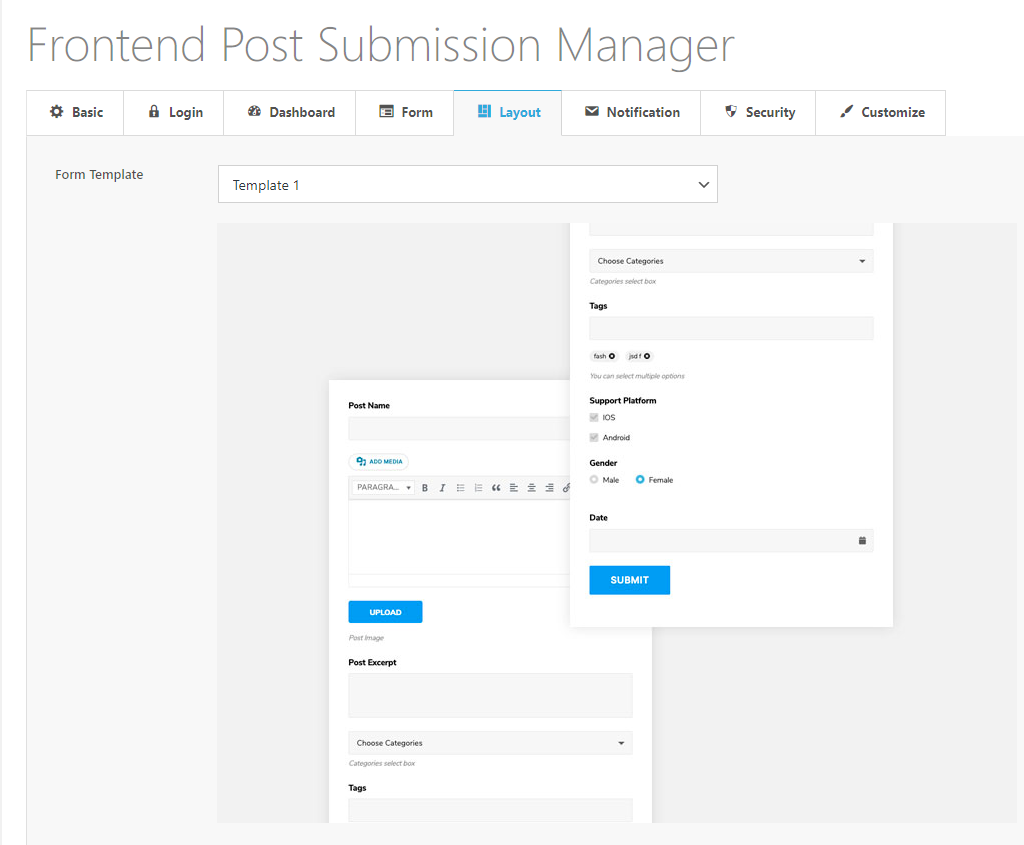
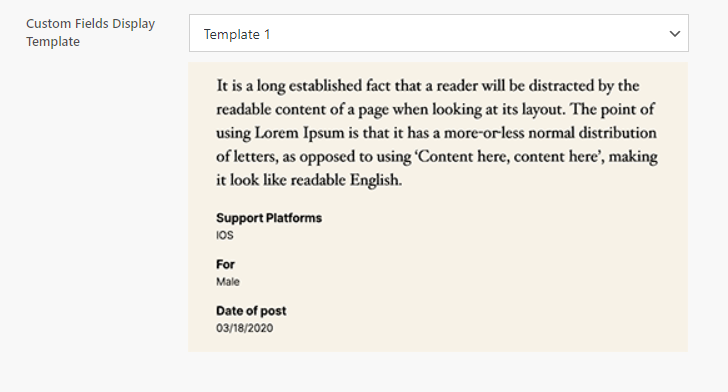
And also you can choose custom fields frontend display styles for the custom fields added in the form and chosen to display in the frontend.
Notification Settings
In this section, you can configure all the necessary notifications related with frontend post submission. You can configure:
- Admin Notification - Here are the available options for admin notification.
- Enable - You can either enable or disable admin notification
- Notification emails - You can enter the email address separated by comma in which you want to receive the admin notifications. If left blank, the notification will be sent to the email of the site admin configured in your site's general settings.
- Subject - This field is for entering the subject for admin notification email
- From Name - This field is for entering the "From Name" for admin notification email. Please enter the value which won't resemble any real person's name such as "No Reply" else email may land in the spam.
- From Email - This field is for entering the "From Email" for admin notification email. Please enter the value which won't resemble any real person's email such as "noreply@yoursiteurl.com" else email may land in the spam.
- Message - In this field you can enter the message which you will receive in the admin notification email. You can use [post_title] and [post_admin_link] to replace submitted post title and post admin link in the admin notification email message.

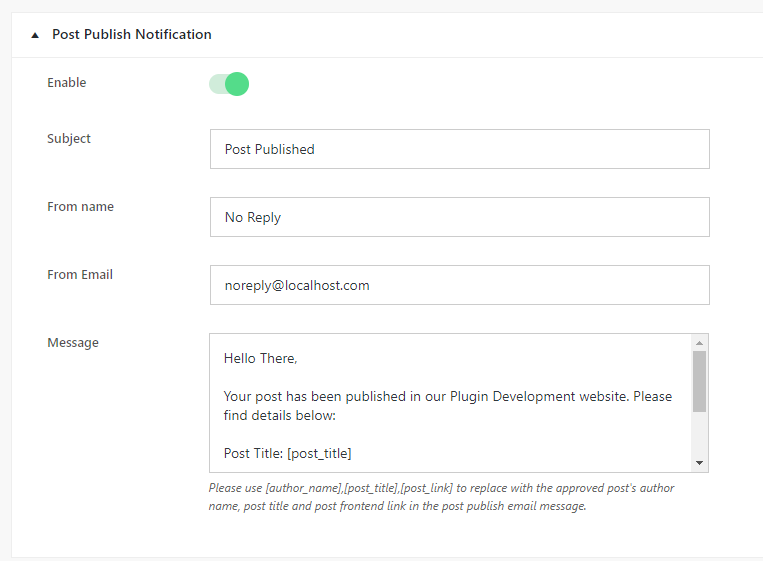
- Post Publish Notification
- Enable - You can either enable or disable post publish notification
- Subject - This field is for entering the subject for post publish notification email
- From Name - This field is for entering the "From Name" for post publish notification email. Please enter the value which won't resemble any real person's name such as "No Reply" else email may land in the spam.
- From Email - This field is for entering the "From Email" for post publish notification email. Please enter the value which won't resemble any real person's email such as "noreply@yoursiteurl.com" else email may land in the spam.
- Message - In this field you can enter the message which you will receive in the post publish notification email. You can use [author_name],[post_title] and [post_link] to replace submitted author name, post title and post link in the post publish notification email message.
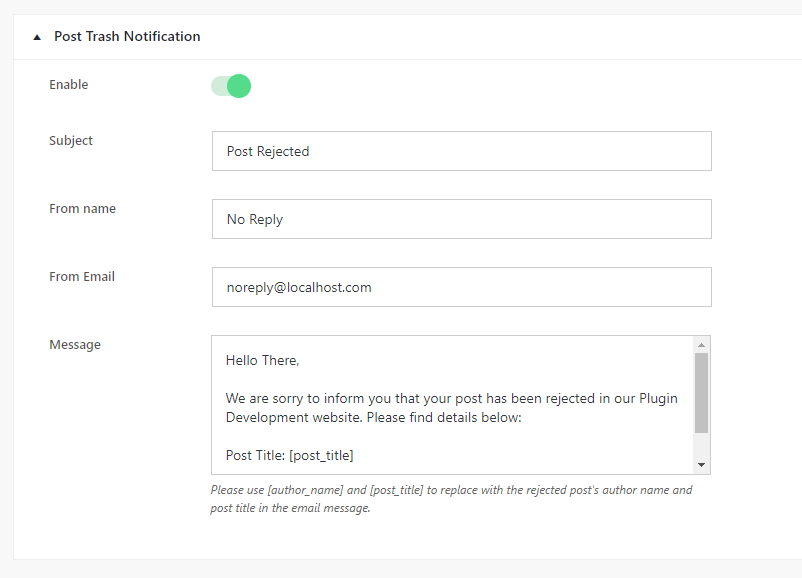
- Post Trash Notification
- Enable - You can either enable or disable post reject notification
- Subject - This field is for entering the subject for post reject notification email
- From Name - This field is for entering the "From Name" for post reject notification email. Please enter the value which won't resemble any real person's name such as "No Reply" else email may land in the spam.
- From Email - This field is for entering the "From Email" for post reject notification email. Please enter the value which won't resemble any real person's email such as "noreply@yoursiteurl.com" else email may land in the spam.
- Message - In this field you can enter the message which you will receive in the post reject notification email. You can use [author_name],[post_title] to replace submitted author name, post title in the post reject notification email message.
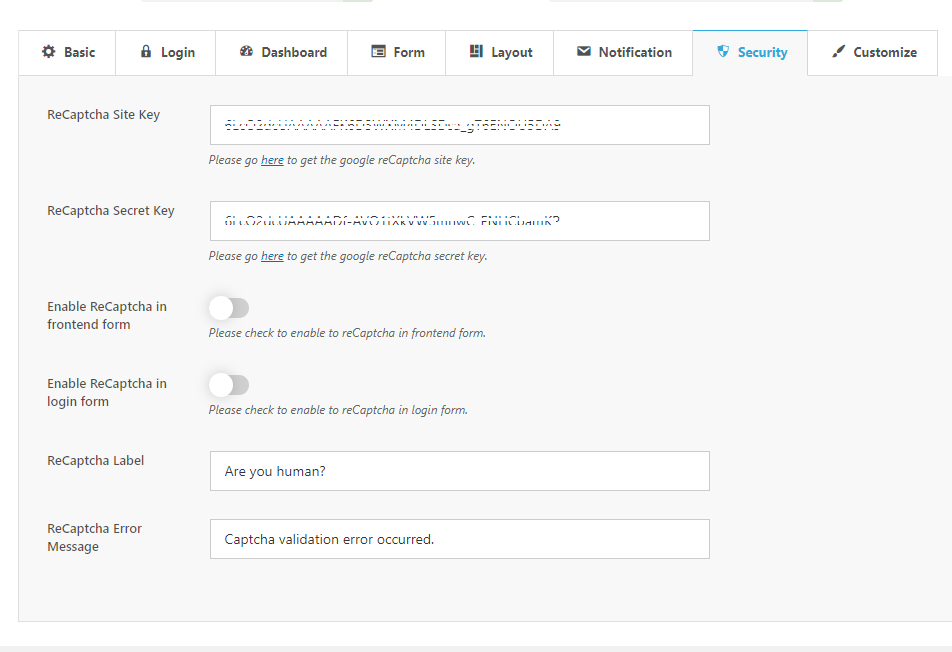
Security Settings
You can enable the google recaptcha V2 for both login form and post submission form. For enabling google reCaptcha, you will need reCaptcha site key and secret Key which can be get from here.
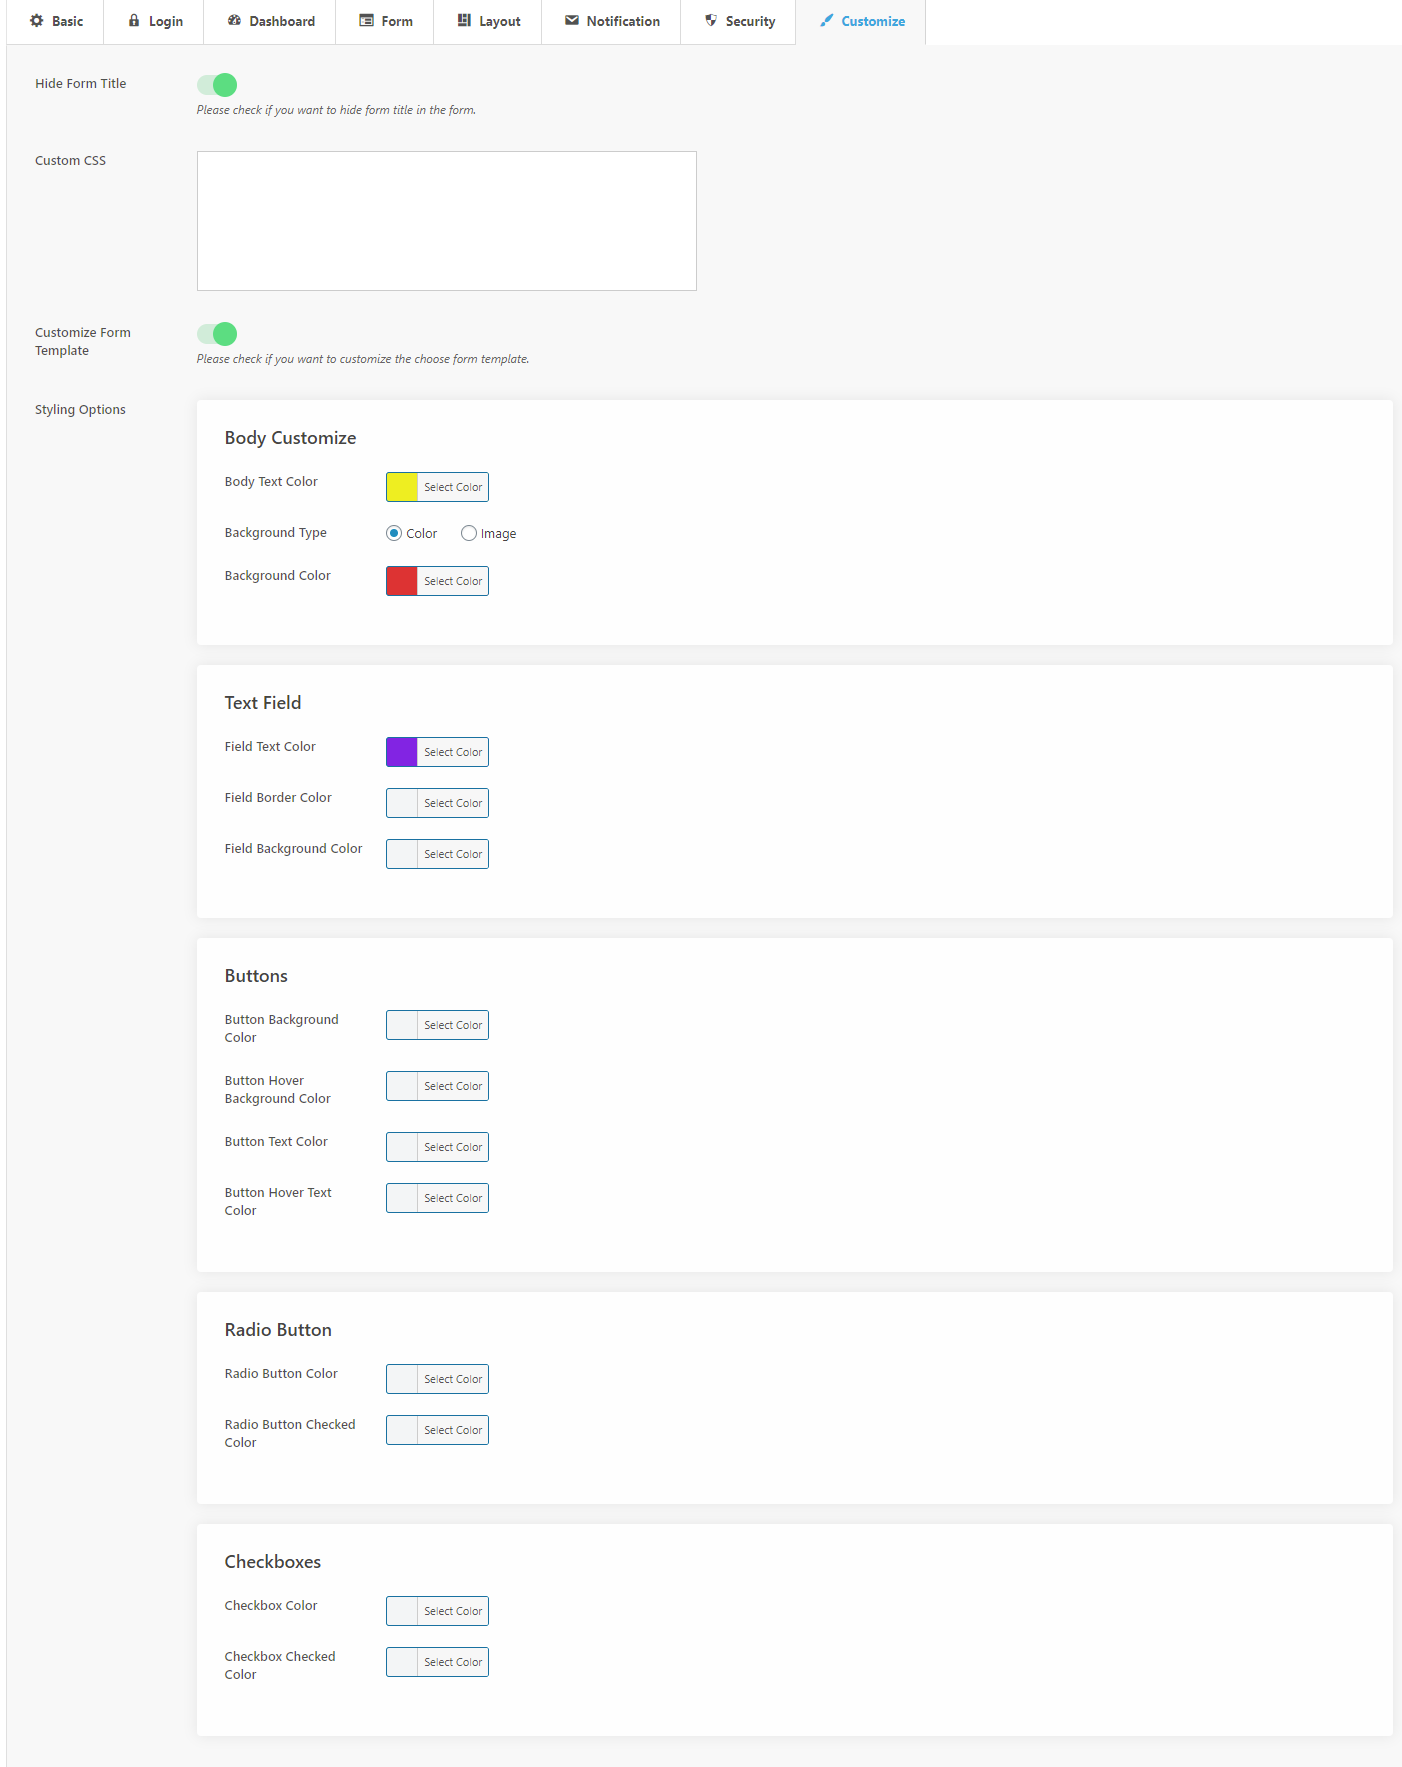
Customize Settings
If you couldn't find any templates that matches your theme then you can use our custom styling options which shall give you enormous capabilities to design the form as per your need. Here are the available options to customize any chosen form template.
- Body Customize - Body text color, Background Type, Background Image, Background Color
- Text Field - Field Text Color, Field Border Color, Field Background Color
- Buttons - Button Background Color, Button Hover Background Color, Button Text Color, Button Hover Text Color
- Radio Button - Radio Button Color, Radio Button Checked Color
- Checkboxes - Checkbox Color, Checkbox Checked Color
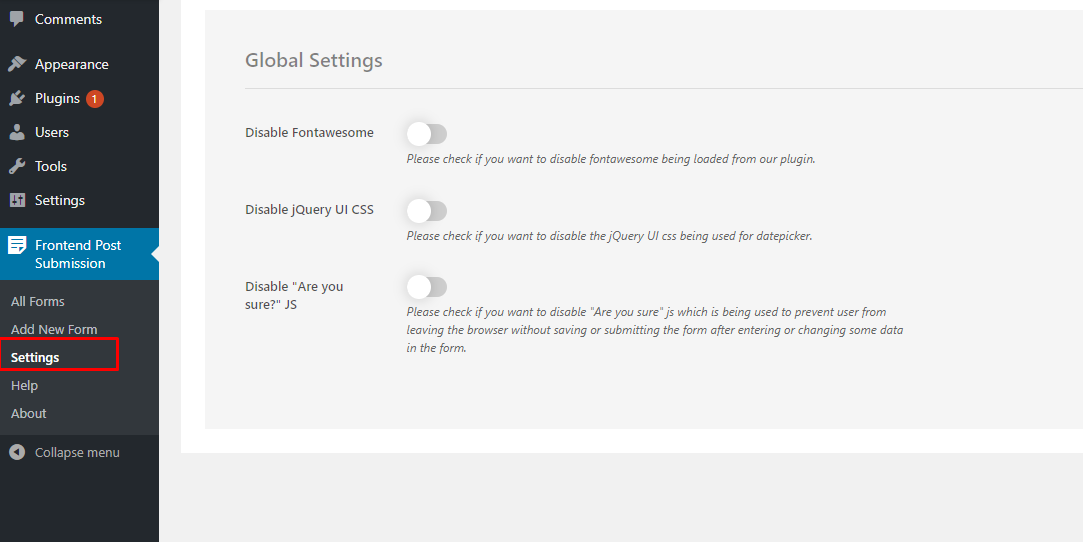
Global Settings
In case you need to disable fontawesome, disable jQuery UI CSS or disable jQuery Are you Sure JS then you can disable them from our plugin's global settings page which can be accessed from settings submenu of our plugin's menu.
Shortcodes
As soon as the form is created, it will generate two shortcodes if the form is "Login require" form and single shortcode when form is "Guest" form which you can view on the top of setting navigation menu of form as shown in below screenshot.
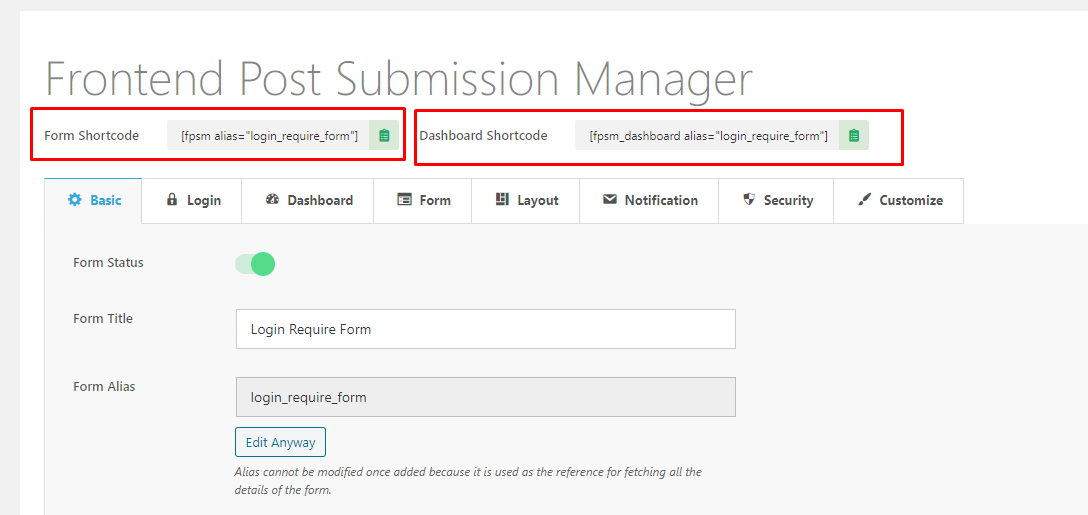
Form Shortcode shall be [fpsm alias="alias_of_your_form"]
Frontend Dashboard Shortcode shall be [fpsm_dashboard alias="alias_of_your_form"]
Developer Documentation
In case you want to extend or modify any functionality in the plugin from outside the plugin using hooks and filters then we have added some necessary hooks and filters in the plugin which we have listed in detail inside the Help section of our plugin.
So if required then you can check all the available hooks and filter inside the help section of our plugin.
