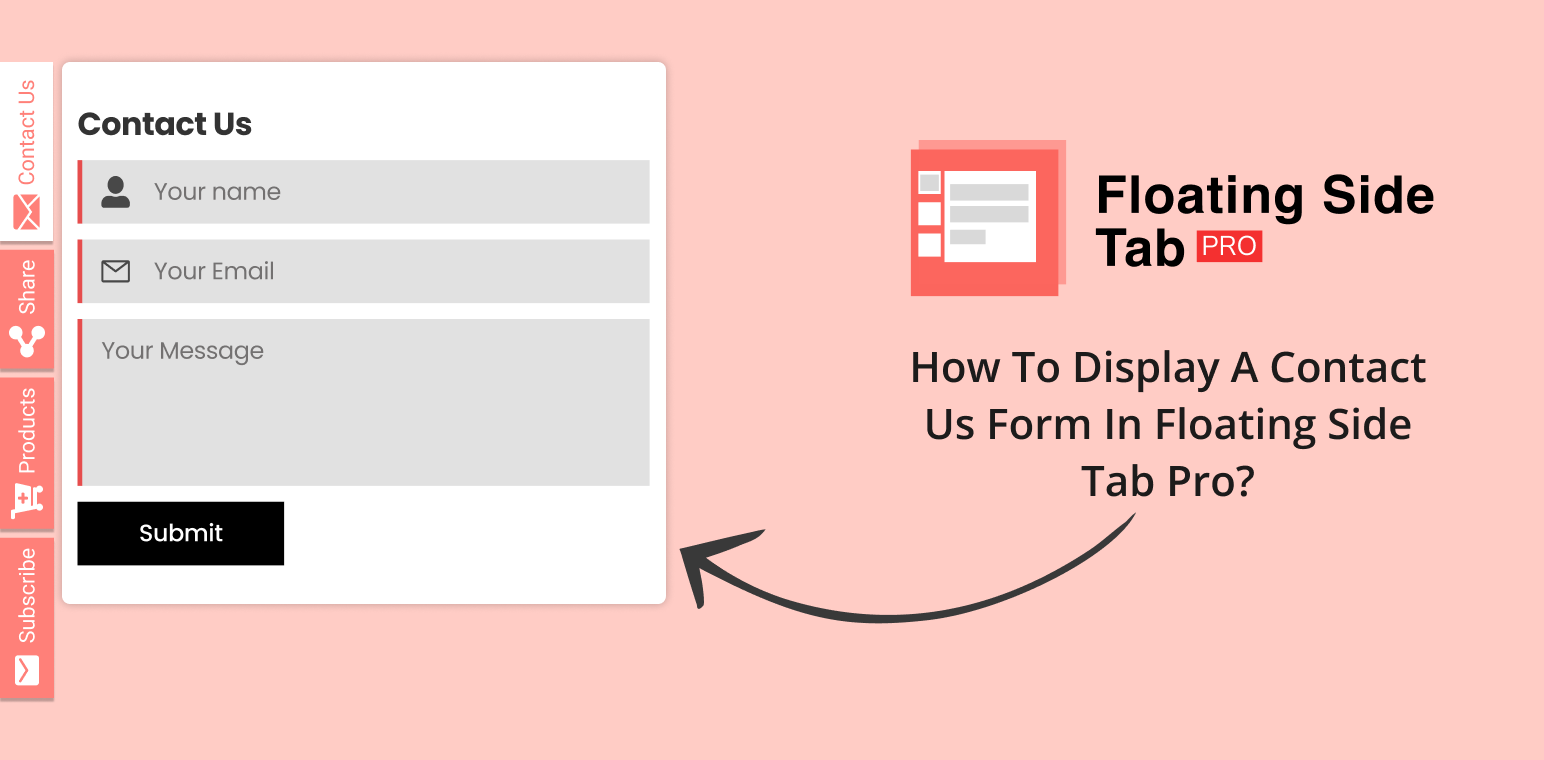
Want to make reaching out easy for your visitors? Well, the Floating Side Tab Pro plugin enables you to easily display a Contact Us form available on every page, and that’s what helps improve user engagement because it keeps a convenient contact point always within reach.
Providing visitors with an easy way to contact you can make all the difference for your website’s engagement and customer service. The Floating Side Tab Pro plugin allows you to display a Contact Us form on any page, keeping it just a click away. Besides placing the form directly inside the side tab, which makes communication so much more convenient, you’ll enhance the user experience of the site.
In this guide, we’ll walk you through the steps to set up a contact form within the Floating Side Tab Pro plugin, so you can start receiving messages and inquiries in no time. Besides placing the form directly inside the side tab, which makes communication so much more convenient, you’ll enhance the user experience of the site.
Table of Contents
Step-by-Step Guide to Display a Contact Us Form in Floating Side Tab Pro
1. Install and Activate Floating Side Tab Pro
Purchase the Floating Side Tab Pro plugin from CodeCanyon.
After purchasing, go to your CodeCanyon account and download the plugin’s zip file.
After downloading, log into your WordPress dashboard, find Plugins > Add New, upload the downloaded zip, and click Activate.
2. Log into Your WordPress Dashboard
Log into your WordPress dashboard to access the settings for Floating Side Tab Pro.
3. Go to the Floating Side Tab Menus
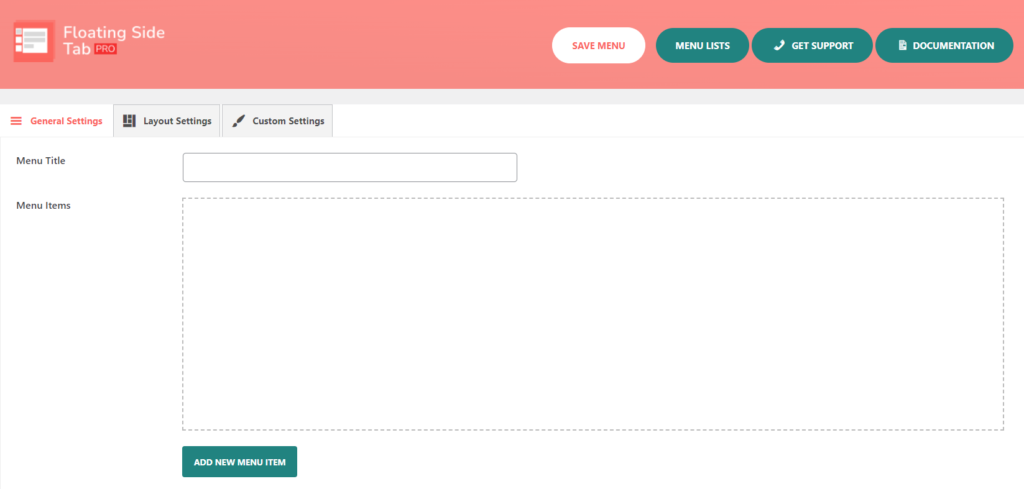
In the dashboard menu, select the Floating Side Tab Menus. This opens up the plugin’s settings and configuration options.
4. Add a New Tab
Click on the Add New button to create a new tab. You’ll be directed to the General Settings tab, where you can set up the tab that will contain your contact form.
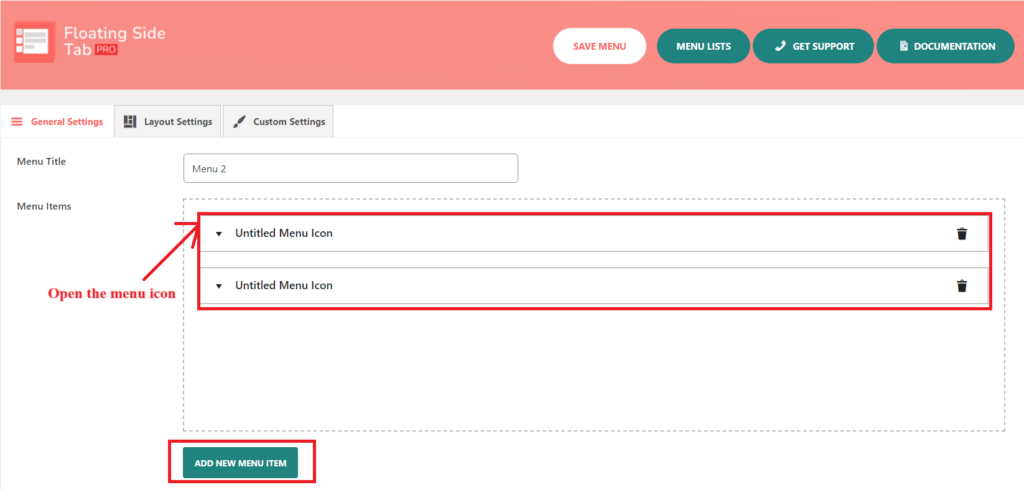
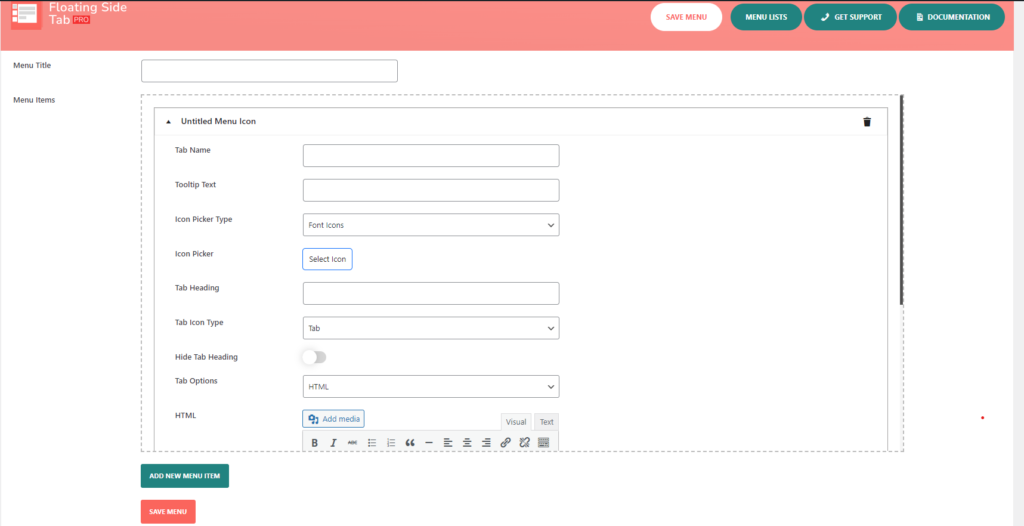
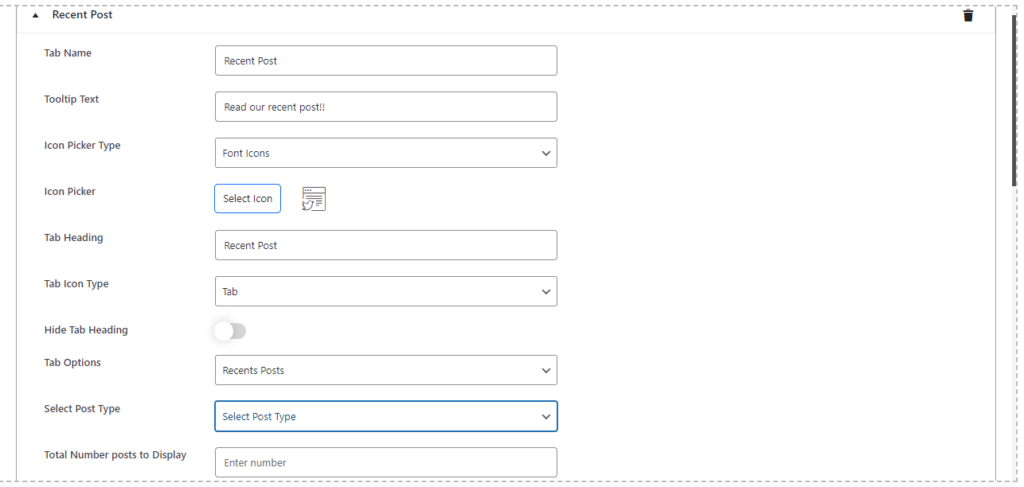
5. Enter Tab Details
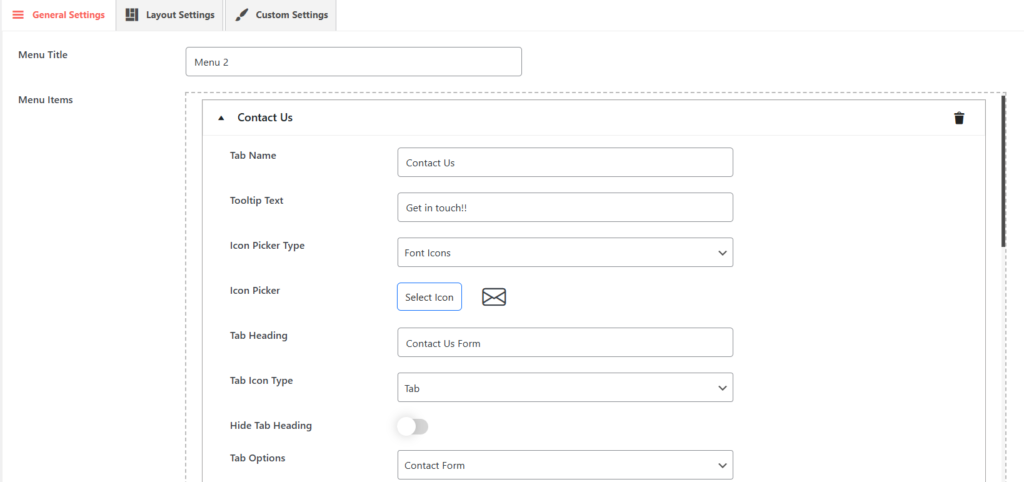
- Tab Name: Enter a clear name, like Contact Us.
- Tooltip Text: Add something inviting, such as Get in Touch!
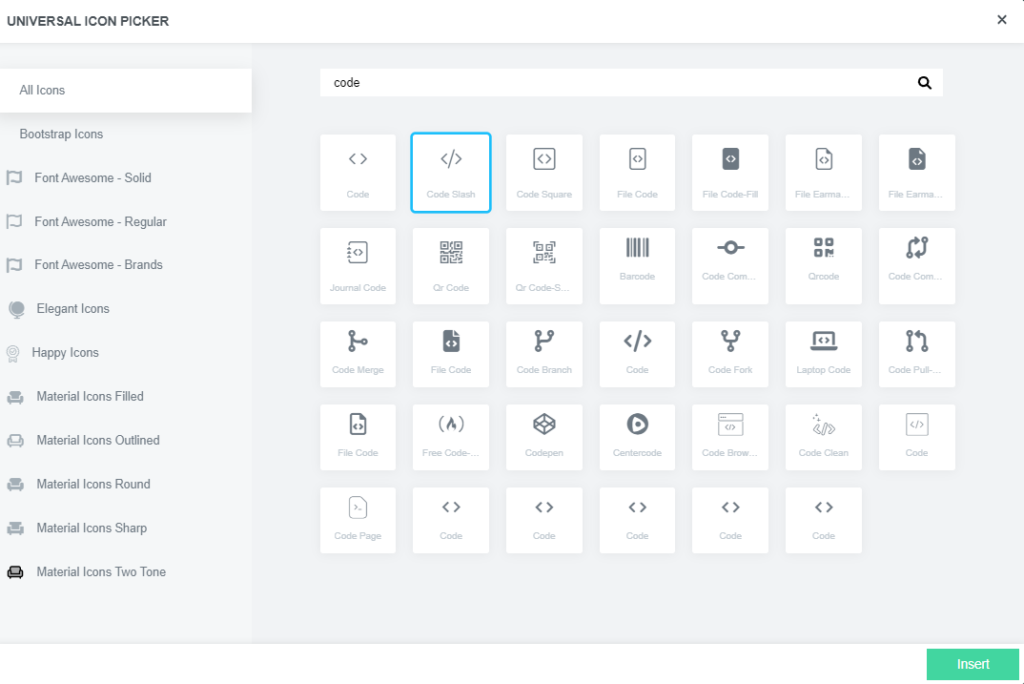
- Icon Picker Type: Choose an icon, such as an envelope, to represent the contact.
6. Select the Tab Icon Type
In the Tab Icon Type section, choose Tab to display the icon directly on the tab.
7. Hide Tab Heading (Optional)
Check Hide Tab Heading if you want a minimalistic look, without displaying a heading inside the tab.
8. Tab Options – Select Contact Form
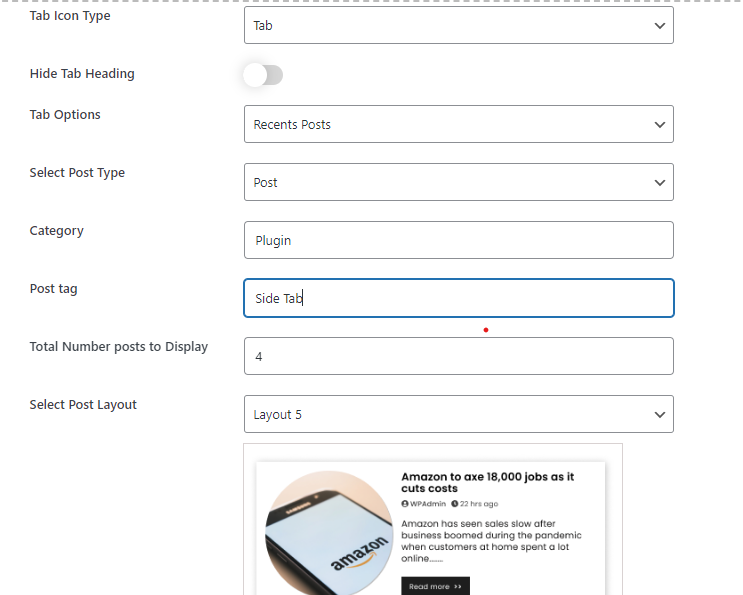
Under Tab Options, choose Contact Form to customize the contact form fields directly from tab settings.

9. Configure Contact Form Settings
When you select Contact Form, you’ll see additional fields to customize:
- Contact Form Email Receiver: Enter the email address where you’d like to receive form submissions.
- Form Heading Label: Set a heading for the form, such as Contact Us Form or Get in Touch.
- Name Field Label: Customize the label for the name field, for example, Name.
- Email Field Label: Enter a label like Email for the email input field.
- Message Label: Set a label for the message field, such as Message or Your Message.
- Button Label: Define the text for the submission button, like Submit or Send.
- Select Contact Form Layout: Choose from five pre-designed templates to give your form. These templates allow you to match the contact form’s design with your site’s overall theme, making it visually appealing and user-friendly.

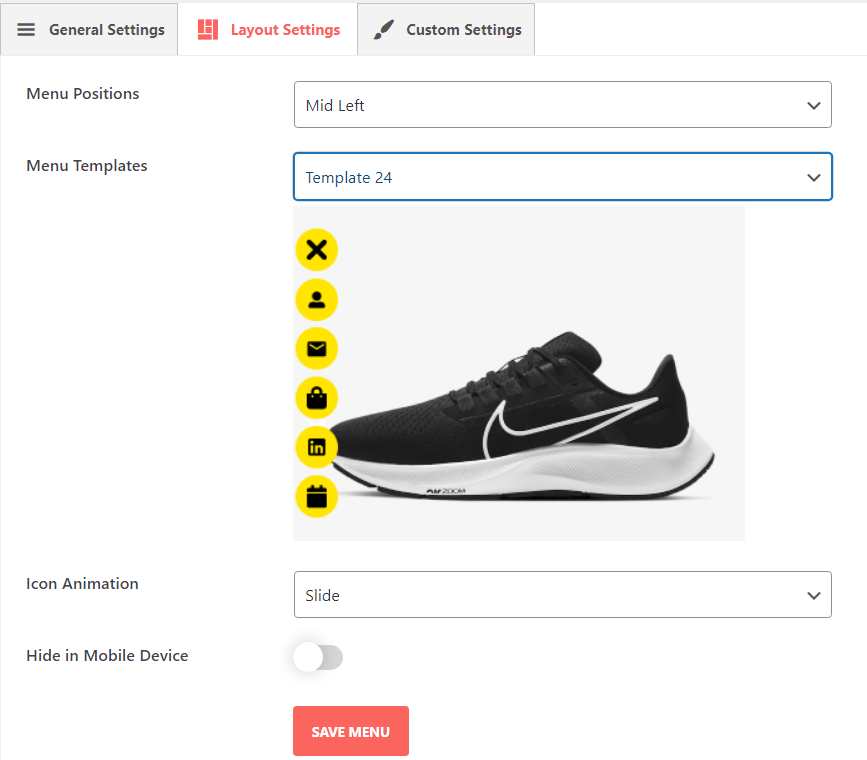
10. Layout Settings
Once your contact form is configured, you can further customize the layout of the Floating Side Tab:
Menu Positions
Choose from six different positions for the Floating Side Tab on your webpage:
- Mid Left
- Mid Right
- Top Left
- Bottom Left
- Top Right
- Bottom Right
This setting allows you to control the floating tab’s position on the screen, aligning it with your site’s layout and user flow.
Menu Templates
With the Floating Side Tab menu, one can choose between 24 pre-designed templates to define its look and feel, saving loads of time as it is very useful in selecting pre-designed layouts without having to design icons or layout elements by hand.
Icon Animation
Choose from several animation options to make the menu icons more engaging. Available animations include:
- Slide
- Spin-Infinity
- Bounce
- Zoom
- Rotate
These animations add interactivity and make the Floating Side Tab more dynamic for users.
Hide on Mobile Device
You can enable this option to hide the Floating Side Tab on mobile devices, improving the user experience by reducing screen clutter.
11. Save Your Settings
Once you’ve finished configuring your settings, click Save. Your contact form is now live within the Floating Side Tab, ready to provide an accessible contact point for visitors on every page of your site.
Follow these steps to show the Contact Us form inside the Floating Side Tab Pro plugin easily. It would take your website to the next level by making it easy for visitors to contact you.
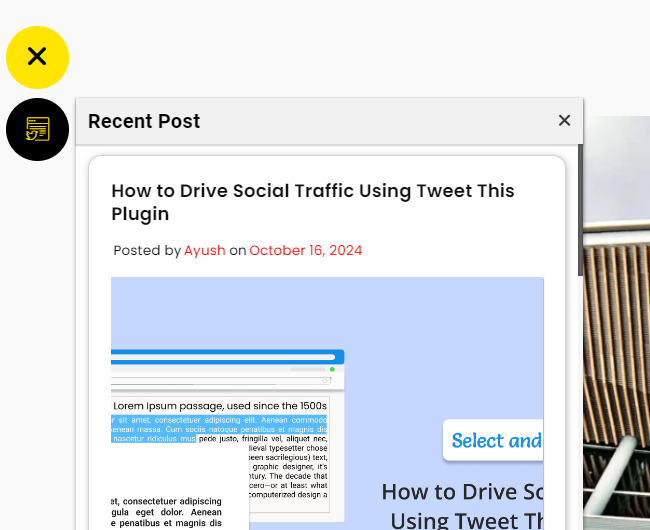
Preview:


