Are you aiming to make your WordPress website more user-friendly?
I was wondering how to incorporate floating side tabs for smoother navigation.
Look no further! In this guide, we’ll walk you through the simple steps to add a floating side tab and enhance the user experience effortlessly.
Let’s take a moment to understand what floating–side tabs are all about. Imagine little interactive buttons that stick to the side of a webpage, typically on the left or right. These tabs stay put even when you’re scrolling through the page.
They’re like shortcuts that give you quick access to important stuff without getting in the way of what you’re reading or looking at.
Certainly! They function as reliable companions, consistently available to offer assistance as you navigate the web.
Let’s dive in and make your website even more engaging!
Table of Contents
How to add a floating side tab to your website?
To add a “floating side tab“ plugin to your WordPress website through the dashboard, follow these steps:
Step 1: Navigate to your WordPress dashboard and select “Plugins” > “Add New.”.
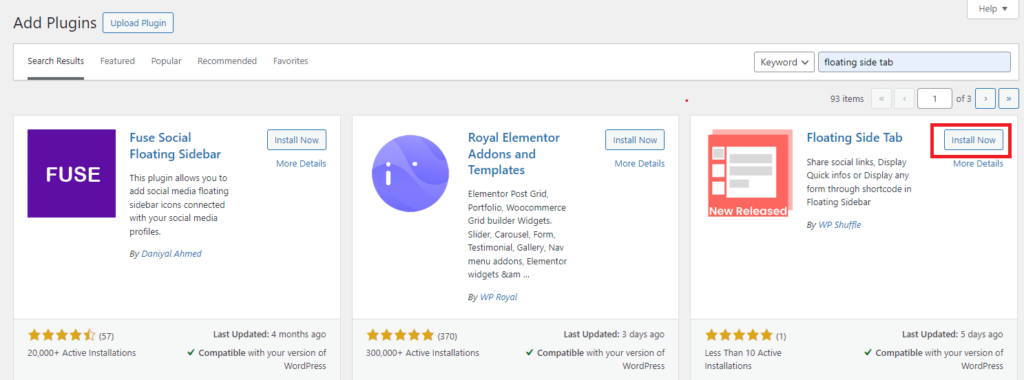
Step 2: Search for the search bar located in the top right corner to search for the desired plugin. A list of results will populate.
Step 3: After finding the plugin you want in the results, click on “Install Now.”. Alternatively, you can click on the plugin’s name to access more detailed information about it.
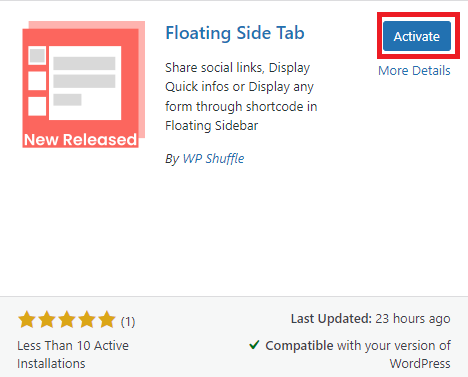
Step 4: After installing the plugin, you must activate it to utilize its features. Once the installation process is complete, which typically takes just a few seconds, simply click on the “Activate” button.
Download the Floating Side Tab
Additionally, you have the option to activate or deactivate any plugin by navigating to “Plugins” > “Installed Plugins” in your WordPress dashboard. From there, you can easily manage the status of your plugins with just a few clicks.
To understand the installation process for the floating side tab plugin, you can also watch this video video below:
How do I use the floating-side tab?
Once the plugin is successfully installed and activated, you’ll notice the Floating Side Tab menu added to the left admin menu.
You can simply click on this menu to access the plugin’s settings page. From there, you can configure and customize the floating side tab according to your preferences.
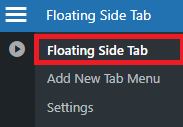
Click on “Floating Side Tab” to see the dashboard of the floating side tab.

Within the dashboard, you’ll find a list of tab menus allowing you to add, edit, delete, and preview them. You can either add a new menu directly from this section or navigate to the floating side tab and add it from there.
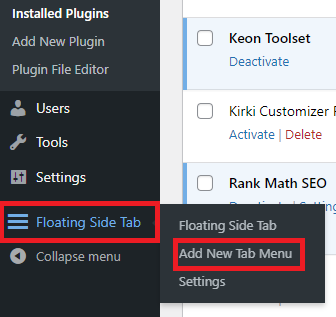
To add a new menu, you can click on the “Add New Tab Menu” option and then customize the settings according to your requirements.
After clicking on “Add New Tab Menu,” you can see 2 different settings below:
- General Setting
- Layout Setting
General Settings
This section appears to include several different options for customizing menus or settings.
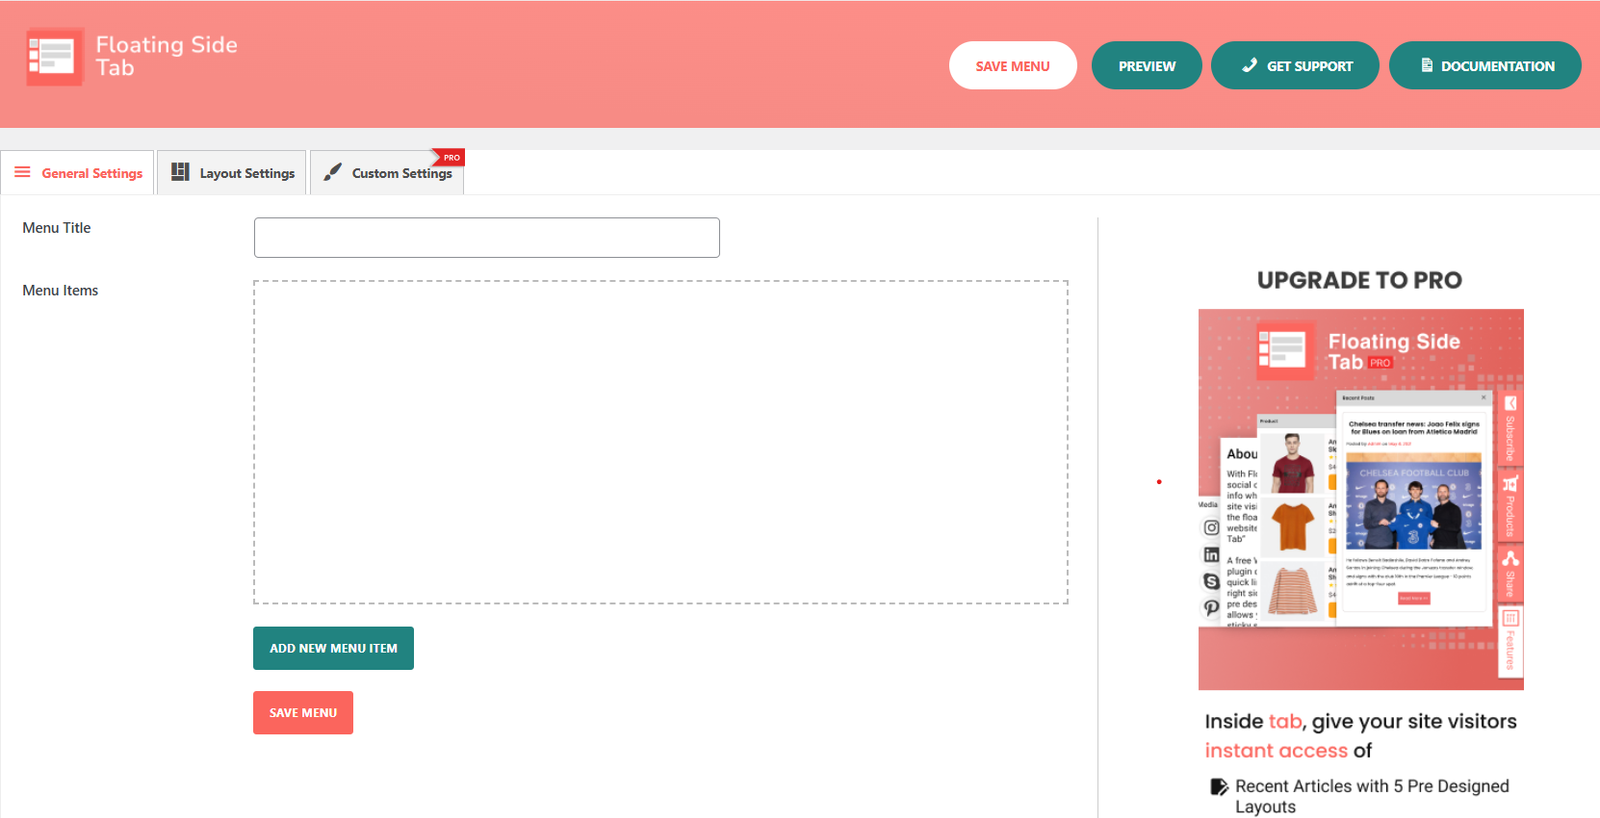
- Menu Title: This option allows you to set the title of the menu.
- Menu Items: This option refers to the different items that will be displayed in the menu
To add a new menu item, you need to follow these steps:
Step 1: First of all, you need to set the title of the menu.
Step 2: Now click on add a new menu item, and it will display the menu icon in the field of menu items.
Step 3: After clicking on “Add New Menu Item,” a new untitled menu icon will appear. Each time you click on the “ADD NEW MENU ITEM” button, a new untitled menu icon will appear.
Here is the image in which the untitled menu icons are shown in the field of the menu item when we click on the “ADD NEW MENU ITEM”.
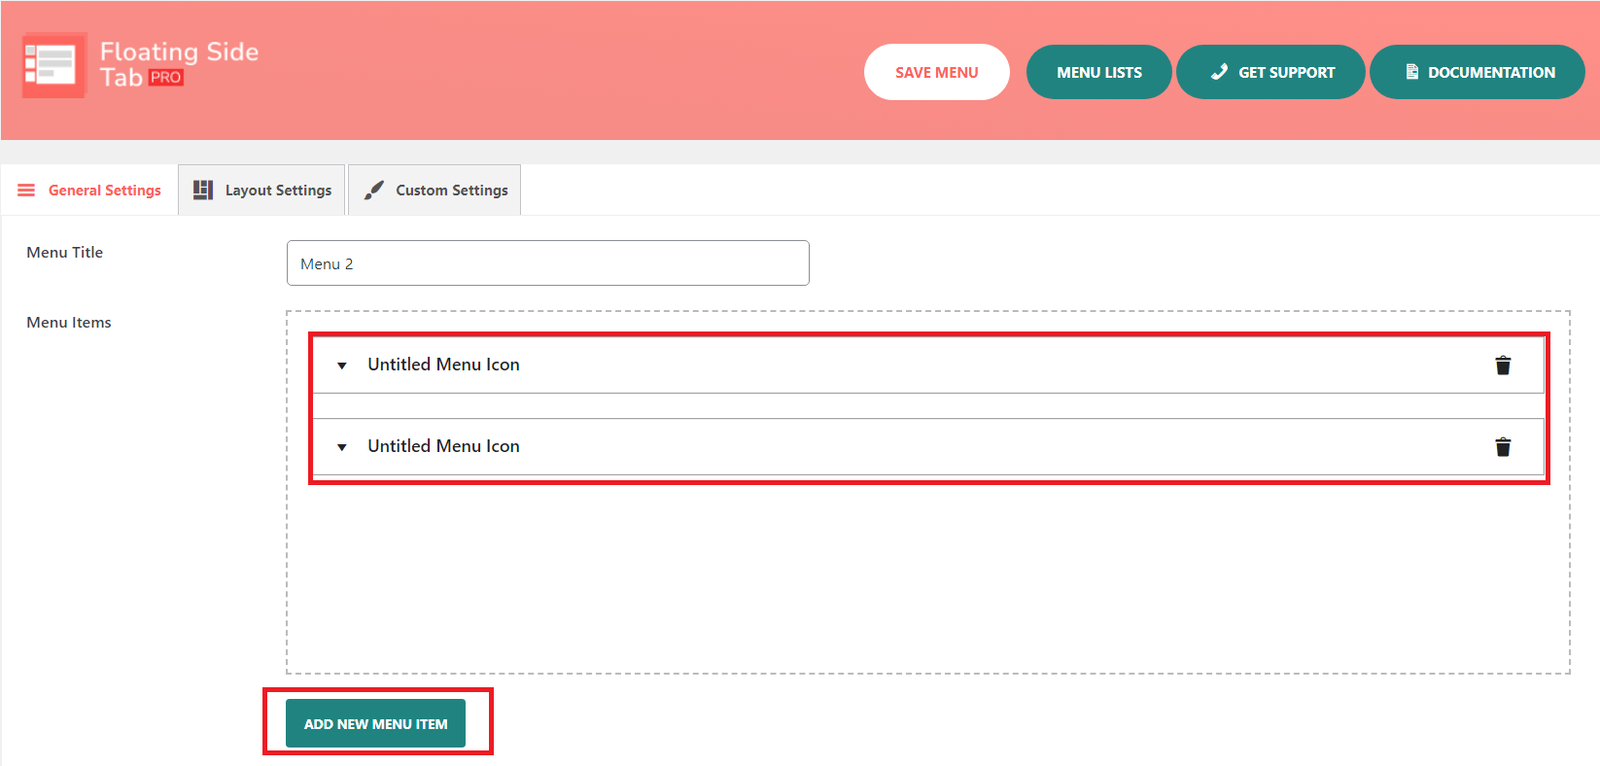
Step 4: Now, you need to open that “Untitled menu icon”. As you can see there are additional submenu items or further options available when the user clicks on that particular menu item.
This includes managing Tab Name, Tooltip Text, Icon Picker Type, Icon Picker, Menu Icon Type, Tab Heading, Hide Tab Heading, and Tab Content are presented below.

- Tab Name: This field is used to display the tab name on the front end.
- Tooltip Text: Input text to display as the tab’s tooltip.
- Icon Picker Type: Choose from various icon pickers, such as Font-Awesome Icons.
Here are the 2000+ font icons that are available to pick for your website sidebar:
As you can see, there are 3 Font Awesome i.e. Solid, Regular, and Brands. From here, you can choose the icon to display in your sidebar.
Alternatively, you can select “Custom Icon” to upload your icon.
After uploading a custom icon,
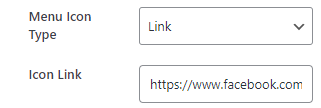
- Menu Icon Type: There are two types of menu icons available: Tab type and Link type. Choose the one that fits your preferences and design.
After selecting Tab from the menu icon type, it enables the tab content, where you can write your content to display in the tab.
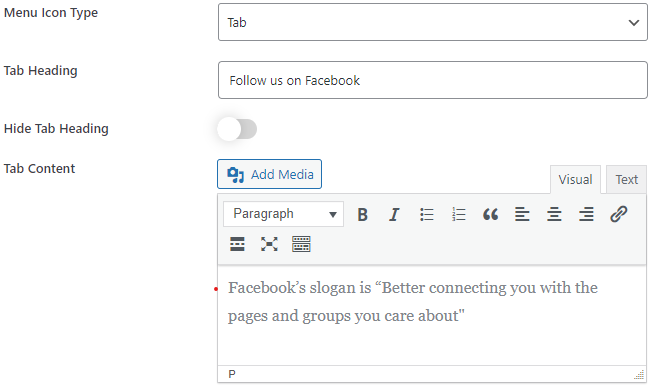
- Tab Heading: You must choose the tab option in the menu icon type to enable the tab heading option.
- Hide Tab Heading: Enabling this option will hide the tab heading.
When you enable customization for the Menu Icon Type set to “Tab” in the Floating Side Tab Pro plugin, three additional options will appear for further customization:
- Icon Background: Allows you to select a background color for the tab’s icon.
- Icon Color: Let you choose the color for the icon itself, making it stand out visually.
- Tab Height: This option enables you to adjust the height of the tab, allowing you to control its vertical size to fit your design needs.
These customization settings help the appearance and functionality of your tab to align with your website’s style and user interface preferences.
If you choose link type in the menu icon type, it can be useful for displaying social media icons like Facebook, Twitter, Instagram, etc with links.
Step 5: After filling out all the fields and selecting the option, click on the“Save Menu” button to add the menu item to the menu list.

Next, we’ll navigate to the layout settings to adjust the arrangement or layout of the menu or page elements.
Layout Settings
This field may allow you to adjust the layout or arrangement of the menu or page elements.
Additionally, you have the option to manage layout settings. You’ll find options for menu positions, templates, icon animation, and hiding menus on mobile devices within the layout settings section.
- Menu Position: This field provides options for positioning the menu on the page. Based on the context, it appears there are at least two options: “mid-left” and “mid-right.”
- Choose Template: This field allows you to choose from different templates for the menu’s appearance. Based on the context, there are at least 8 template options available.
- Icon Animation: This field may allow you to choose animation effects for the menu icons. It provides only one icon animation, i.e., a slide.
- Hide in Mobile: This field allows you to choose whether or not to hide the menu when viewing the page on a mobile device.
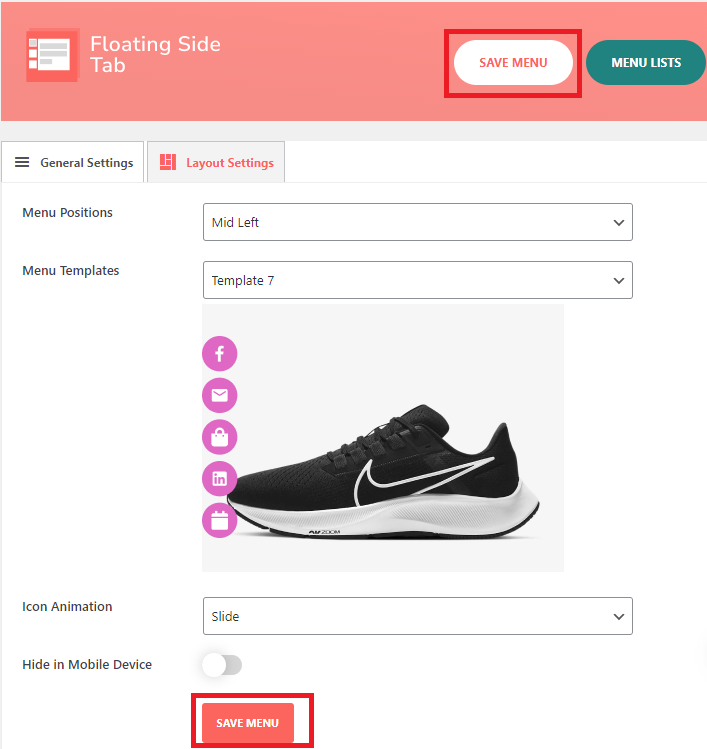
Step 6: Next, you need to select all the given options to display on the website.
In the above image, we have shown the selected option.
Step 7: After selecting all the options, click on “Save Menu.”
Step 8: After clicking on “Save Menu,” you can see the “Menu List” button at the “Top-right” position, where you can see a list of the menu.

Step 9: After clicking on the “Menu List” button, you’ll see the list of tab menu items that you’ve created.
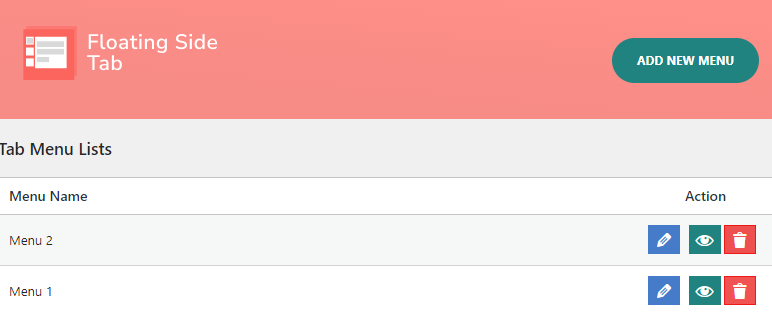
Finding the list of menus in your WordPress dashboard is straightforward. Simply click on the floating side tab, and you’ll see the list of tab menu items that you’ve created. From there, you can also easily add, edit, delete, and preview menus directly from the list.
Now moving toward the display settings, we can customize the menu visibility and location on different pages of the website for tailored navigation
Display Settings
Display settings allow you to control where and how a menu appears on different pages of your website.
Step 10: For display settings, first you need to go to the floating side tab, and then there you will see settings. After that, you can click on “Settings.“.
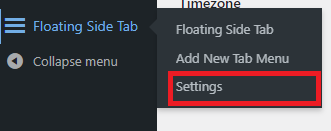
Step 11: After clicking on “Settings”, you will see the menus you want to display on the page.
You can customize menu display settings for different pages of your site:
- Homepage: Choose a menu to display on the homepage.
- Archive Page: Select a menu for the archive page.
- Display on Post: Choose a menu for individual post pages.
- Display on Page: Select a menu for regular pages.
- Display on attachment: Choose a menu to display on attachment pages.
Step 12: Under this setting, you will have the option to select the menu. On different pages, you can display different menus that you have created.
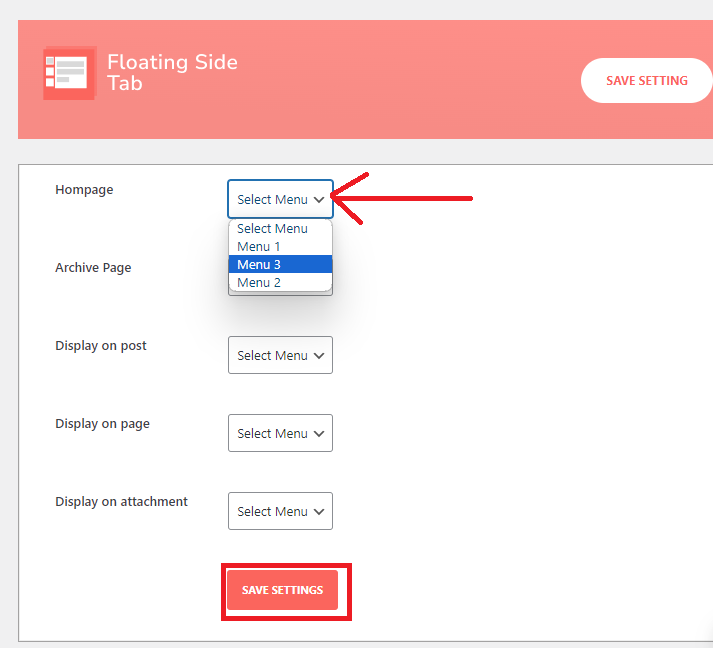
For example, if you choose Menu 3 from the menu option on the homepage, that menu will only appear on the homepage’s sidebar. For other posts, pages, and attachments. Repeat the same steps to display a menu.
You can select the specific menu you’ve created for each page to display different menus on various pages.
Step 13: After selecting the menus, click on “Save Settings.”
Here’s how to add a floating side tab to your WordPress website. Once added, you can use the same process described above to add the required menus. This plugin supports unlimited menu possibilities, so download it now and start creating your menu lists.
Conclusion
I’m confident you’ll appreciate this plugin and its menu method for adding a floating side tab to your WordPress site effortlessly. It’s a simple yet effective solution.
Are there any plugins out there that surpass this in terms of power and functionality?
Feel free to drop your recommendations below. I’m eager to explore them, and if I’m impressed, I’ll gladly share my thoughts and reviews in future posts.