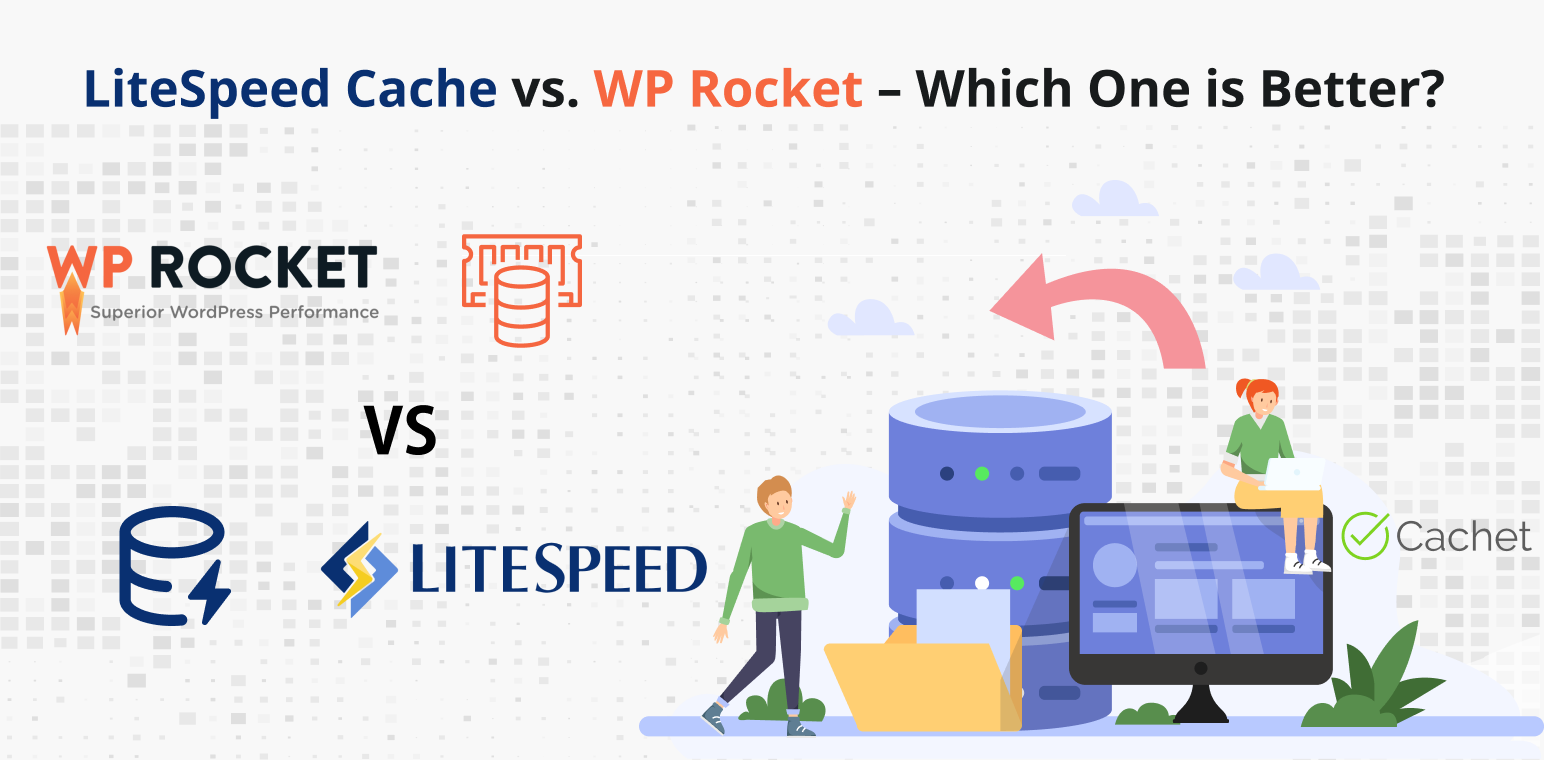
When it comes to WordPress performance optimization, two of the most popular plugins are LiteSpeed Cache and WP Rocket. Both are renowned for their ability to significantly improve site speed, but which one is better? In this blog, we will delve into their features, performance, ease of use, pricing, and support to help you decide which caching solution best suits your needs.
Table of Contents
Overview
LiteSpeed Cache is a free, all-in-one site acceleration plugin that offers server-level caching and a suite of optimization features. It is specifically designed to work with LiteSpeed servers but can also be used on other server environments.
WP Rocket is a premium caching plugin known for its ease of use and robust features. It simplifies the process of setting up caching and other performance optimizations, making it a favorite among beginners and experienced users alike.
How Both Plugins Works (LiteSpeed Cache vs WP Rocket)
How LiteSpeed Cache Works
Even though LiteSpeed Cache’s priority is LiteSpeed servers, with some proper usage, it can be quirky on non-Typical servers. The speed of light, Caching by its feature server, which is faster than the traditional file-based cache.
With a cloud network, users can also benefit from server-level caching, which provides a faster, more productive experience. This way the contents that are requested more frequently are stored within the server’s memory to avoid having to access the database again and again.
LiteSpeed Caching not only saves time through browser caching, which places the static files locally on users’ devices where every time they access the site the page load gets faster.
Another positive aspect of plugin is in providing various image optimization options such as lazy loading, image compression, and WebP conversion, thus making the image sizes smaller and the page load quicker.
QUIC.cloud functionality in LiteSpeed Cache is responsible for transferring CSS optimization tasks to the cloud so that it may speed up the process even more.
How WP Rocket Works
WP Rocket combines a user-friendly interface with rich functionality, making caching and further optimization of your WordPress site quite easy. This creates static HTML files for all pages and then serves them directly to visitors. This reduces the load on the server and increases the speed at which pages load. The plugin autoloads the cache by simulating a visit to the site so that the pages are always ready to go.
GZIP compression is another key feature, compressing files before they are sent to the user’s browser, reducing the size of HTML, CSS, and JavaScript files, and resulting in faster load times. WP Rocket also implements lazy loading for images and iframes, meaning they are only loaded when visible on the screen, which reduces initial load time and saves bandwidth. The plugin reduces the size of your HTML, CSS, and JavaScript files through minification and concatenation, removing unnecessary whitespace and combining files to result in fewer HTTP requests and faster load times.
WP Rocket will also ensure that your WordPress database is lean and mean by cleaning out all that junk, like post revisions, drafts, and transients. On top of that, it integrates with Content Delivery Networks (CDN), distributing your static files from servers closer to your visitors for less latency and faster load times.
Primary Purposes and Target Audiences
Both plugins aim to enhance website speed and performance but cater to slightly different audiences. LiteSpeed Cache is ideal for users with LiteSpeed servers looking for advanced caching options, while WP Rocket is perfect for those seeking an easy-to-use, all-in-one solution.
Features
LiteSpeed Cache:
- Server-Level Caching: Helps cache the server and clients info of the server which makes the website more responsive to the user.
- CDN Integration: Researchers are using several content distribution networks for the job, including Cloudflare.
- Image Optimization: Lazy loading and image compression are some of its features.
- CSS/JS Minification and Combination: Fasting up the minifying and combining of CSS and JS files.
- Database Optimization: Database performance gets improved through the cleaning up of obsolete data.
- Advanced Cache Management: Finding more space, faster response time, reducing the need for remote connections, and the rest are some of the possible.
- Free QUIC.cloud Integration: Offers optimization services including downloads from other servers.
WP Rocket:
- Page Caching: Caching the web page to minimize loading time.
- Cache Preloading: Statistic analysis is completed in parallel with site preloading, guaranteeing caches consistently contain the last available data.
- GZIP Compression: Reduces the size of files sent from your server (faster loading).
- Browser Caching: Allows upticks in returning user page response times.
- Lazy Loading: The concept of loading images as they become visible on the screen is followed.
- Database Optimization: The database is thoroughly cleaned and optimized.
- CDN Integration: Customers can use a lot of CDNs, but most rely on a few major suppliers.
- E-commerce Optimization: All E-commerce plugins used like WooCommerce, Easy Digital Downloads, etc. are great for the online
Performance
LiteSpeed Cache: Because it operates at the server level, LiteSpeed Cache typically offers faster response times compared to plugins that rely on file-based caching. Its QUIC.cloud integration further enhances performance by offloading optimization tasks to the cloud.
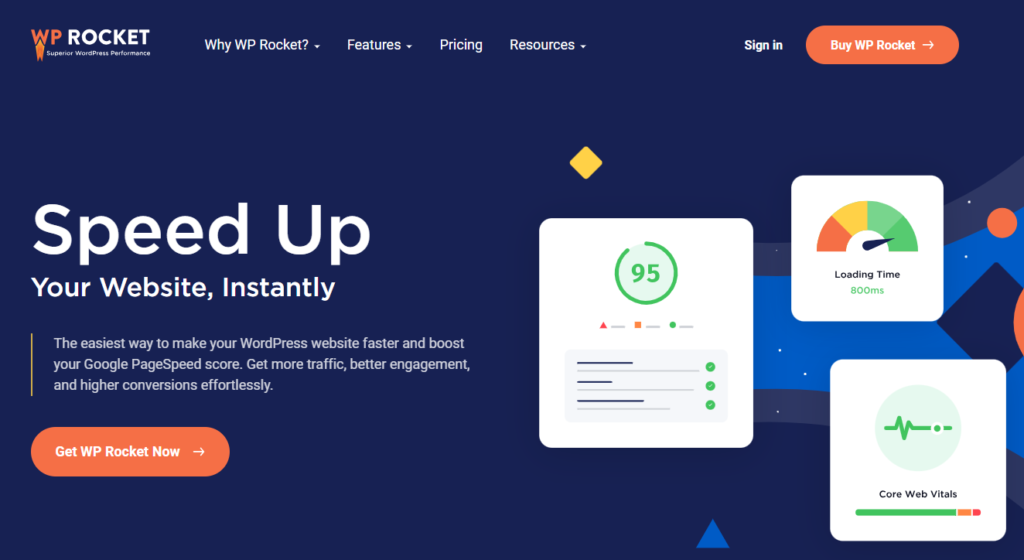
WP Rocket: Known for its user-friendly interface and comprehensive optimization options, WP Rocket provides excellent performance improvements. Its features like cache preloading and GZIP compression ensure that your site loads quickly for all users.
Ease of Use
LiteSpeed Cache: While powerful, LiteSpeed Cache can be a bit overwhelming for beginners due to its extensive settings and options. However, for those using LiteSpeed servers, the integration is seamless and highly effective.
This plugin is installed and integrated with your website if you are using a LiteSpeed web server or QUIC.cloud CDN. Setup is quite easy, and it has the potential to configure optimum settings automatically, again opening the gateway for beginners who don’t know much about caching techniques.
This is a structured, clean interface with tabs for the various different areas of the plugin: caching, TTL settings, purge options, and others. Each section is clearly titled and briefly described; therefore, even nontechnical users will see what each setting does.
In case more control is needed, there are advanced settings easily accessible for changes and editing in LiteSpeed Cache. Somehow, the plugin remains user-friendly, never allowing the richness of features to complicate and overwhelm users trying to fine-tune their site performance.
Whether you are the complete beginner with a requirement for a simple out-of-box automatic setting or the advanced user who wants to tweak any little caching aspect of your site, LiteSpeed Cache offers a friendly experience to all users.
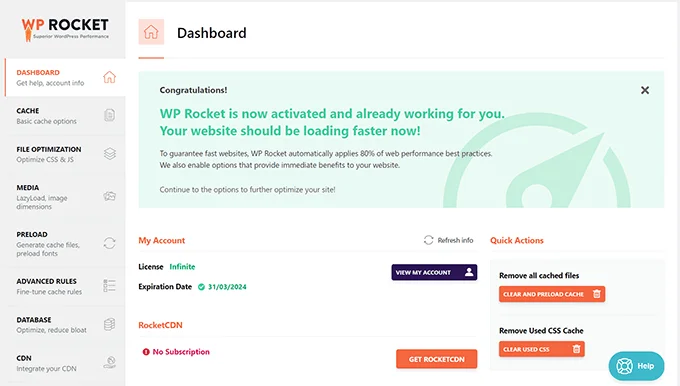
WP Rocket: WP Rocket is renowned for its ease and simplicity. Immediately after installing and activating the plugin, it automatically offers your website the best caching settings-so forget the technical details. The dashboard is intuitive with a clear overview of the performance optimization of your site.
Even if you don’t know anything about caching mechanisms, WP Rocket will do it in the background and build a cache. This is really a very good way to have automated for those who do not want to get involved too much.
Among others, advanced settings include file optimization, media optimization, database cleanup, and more. Everything that you see on the settings page has information attached to it, so as to help guide you through it. That makes WP Rocket not only user-friendly and versatile but also helps both the beginner who wants to keep things simple and the advanced one who wants to get down to every nook and cranny of optimizing his site. Due to ease of use, this plugin doesn’t require much complex adjustment. It’s very user-friendly and it provides a smooth setup with a clean interface. Most of the optimizations are automated, which makes it ideal for individuals who like a set-it-and-forget-it solution.
Pricing
LiteSpeed Cache: Free to use, with additional premium features available through QUIC.cloud services. The free version is highly functional and sufficient for most users.
WP Rocket: Premium plugin with pricing starting at $59 per year for a single site. While it comes at a cost, the extensive feature set and ease of use often justify the price for many users.
Support
LiteSpeed Cache: Offers extensive documentation, a community forum, and ticket-based support. The support is generally responsive, but the complexity of the plugin might require more detailed assistance for some users.
WP Rocket: Known for its excellent customer support, WP Rocket offers a robust knowledge base, helpful tutorials, and responsive email support. The support team is praised for their quick and effective solutions.
Features Comparison
| Feature | LiteSpeed Cache | WP Rocket |
|---|---|---|
| Server-Level Caching | Yes | No |
| Page Caching | Yes | Yes |
| Cache Preloading | Yes | Yes |
| Browser Caching | Yes | Yes |
| GZIP Compression | Yes | Yes |
| Lazy Loading | Yes | Yes |
| CSS/JS Minification and Combination | Yes | Yes |
| Image Optimization | Yes (with QUIC.cloud) | Yes |
| Database Optimization | Yes | Yes |
| CDN Integration | Yes (multiple CDNs including Cloudflare) | Yes (most major CDNs) |
| E-commerce Optimization | Yes | Yes |
| Advanced Cache Management | Yes | No |
| Free QUIC.cloud Integration | Yes | No |
| Pricing | Free (with optional premium features) | Starts at $59/year |
Pros and Cons
LiteSpeed Cache
Pros:
- Advanced server-level caching
- Comprehensive optimization features
- Free with optional paid enhancements
Cons:
- Complex setup for beginners
- Requires LiteSpeed server for optimal performance
WP Rocket
Pros:
- User-friendly interface
- Effective out-of-the-box performance improvements
- All-inclusive pricing
Cons:
- No server-level caching
- Requires a paid subscription
Conclusion
Choosing between LiteSpeed Cache and WP Rocket ultimately depends on your specific needs and server environment.
- LiteSpeed Cache is an excellent choice for those using LiteSpeed servers or looking for a free, powerful caching solution with advanced features. It offers server-level caching and a wide range of optimization options that can significantly enhance site performance.
- WP Rocket is ideal for users who prioritize ease of use and are willing to invest in a premium solution. Its intuitive interface and automatic optimizations make it a favorite for those who want effective performance improvements without the complexity.
Both plugins are highly effective in boosting site speed and performance, so you can’t go wrong with either choice. Evaluate your requirements, consider your budget, and choose the one that best aligns with your needs.
Related Posts:
- 5 Best WooCommerce Multi-Vendor Plugins for 2024
- 7 Best Reading Progress Bar WordPress Plugins
- 7 WordPress Search Plugins to Improve Your Site Search
Feel free to share your experiences with LiteSpeed Cache or WP Rocket in the comments below!