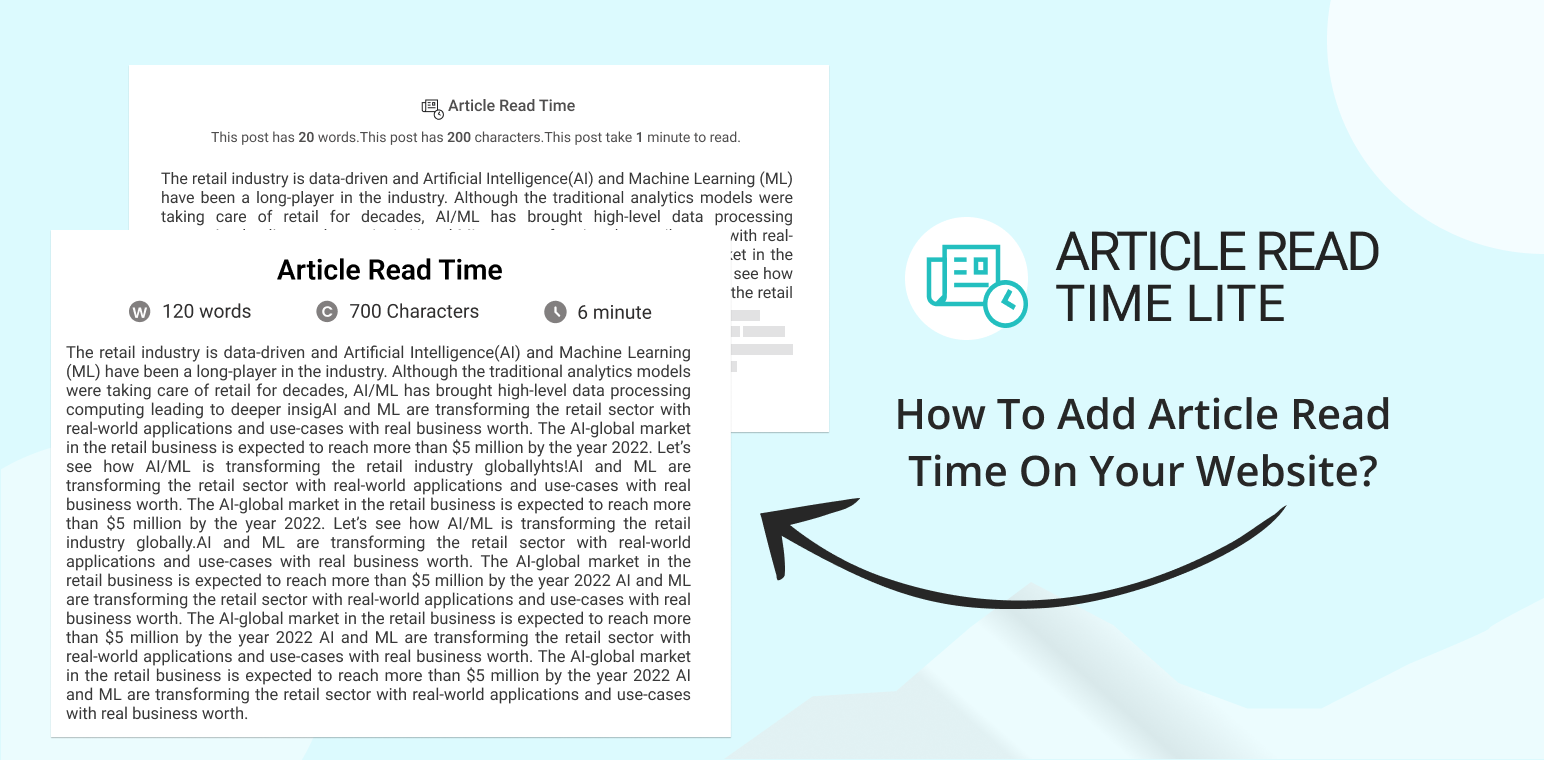
Adding an article read time to your website can significantly enhance the user experience, providing readers with a quick estimate of the time required to engage with your content.
This small yet impactful feature not only helps in setting clear expectations but also increases reader retention by making your articles more approachable.
In this blog post, we’ll guide you through the simple steps to add article read time using the Article Read Time plugin on your WordPress site.
By the end of this tutorial, you’ll be equipped with the knowledge to offer a more user-friendly and transparent reading experience for your audience.
So, let’s dive into how to add article read time seamlessly and effectively.
Table of Contents
Why add article read time on your website?
Before diving into how to add article read time on your website, let’s understand why add article read time on your website.
At first, it sets a clear expectation for readers to let them know how much time it will take to read the article. This will build trust and help users make informed decisions about allocating their time.
Additionally, displaying the read time can attract more readers by reassuring them that your content is concise and digestible.
Moreover, it enhances accessibility, allowing users to plan their reading sessions accordingly, whether they have a few minutes to spare or are looking for a longer read.
How to add article read time on your website?
Now that we’ve highlighted the significance of adding article read time, let’s delve into how you can implement this feature on your WordPress website using the Article Read Time plugin by WP Shuffle.
Follow these simple steps to enhance your website’s user experience:
Step 1: Install the Article Read Time Plugin
1. Access your WordPress website and sign in.
Once logged in, you’ll automatically be directed to your Dashboard.
2. Go to ‘Plugins’.
Locate the menu on the left-hand side of your screen and click on ‘Plugins’.
3. Find ‘Article read time’.
Navigate to the top of the screen and click on ‘Add New’. In the search bar that appears, type ‘Article Read Time’.
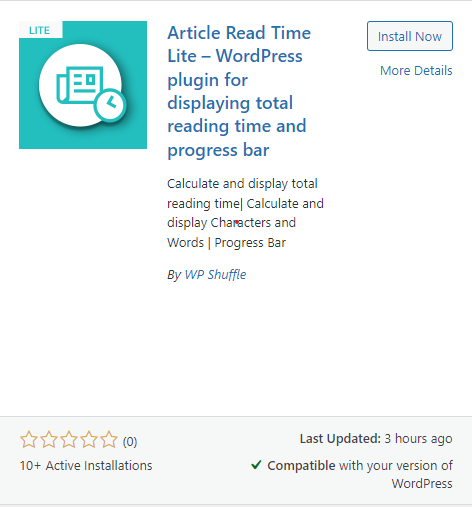
4. Install the plugin
After searching, a list of results will appear. Look for the “Article Read Time” plugin among these results. Click on ‘Install Now’ for the installation process.
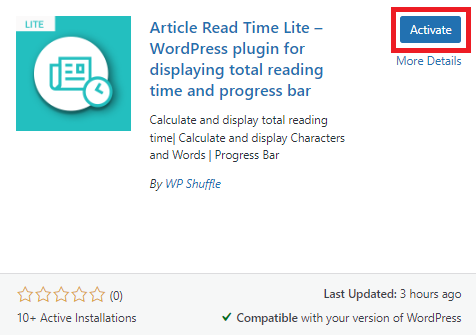
5. Activate the plugin.
Once the installation completes, click on the ‘Activate’ button, which replaces the ‘Install Now’ button.
Step 2: Configure the plugin settings
Once the plugin is activated, you will be able to view the Article Read Time menu in the left admin menu. And you can then click on that menu to configure the settings page of plugins.
In this section, you can configure two settings options i.e. Basic Setting & Layout Setting.
Basic Setting
In the basic setting, the default status was displayed as disabled.
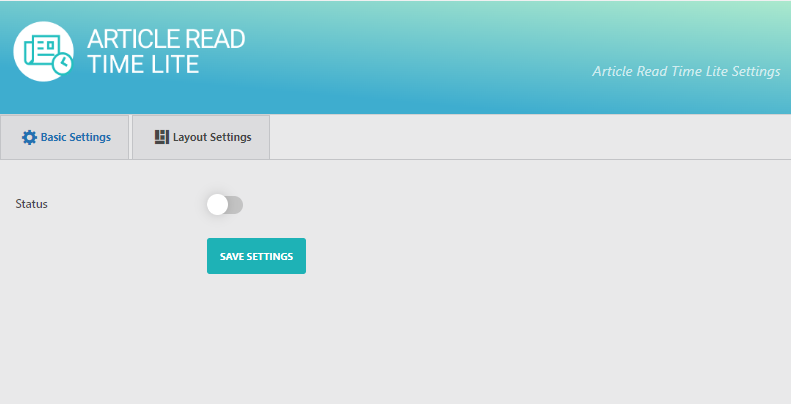
To display a section in the front end, you can check the status and then configure the settings as per your need.
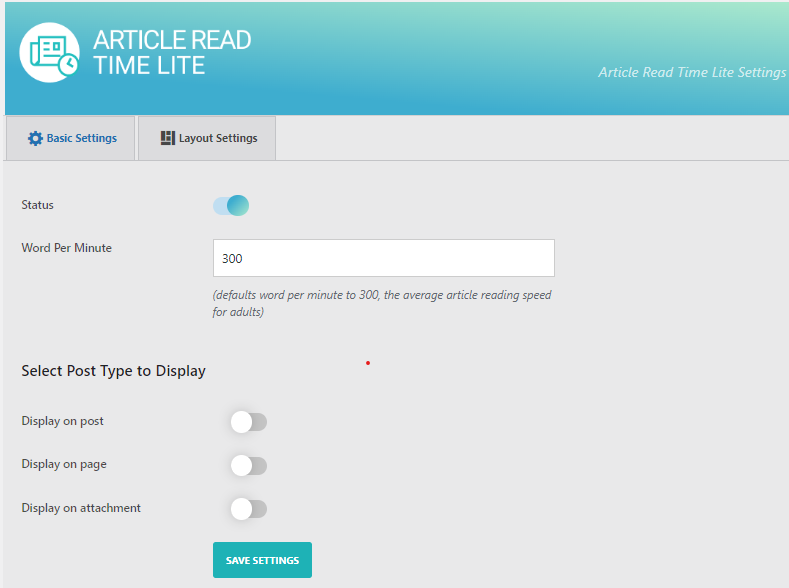
After enabling the status, you can configure all the basic settings such as Status, Word Per Minute, Select Post Type to Display, etc.
So, you can set the word per minute to read the article by user and choose the enable and disable section for post type according to your needs.
To display a section in the front end, you need to enable the following option provided in the above picture. Then click on save settings.
Now heading towards the layout settings.
Layout Settings
Within this section, you have the option to adjust essential settings of the layout of paragraph templates. You can select one template from our two beautifully pre-designed options for paragraph types.
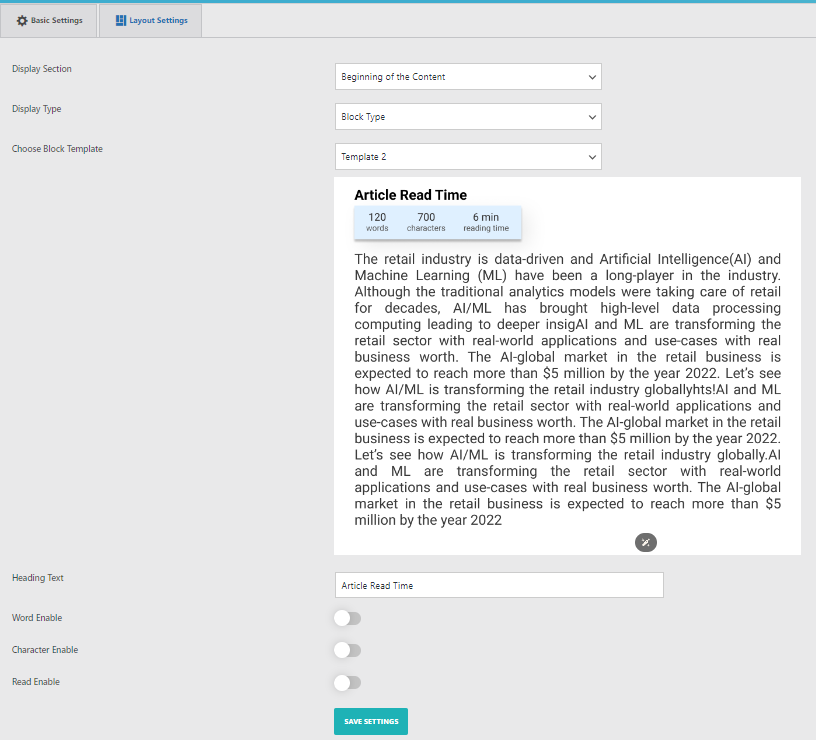
In this section, you’ll find several options to customize your paragraph templates:
- Display Section: Choose where you want the paragraph template to appear—either at the beginning of content, end of content, or both.
- Display Type: Select between paragraph and block display types.
- Choose Paragraph Template: Pick from our selection of 2 beautiful pre-designed paragraph templates.
- Heading Text: Set the heading text to be displayed on the front end.
- Word/Character Count Message: Utilize this textarea option to display a word/character count message on the front end.
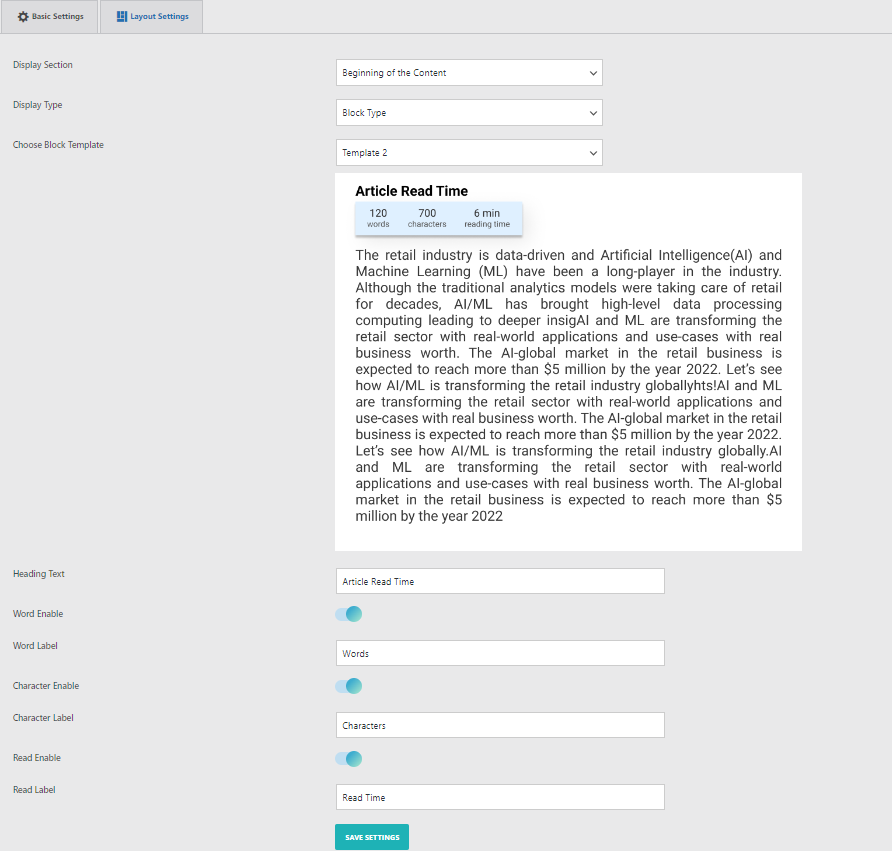
After selecting and choosing the option click on save settings.
Step 3: Progress Bar Settings
In this section, you have the flexibility to personalize the color and style of your progress bar using our built-in customization options. These options are particularly useful when the pre-designed template doesn’t quite meet your requirements, and you need to tailor the form to your specific needs.
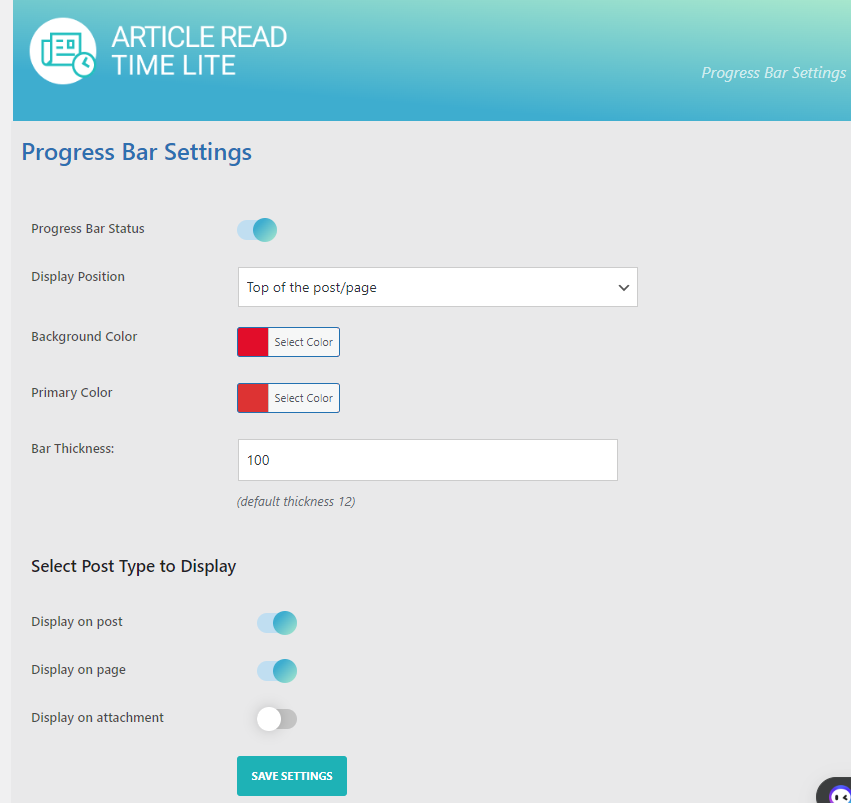
Here are the available customization options for custom color styling:
- Progress Bar Status: Enable or disable the progress bar on the front end.
- Display Position: Choose where to display the progress bar.
- Display Styles: Select different styles for the progress bar, such as normal or gradients.
- Background Color: Customize the background color of the progress bar.
- Primary Color: Customize the primary color of the progress bar.
- Bar Thickness: Adjust the thickness of the progress bar to increase its size.
After selecting all the options. Click on Save Settings.
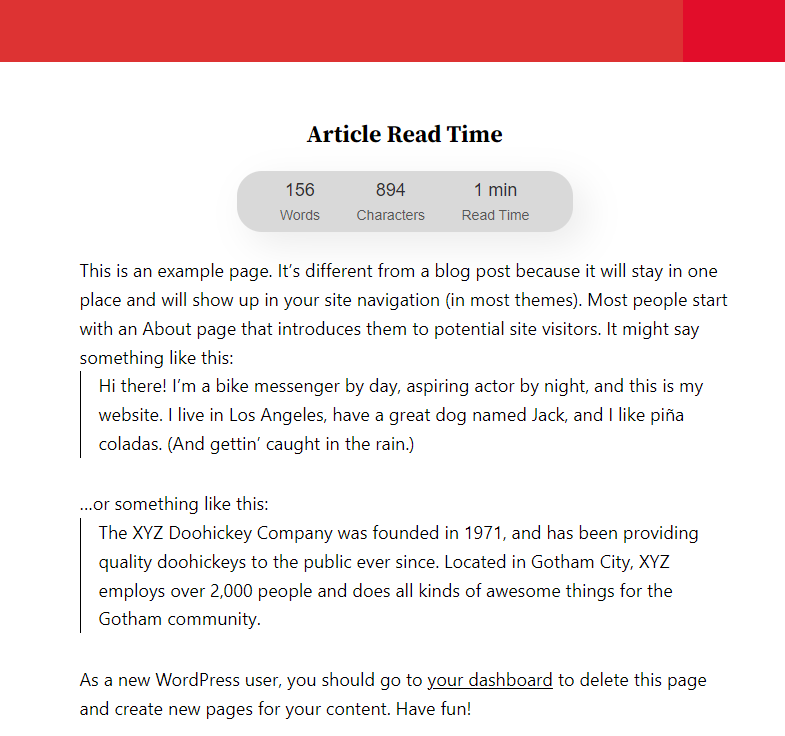
Preview
Conclusion
Adding an article read time to your website can significantly enhance the user experience by providing readers with a quick estimate of the time required to engage with your content. This feature not only sets clear expectations but also increases reader retention by making your articles more approachable. By following the simple steps outlined in this tutorial, you can seamlessly add article read time to your WordPress site using the Article Read Time plugin by WP Shuffle. With this knowledge, you’ll be able to offer a more user-friendly and transparent reading experience for your audience, ultimately improving engagement and satisfaction.