Installing Instructions
- Unzip the file downloaded plugin from codecanyon. You can download all your purchased files from https://codecanyon.net/downloads
- Upload all the files to the /wp-content/plugins/tweet-this
- Activate the plugin through the ‘Plugins’ menu in WordPress.
- For customizing the plugin’s settings, click on Tweet This option menu in WordPress left admin menu.
OR
- Open your Dashboard-> Plugins-> Add New
- Click on Upload Plugin
- Click on Choose File
- Select the zip file downloaded from codecanyon and click Install Now
- Once the plugin is installed click on Activate Plugin
- You are done, to customize the plugin’s settings, click on Tweet This option menu in WordPress left admin men
How to Update
As soon as you receive the update notification email from the codecanyon for our product "Tweet This", you can then go to your codecanyon account's download page and then download the latest update. You can view your downloads page from below link.
https://codecanyon.net/downloads
Once you download the latest version, please deactivate and delete the existing version plugin from your site and install and activate the latest downloaded version. And yes, all your settings and forms will remain as is even after you deactivate and delete and install the new version.
If you have any confusion regarding installing the plugin then you can check the above instructions.
Basic Setup
As soon as the plugin is installed and activated, you will be able to view the Tweet This menu in the left admin menu. And you can then click on that menu to see the settings page of plugins.
In this section you can view the basic settings options.
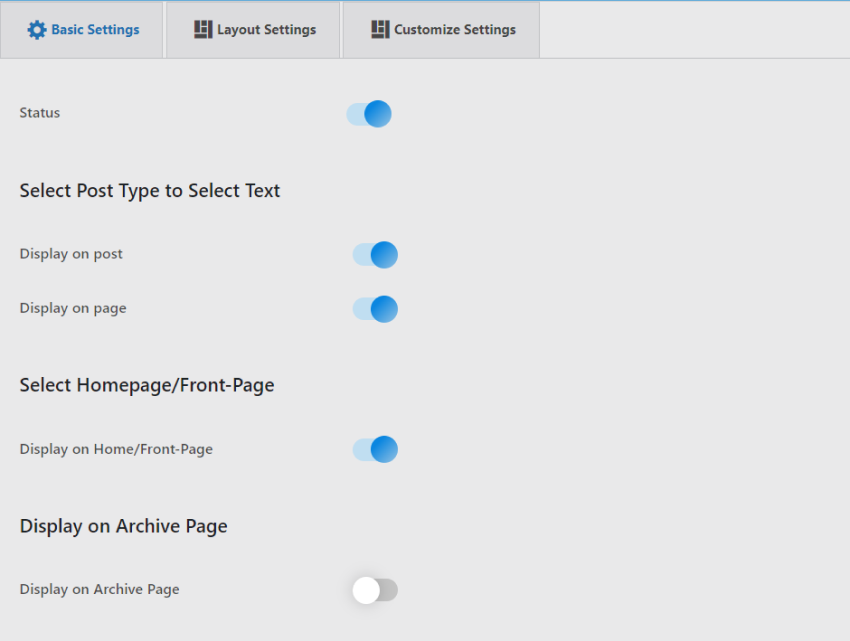
To display a section in frontend, you can check the status and then configure the settings as per your need.
There are 3 different settings section as belows:
- Basic Settings
- Layout Settings
- Customize Settings
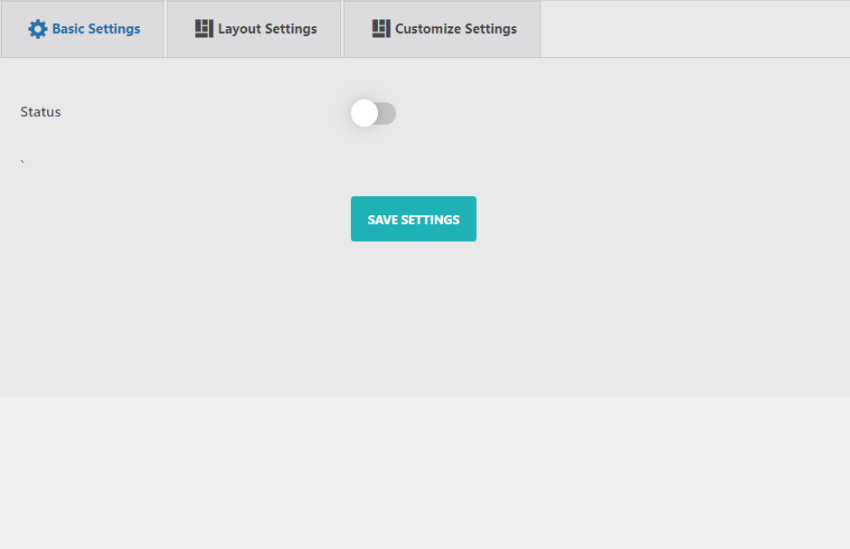
Basic Settings
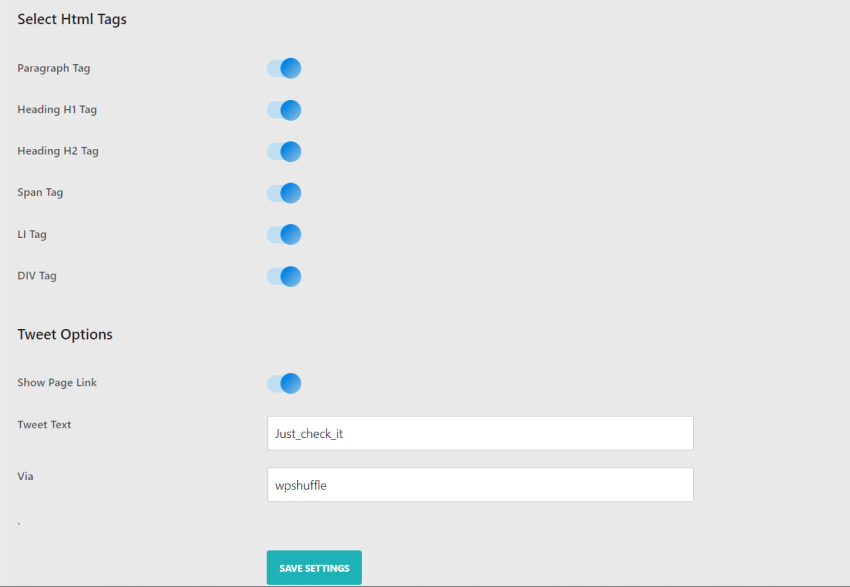
In basic settings, you can configure all the basic settings such as Status, Select Post Type to Display,Select Archieve Page, Tweet Options, Html Tags etc.
Icon Template Layout Settings
In this section, you can configure necessary settings related with the layout of the icon templates. You can choose any one templates from our 7 beautiful pre-designed templates of icon type.
![]()
Text Template Layout Settings
In this section, you can configure necessary settings related with the layout of the text templates. You can choose any one templates from our 6 beautiful pre-designed templates of and text type.

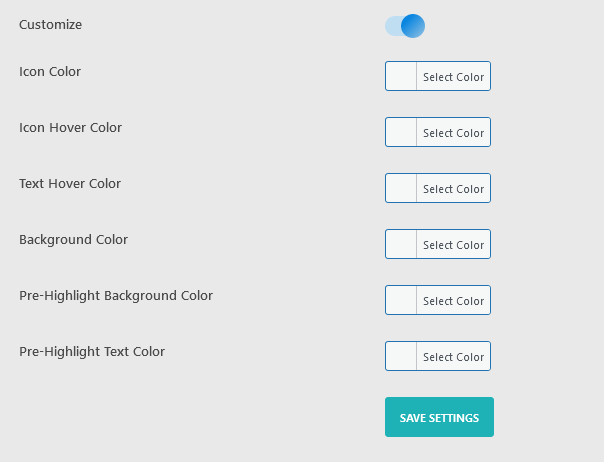
Customize
In this section you can customize the layout through our inbuilt color customization options. The options available in the section comes handy when the pre designed template doesn't fulfill your needs and you want to style the form as per your need.

Here are the available customization options for the custom color styling.
- Custom CSS - If you need to enter any custom CSS to override the existing styling of our form then you can enter in this field.
- Icon color - For customizing the heading icon color.
- Icon Hover Color - For customizing the icon hover color.
- Background Color - For customizing background color.
- Pre-Highlight Background Color - For customizing icon background color in shortcode wrap
- Pre-Highlight Text Color - For customizing icon text color in shortcode wrap
Pre-Highlight Options
In this section you can just wrap your content in by our shortcode in editor
[tweet_this]Your content[/tweet_this]

In this section you can customize the text color and background color through our inbuilt color customization options. The options available in the section comes handy when the pre designed colors doesn't fulfill your needs and you want to style the form as per your need.