Want an easy way to increase your subscriber count? Discover how to easily add a floating subscription form with the WP Subscription Forms Pro plugin.
One of the best ways to capture more sign-ups is by using floating subscription forms. Unlike static forms, floating forms remain visible as users scroll, making it easier to catch their attention without being too intrusive. This constant visibility leads to higher conversion rates and ensures that you don’t miss out on potential subscribers.
Enter the WP Subscription Forms Pro plugin, developed by WP Shuffle. This powerful plugin allows you to create beautiful and customizable floating subscription forms that can be easily added to your WordPress website, helping you grow your email list faster.
In this guide, we’ll show you how to set up a floating subscription form using this plugin step-by-step.
Table of Contents
Why Use a Floating Subscription Form?
A floating subscription form offers key advantages over static forms, primarily because of its constant visibility. Unlike static forms that can easily be overlooked, a floating form remains in view as users navigate your site. This increases the chances of capturing their attention and driving more conversions. Floating forms are less intrusive yet highly effective, providing a seamless way to prompt visitors to subscribe without disrupting their browsing experience. This makes them a powerful tool for growing your email list compared to the more passive static forms.
Step-by-Step Guide to display a Floating Subscription Form
Step 1: Purchase, Install, and Activate the Plugin

Purchase the Plugin:
- Go to CodeCanyon: Visit the WP Subscription Forms Pro plugin page on CodeCanyon.
- Complete the Purchase: Choose the appropriate license for your needs and complete the payment process.
- Download the Plugin: After purchase, download the plugin in ZIP format from your CodeCanyon accounts
Install the Plugin:
- Log into Your WordPress Dashboard: Access your WordPress admin panel using your login credentials.
- Navigate to Plugins > Add New: From the dashboard menu, hover over “Plugins” and click “Add New.”
- Upload the Plugin File: Click “Upload Plugin” at the top, then select the ZIP file you downloaded from CodeCanyon.
- Install the Plugin: Click “Install Now” to begin the installation process.
- Activate the Plugin: After the plugin is installed, click “Activate” to enable it on your site.
With the plugin activated, you’re all set to start creating and customizing floating subscription forms.
Step 2: Create Your Subscription Form
After activating the plugin, it’s time to create your floating subscription form. Navigate to the plugin settings and click “Add New Form.” You’ll have access to various customization options like pre-designed templates, form fields (name, email, etc.), and email provider integration such as Mailchimp or Mailerlite. Customize the form to match your branding and collect the specific details you require.

Step 3: Configure Floating Display Settings
To display the floating subscription form on your site, follow these steps:
1. Locate WP Subscription Forms PRO Settings
In the page editor, scroll down until you find the WP Subscription Forms PRO settings panel. Here, you will have the option to configure the floating form.
2. Navigate to Pages or Posts Editor
Go to the Pages or Posts section in your WordPress dashboard, depending on where you’d like the floating form to appear.
3. Edit the Desired Page or Post
Find and edit the specific page or post where you’d like to display the subscription form.
4. Set the Form to Floating Mode
In the image provided, you can see the WP Subscription Forms PRO settings panel. Here’s a breakdown of the key elements:

Enable: Below this, there is a toggle switch labeled Enable. Once switched on, this will activate the form on the specific page or post, overriding the global settings configured for the entire site.
Enable Status: This dropdown is currently set to Override. Changing this option from the default Global to Override allows you to customize the subscription form settings specifically for the page or post you are editing.

Once the enable status to overridden, several additional options will be available:
- Enable: Below this, there is a toggle switch labeled Enable. Once switched on, this will activate the form on the specific page or post, overriding the global settings configured for the entire site.
If you don’t toggle the Enable switch, the floating subscription form won’t be activated for that specific page or post. This means the form will either follow the global settings applied across the site or simply not display at all, depending on your overall configuration. - Delay: Set the time (in seconds) for when the form will appear after the page loads. For example, if you enter “5,” the form will appear 5 seconds after the page loads.
- Display Type: Choose Floating Forms from the dropdown menu to display the form as a floating element.
- Floating Position: Select the position for your floating form (e.g., Bottom Left, Bottom Right).
- Subscription Form: Choose the form you want to display from the dropdown (you can create multiple subscription forms in the plugin).
- Hide on Mobile: If you want to hide the form on mobile devices, enable this option.
Step 4: Save and Preview Your Page
Once you’ve configured all your options, save your changes and preview the page or post to see how the floating subscription form looks. Ensure the form behaves as expected, with the floating feature activated and positioned where you want it.
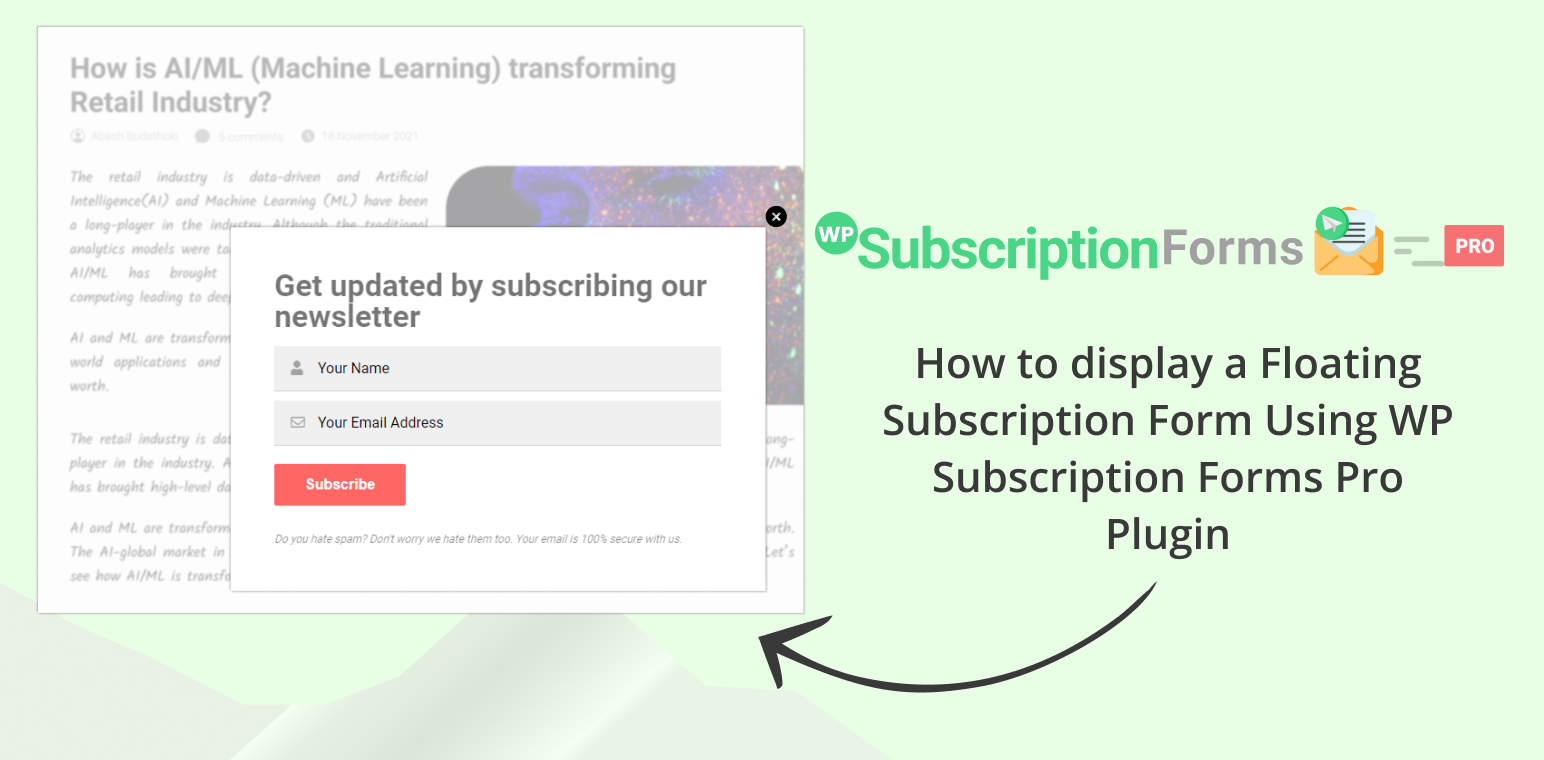
Preview of Floating Subscription Form on Frontend


